
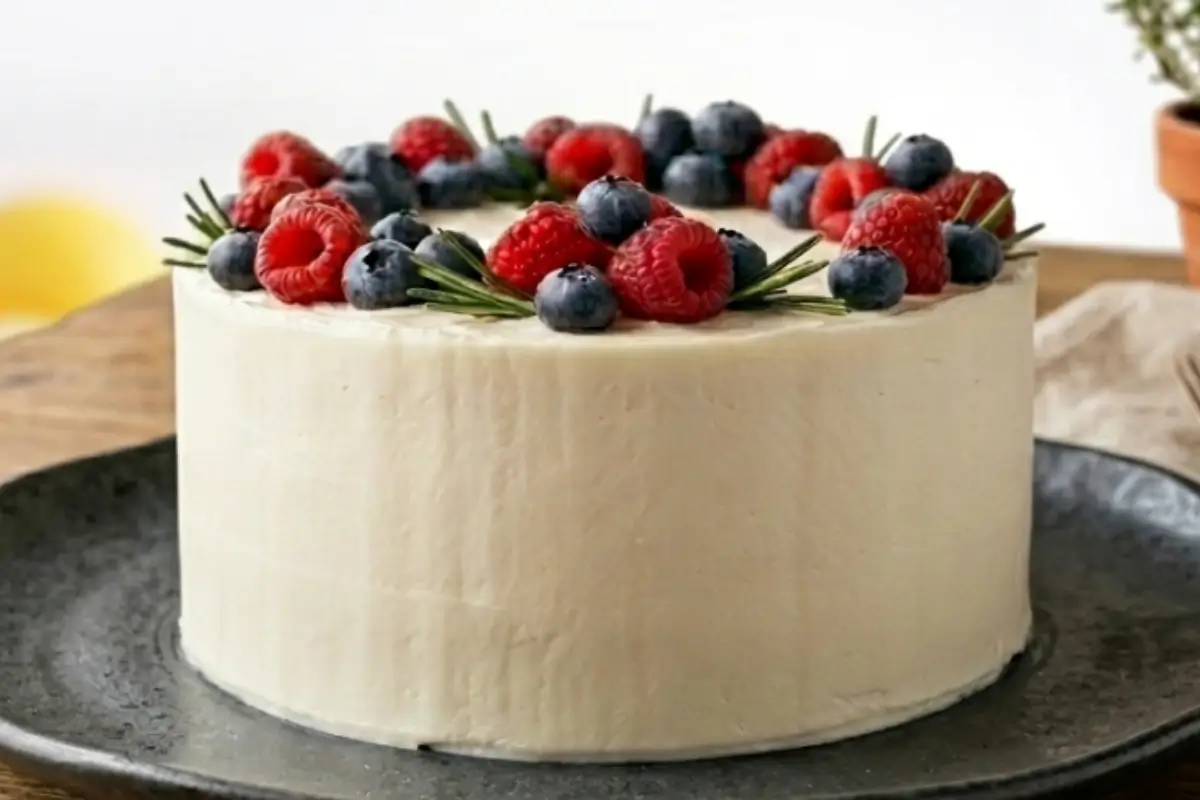
How to Frost a Cake the way my Nonna did that's what I want to teach you today. I still remember her kitchen on Sunday afternoons, the smell of vanilla and butter warming on the counter, her wooden spoon scraping the sides of the mixing bowl with this gentle, patient rhythm. She wasn't trying to make a magazine-worthy cake. She was making a cake that said: I see you. I made this for you.
And that's when I learned that frosting isn't about flawlessness. It's about showing up, imperfectly, with joy.
If that feeling resonates with you, if you've been standing in your kitchen wondering, Can I really do this? Will my layers slide? Will it look terrible? I have news: You absolutely can.
And I'm going to walk you through it, step by step, until you feel as confident as my Nonna did with that wooden spoon in her hand.
The Step-by-Step: How to Frost a Cake
This part is where the magic begins.
Step 1: Prepare Your Cake (The Foundation)
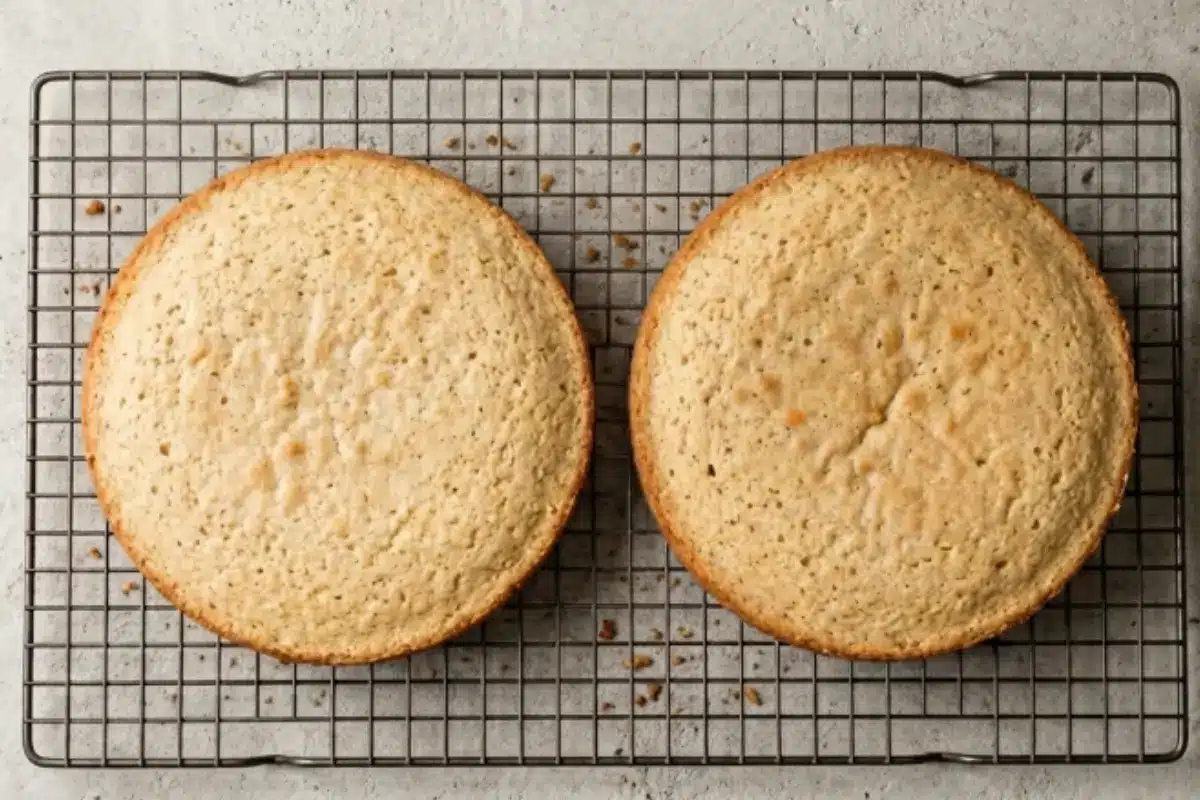
Cool your layers completely. I mean truly, entirely cool. This is non-negotiable, and I'll tell you why: warm cake + warm frosting = frosting melts right off. You'll be left with a sad, gloppy mess and regret. Cold cake + cool frosting = stability.
If you're frosting the same day, let your cake cool on the counter for 30 minutes, then transfer to the fridge for 1-2 hours. Your cake should feel firm and cool to the touch. If you're baking the day before, even better let it sit overnight in the fridge.
You'll know it's ready when you can touch the cake and it doesn't warm your finger.
Step 2: Level Your Cake (The Setup)
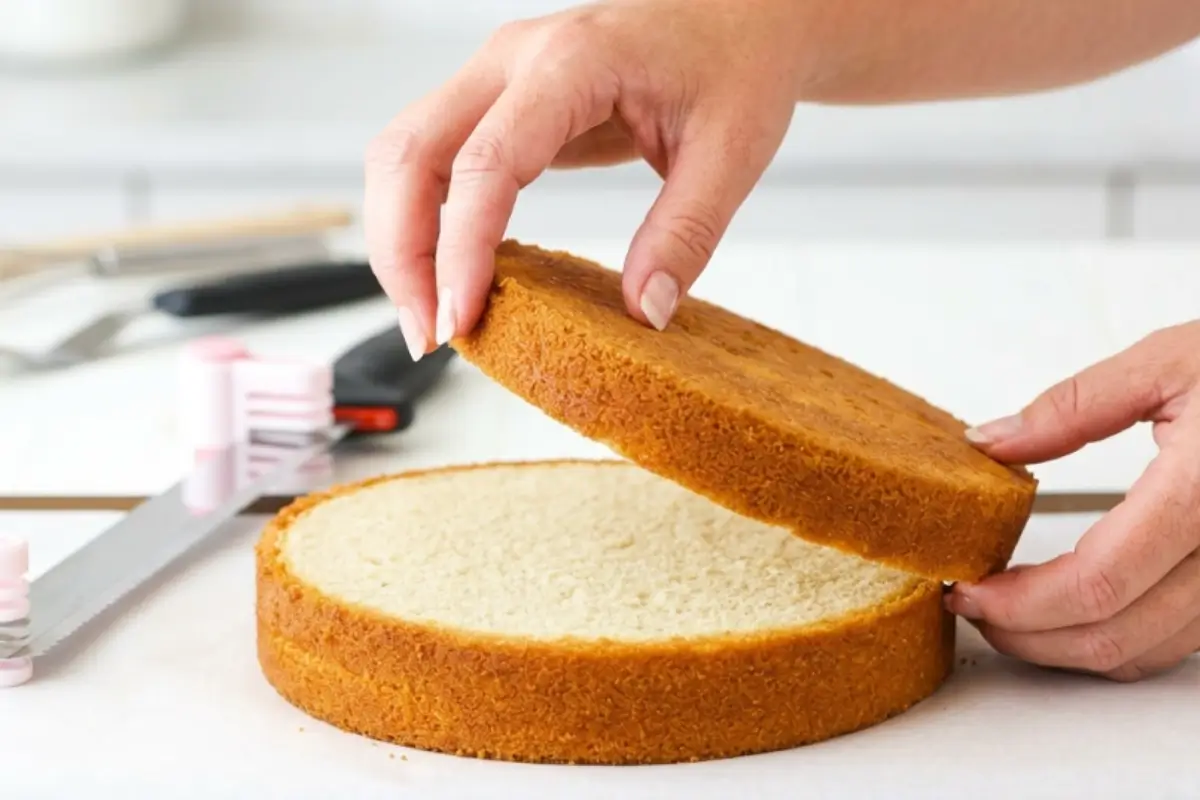
If your cake layers have a dome (most do), gently level off the top with a serrated bread knife. Use a gentle sawing motion, no pressure, just let the knife do the work. This looks scary but takes about 30 seconds.
Why? Flat layers stack evenly, so frosting distributes smoothly. Domed layers create air pockets and sadness.
No cake leveler? That bread knife is your friend. I've leveled cakes with kitchen knives for years.
Step 3: Prep Your Work Station (The Stability)
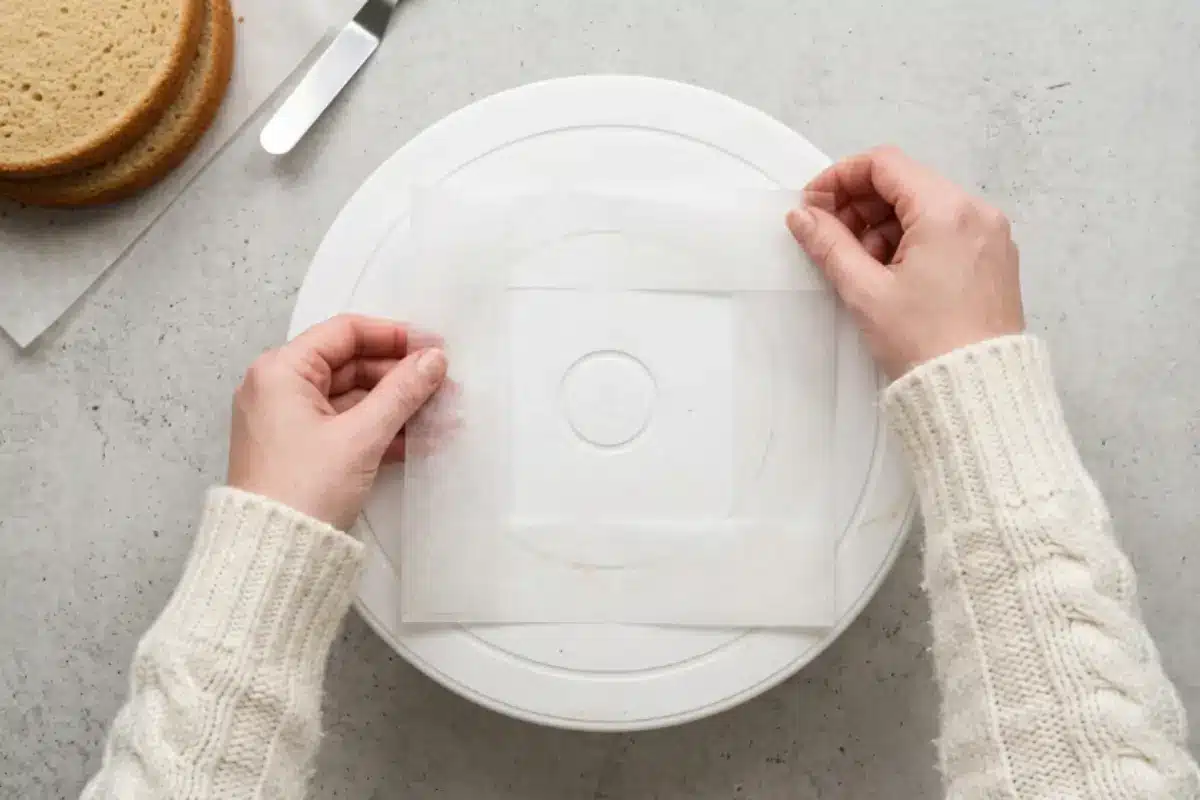
Set yourself up for success. Use a cake turntable if you have one rotating the cake makes frosting so much easier. But if you don't have a turntable? Place your cake on a sturdy plate and rotate the plate yourself as you work. It's not as smooth, but it works.
Place strips of wax paper around the edge of your serving plate. This keeps your platter clean, and you'll pull the strips out before serving. Your presentation stays beautiful.
Here's the trick I learned the hard way: your workstation matters almost as much as your technique.
Step 4: The Secret Anchor Move: The Anti-Slide Trick
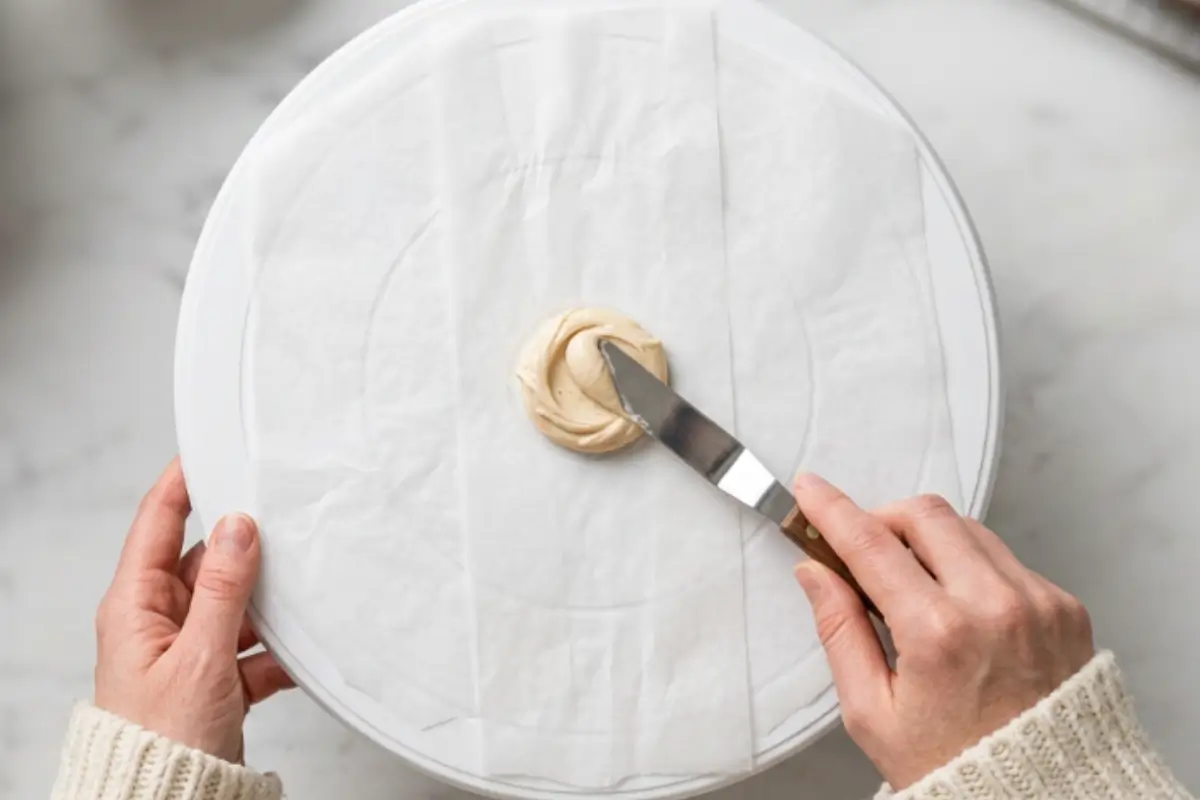
This is the single trick that changed my frosting mistakes.
Dollop a small amount of frosting in the center of your cake board or plate, just a teaspoon or two. Now place your first cake layer on top. This "glues" your cake down so layers won't slide as you frost.
You'll feel the cake settle and lock into place. That's the magic. That's your safety net.
Step 5: Layer and Fill (The Assembly)
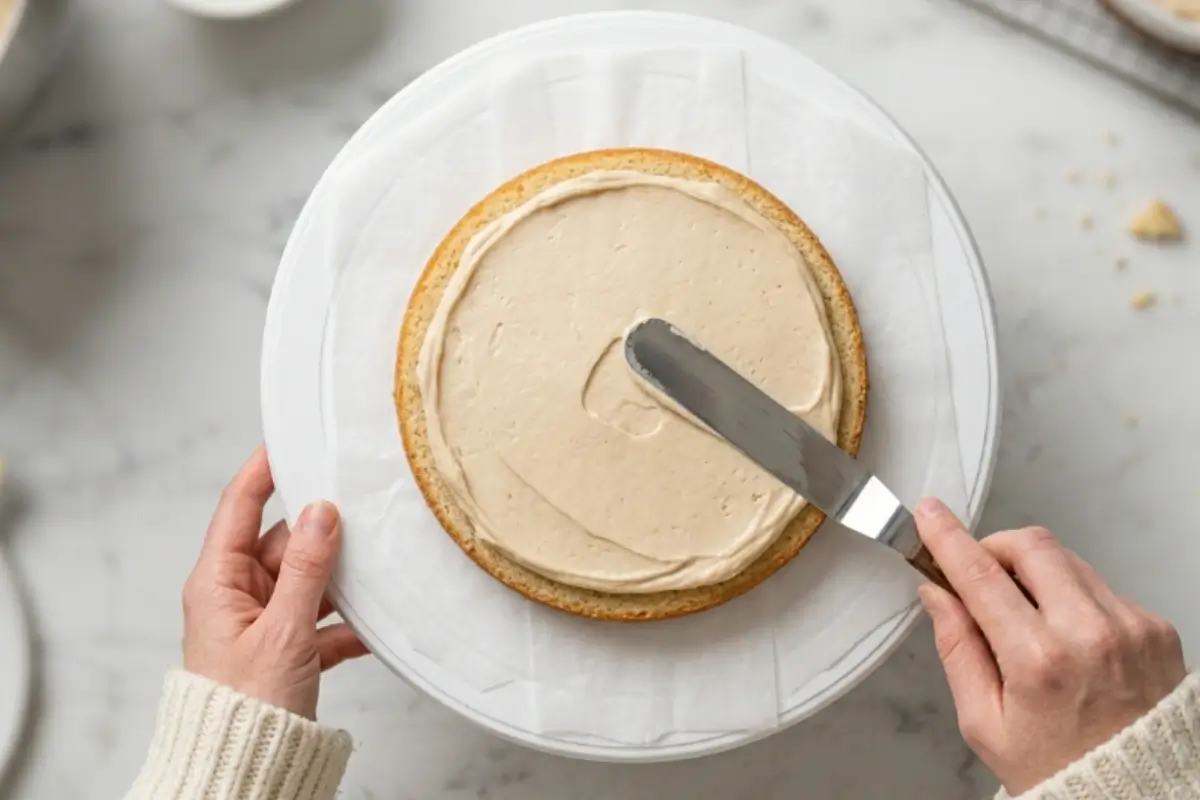
Spread frosting on top of the first layer about ½ inch thick, and stop just before the edge. Why stop before the edge? Because frosting will squish out when you press the next layer down, and you want a thin, even layer, not a gloppy mess.
Place the second layer on top, align it gently, and press down with the palm of your hand. Repeat for remaining layers.
If it looks messy here, that's completely normal. This is assembly mode, not presentation mode.
You'll feel the layers lock together solid, stable, ready.
Step 6: The Crumb Coat (The Primer)
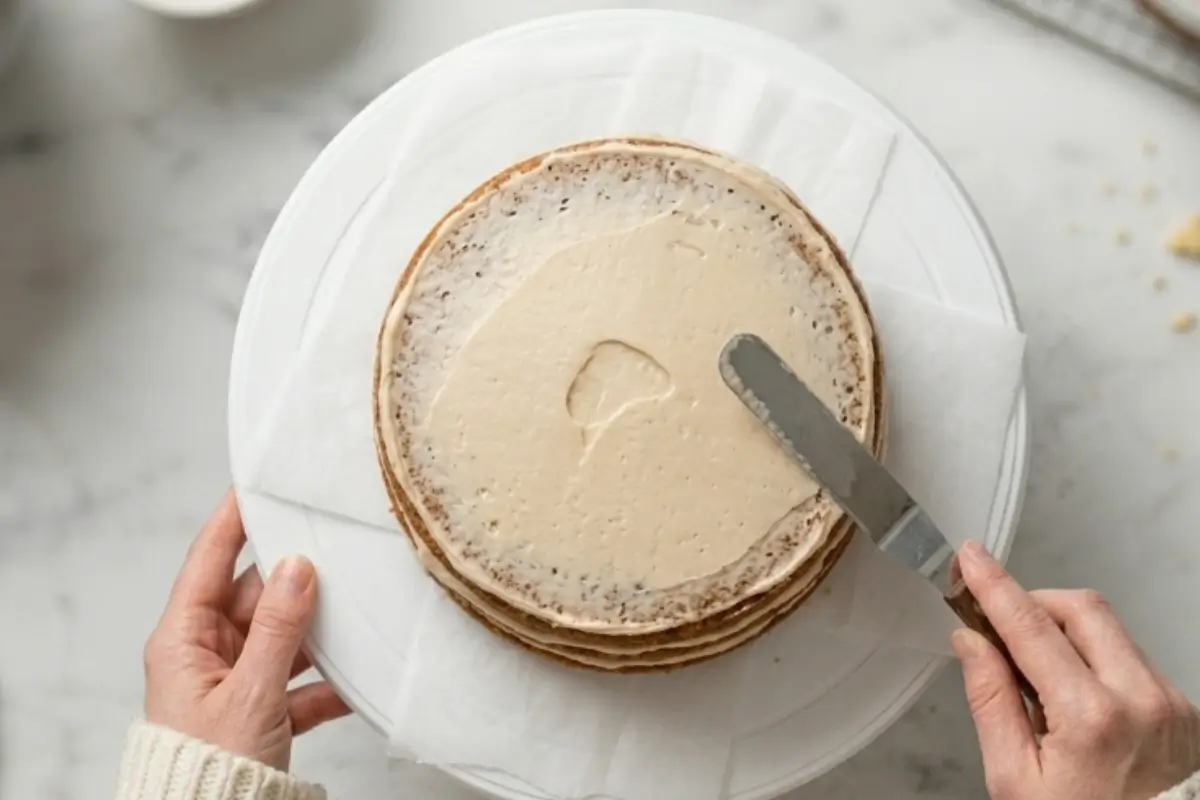
Apply a thin layer of frosting all over the cake top and sides. I mean thin. You should almost see the cake color through it. Think of it like primer on a wall, not paint.
Why? This thin coat seals in loose crumbs so your final frosting looks pristine. Without it, your final frosting looks speckled and messy. With it, it looks intentionally smooth.
Refrigerate for 20-30 minutes (or 10-15 minutes in the freezer). As the frosting chills, it hardens, creating a stable base for your final coat.
You'll pull it out and feel it firm up but still not hard enough.
Step 7: The Final Frosting (The Canvas)
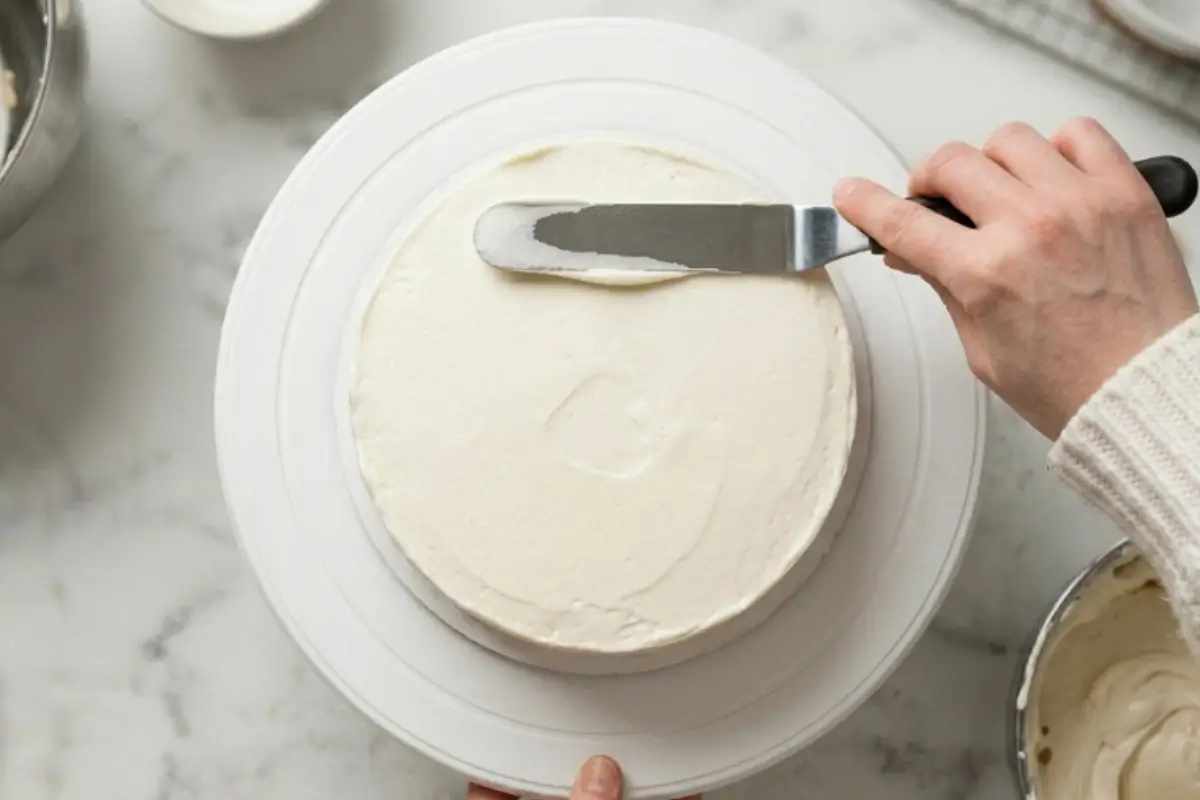
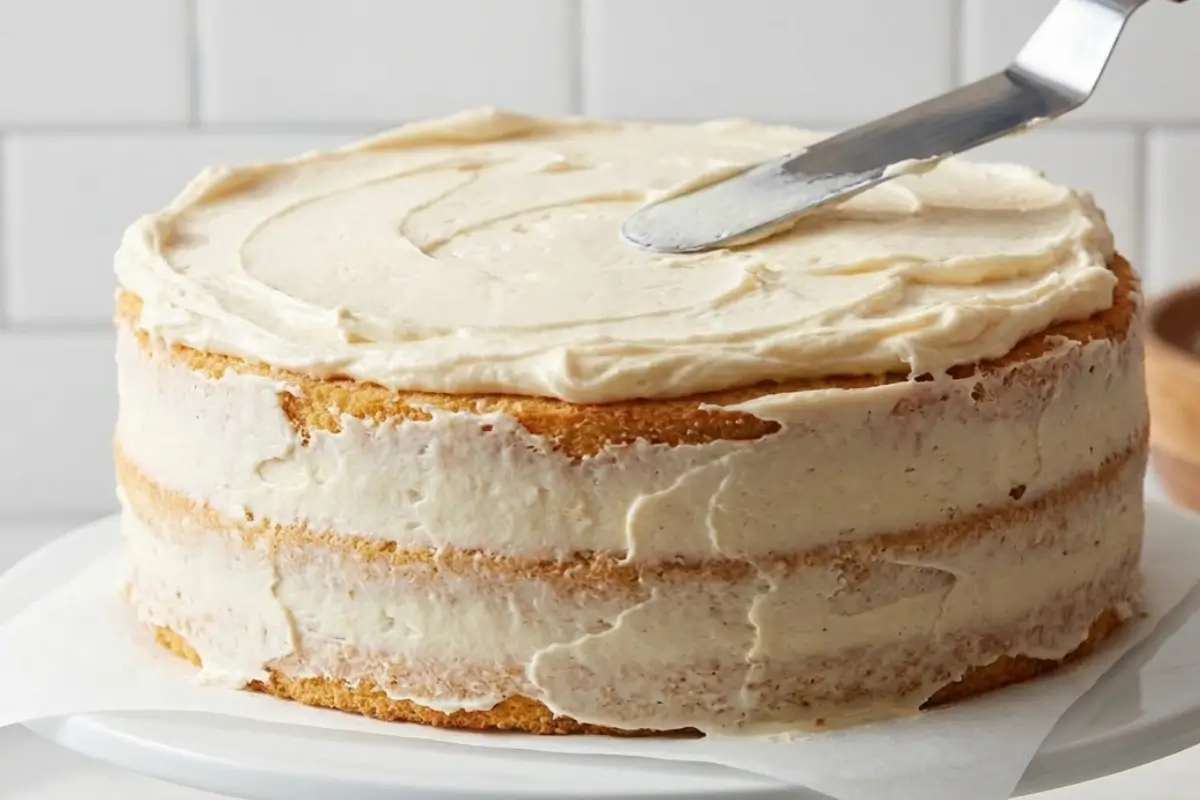
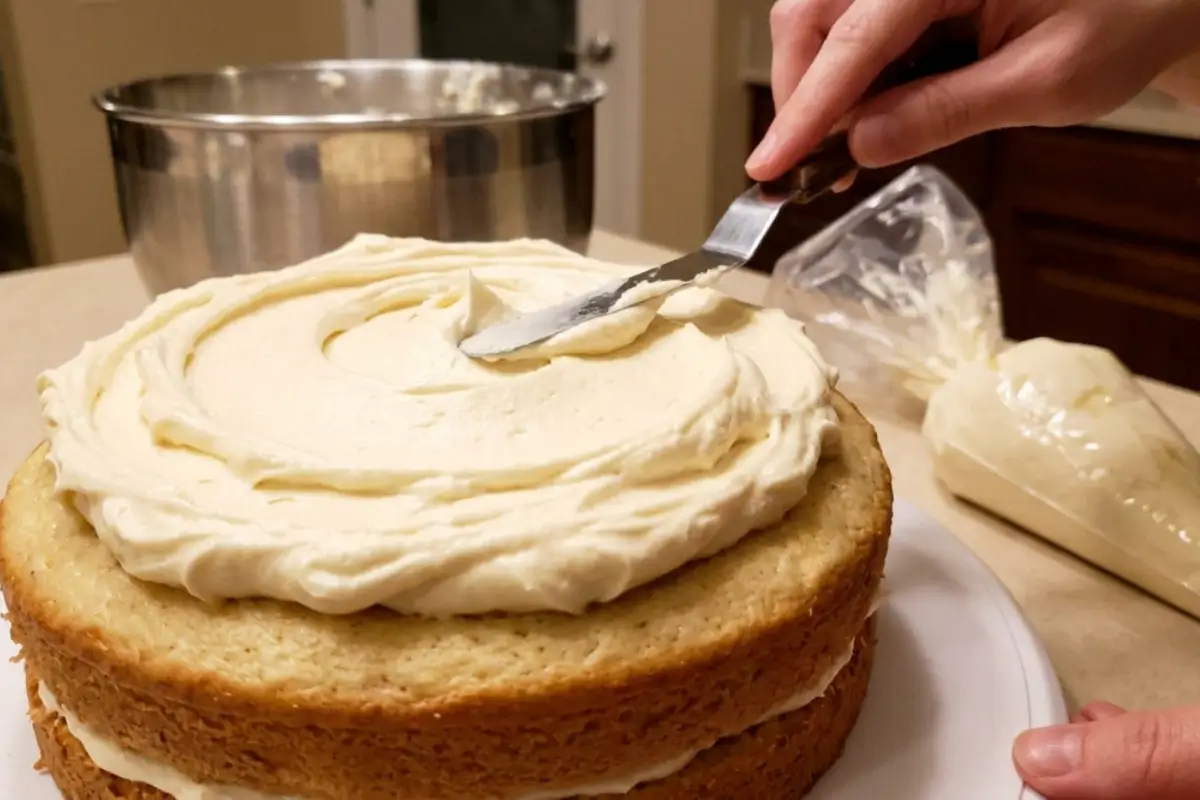
Remove the cake from the fridge. Apply a generous amount of frosting to the top ½ to ¾ inch thick. Spread from the center outward, letting excess fall over the sides.
Don't be shy here. Thin frosting leaves cake showing; generous frosting covers evenly.
Step 8: The Sides (The Smooth Part)
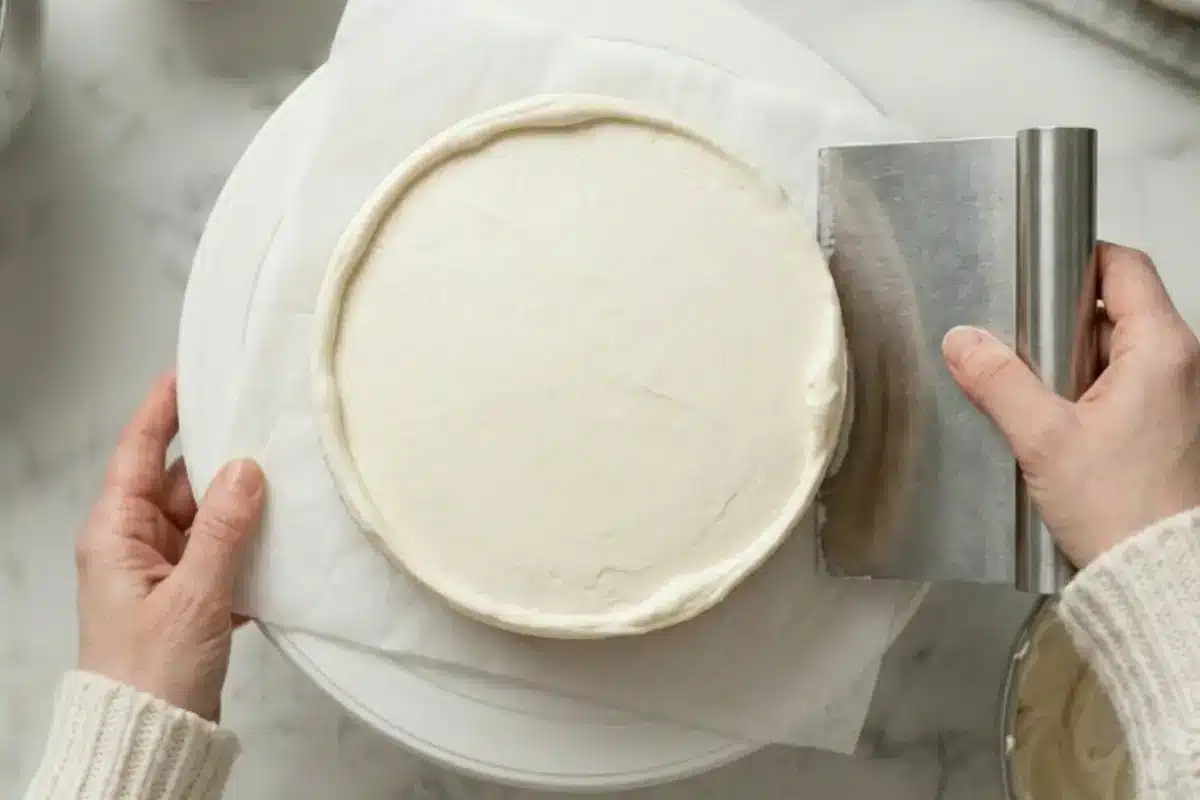
Apply frosting to the sides using the same technique: center outward, gentle pressure, letting excess drip down.
Now comes the smoothing. If you have a bench scraper or offset spatula, great. Use it to smooth the frosting, working your way around the cake. If you don't, use a straight-edge spatula or even a long knife. It all works.
Hold your tool at a slight angle and let the frosting slide smoothly under it. You're not pushing hard you're guiding.
If this isn't perfectly smooth, that's part of the charm. Rustic frosting is absolutely, completely beautiful.
You're closer than you think. Keep going.
Step 9: The Finishing Touch (The Top)
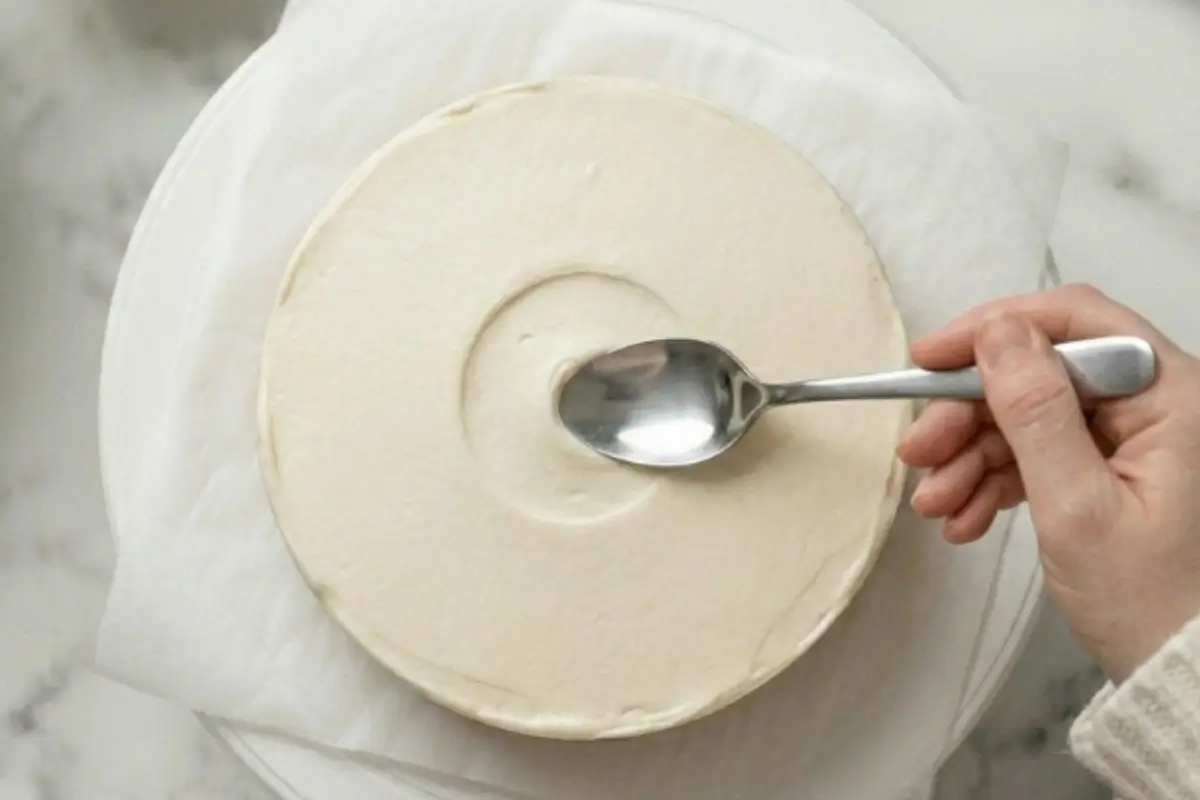
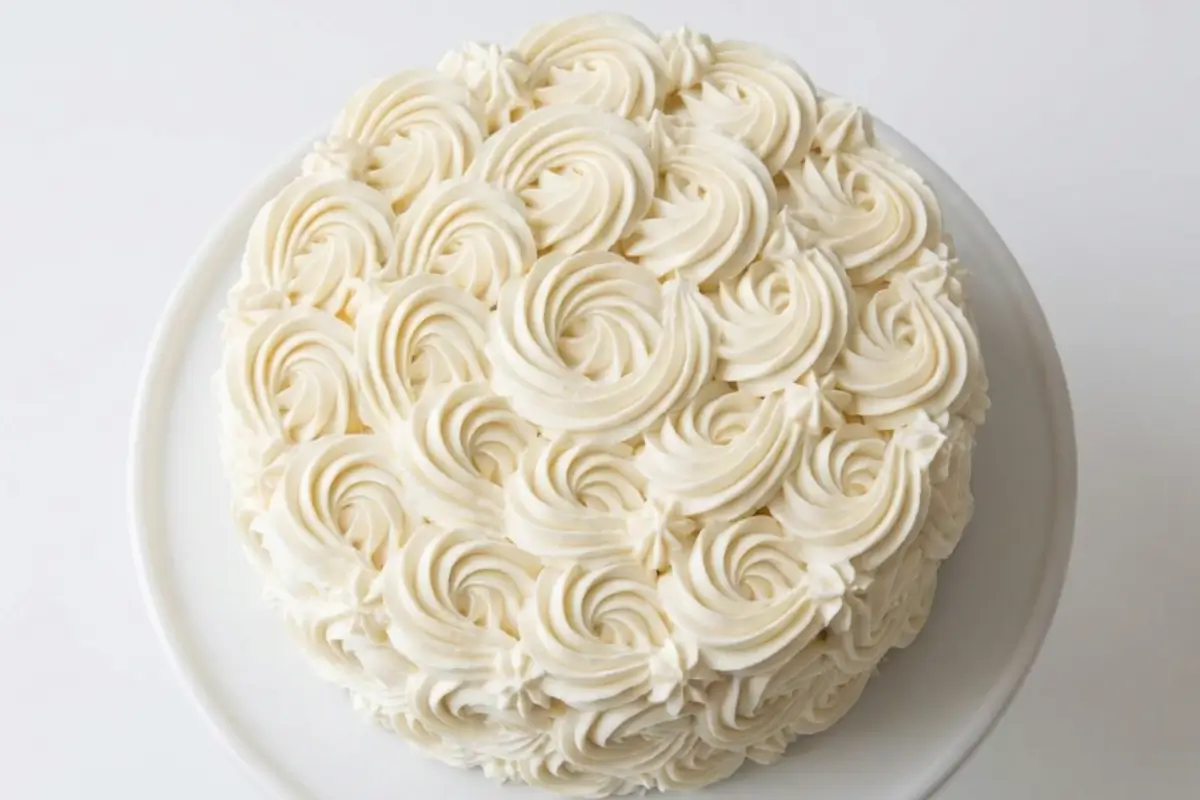
Here's where the magic happens. Optional: add a simple swirl on top with the back of a spoon. Start at the center, push outward, twist slightly, and lift. Repeat in a spiral pattern.
Why? Swirls hide imperfections and look intentional almost effortless, even if it took a few tries.
If you prefer smooth, take a hot spatula (dip it in hot water, wipe it dry), and smooth the top gently. The slight heat helps frosting glide smoothly.
Step 10: Chill and Set (The Finale)
Refrigerate for at least 1 hour before slicing. Frosting firms up, making clean slices possible. Your cake holds its shape.
You've done beautifully. Now let this masterpiece rest.
From Fear to Frosting
Many of us stand in the kitchen feeling intimidated by frosting. I ruined my first layer cake twice: once because I didn't cool it, and once because I was too impatient with the crumb coat. I felt like a failure.
But here's what I learned: those "failures" taught me everything I needed to know. And now, every cake I frost is a little easier, a little smoother, and a whole lot more joyful.
This guide was built for you: the beginner baker, the busy mom, the person who's terrified of mess and perfectionism. By the end of this, you won't just know how to frost a cake. You'll understand why each step matters. And that's the real magic.
Let's do this together.
The Key to Your Frosted Cake And Why They Matter
This part is simpler than it looks. Let's start by choosing your frosting.
Choosing Your Frosting
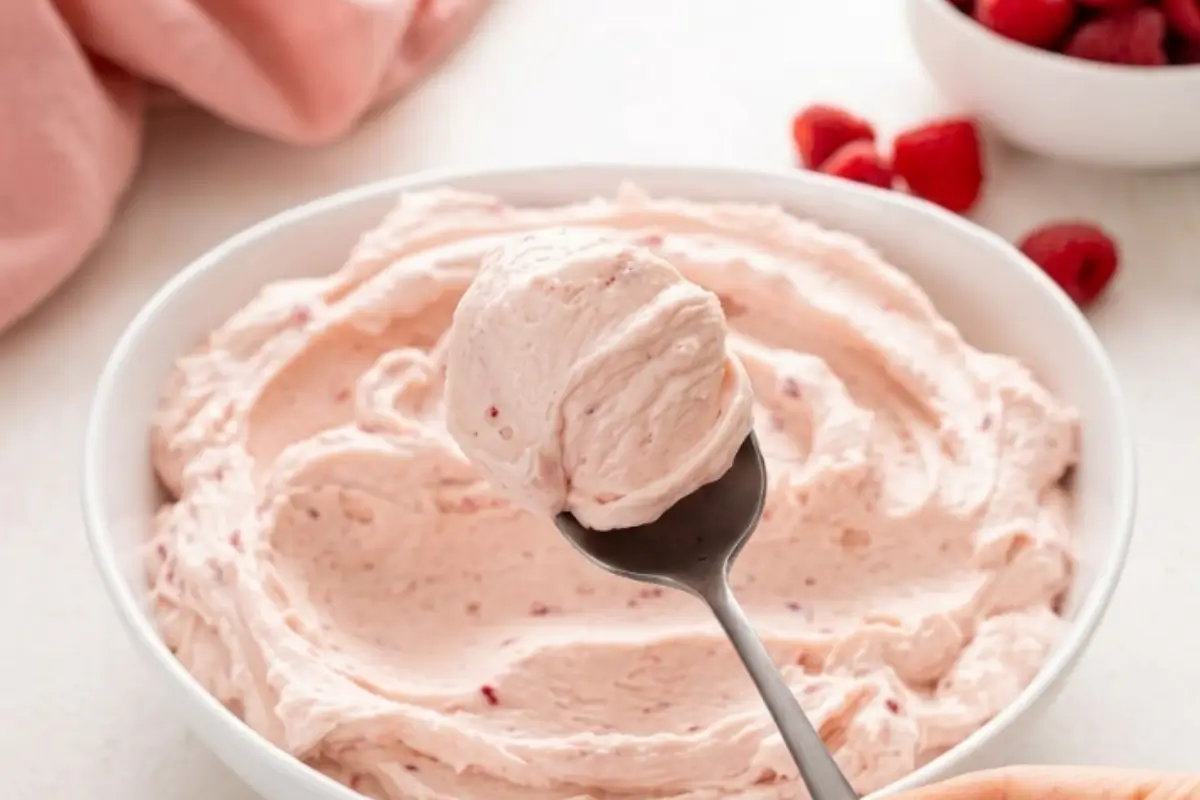
Homemade buttercream frosting is one of those recipes that sound complicated, but it isn't. It's four ingredients, ten minutes, and a result that makes people close their eyes when they taste it. I learned that from watching Nonna.
American Buttercream: The Beginner's Soulful Friend. Easier for beginners. Sweet, forgiving, incredibly reliable. It's butter, powdered sugar, a splash of milk, and vanilla. You whisk it until fluffy, and it holds its shape beautifully.
This is what I recommend if you're decorating a cake for the first time it won't surprise you or slide around. You'll know it's right when it looks pale and fluffy, like soft-serve ice cream.
Cream Cheese Frosting: The Tangy Joy. Tangier, slightly softer, perfect for red velvet and carrot cakes. This one needs refrigeration, but oh, the flavor. It's a touch more delicate to work with, but not difficult.
If you're using cream cheese, make sure it's room temperature before you start mixing, and don't overwork it gentle mixing keeps it silky instead of greasy.
Swiss Meringue Buttercream: The Silky Choice. Silky, stable, less sweet than American buttercream. I know it sounds intimidating, but it's actually quite forgiving once you understand the method.
It takes practice, and it's temperature-sensitive, but I promise the payoff is worth it. You'll know it's ready when it looks smooth as silk.
The Essentials And Clever Workarounds
Butter (softened, room temperature). No substitutions here for the most authentic flavor. If you're using vegan butter, make sure it's actually soft not watery, not rock-hard. Earth Balance or Miyoko's are my go-to brands because they don't separate. Dairy-free? Same rules apply.
Powdered Sugar (sifted): Sifting removes lumps and makes your frosting silky instead of grainy. You'll know the frosting is right when it has no gritty texture at all.
Milk or Non-Dairy Milk (unsweetened): A splash (literally 1-2 tablespoons) loosens the frosting to a spreading consistency. If you're using dairy-free milk, unsweetened is key the sweetness comes from the powdered sugar, and extra-sweet milk will throw off the balance.
Vanilla Extract (pure): A teaspoon or two, depending on your preference. This is where magic happens it's subtle but essential.
No Mixer? No Problem. Whisk by hand for about 5 minutes until the frosting is pale and fluffy. It takes a little more elbow grease, but it absolutely works. I've done this in cabins, at my friend's house, in kitchens that barely had counter space.
Why This Works: The Science Behind the Joy
Now you understand the steps. Let me tell you why each one matters.
Cool cake + chilled frosting = stability. Warm frosting melts on warm cake because the primary ingredient is fat, and fat melts when the temperature rises. Cold frosting hardens slightly, holding its shape. This is physics, and physics doesn't lie.
The crumb coat is your primer. Without it, your final frosting picks up loose crumbs as you spread, leaving visible specks. With it, crumbs are sealed under a thin layer, and your final coat sits on a smooth, clean surface.
Chilling between steps is essential. When you refrigerate assembled layers before frosting, the butter in your frosting hardens. Hard frosting doesn't slide or shift. It holds firm. This is why every baker agrees on this step: it's not just tradition, it's engineering.
Room-temperature frosting spreads like a dream. Cold frosting is stiff and tears the cake. Overly warm frosting is soft and slides everywhere. Room temp is the sweet spot it spreads smoothly without tearing.
Gentle pressure matters. When you frost, you're not smearing or pushing. You're guiding frosting across the cake with a light hand. Heavy pressure creates air bubbles and lumps. Light pressure creates smoothness.
This is the Frosting consistency guide. Trust it. Once you understand it, you can adapt it to your kitchen, your climate, your timing.
Elena's No-Fail Tips
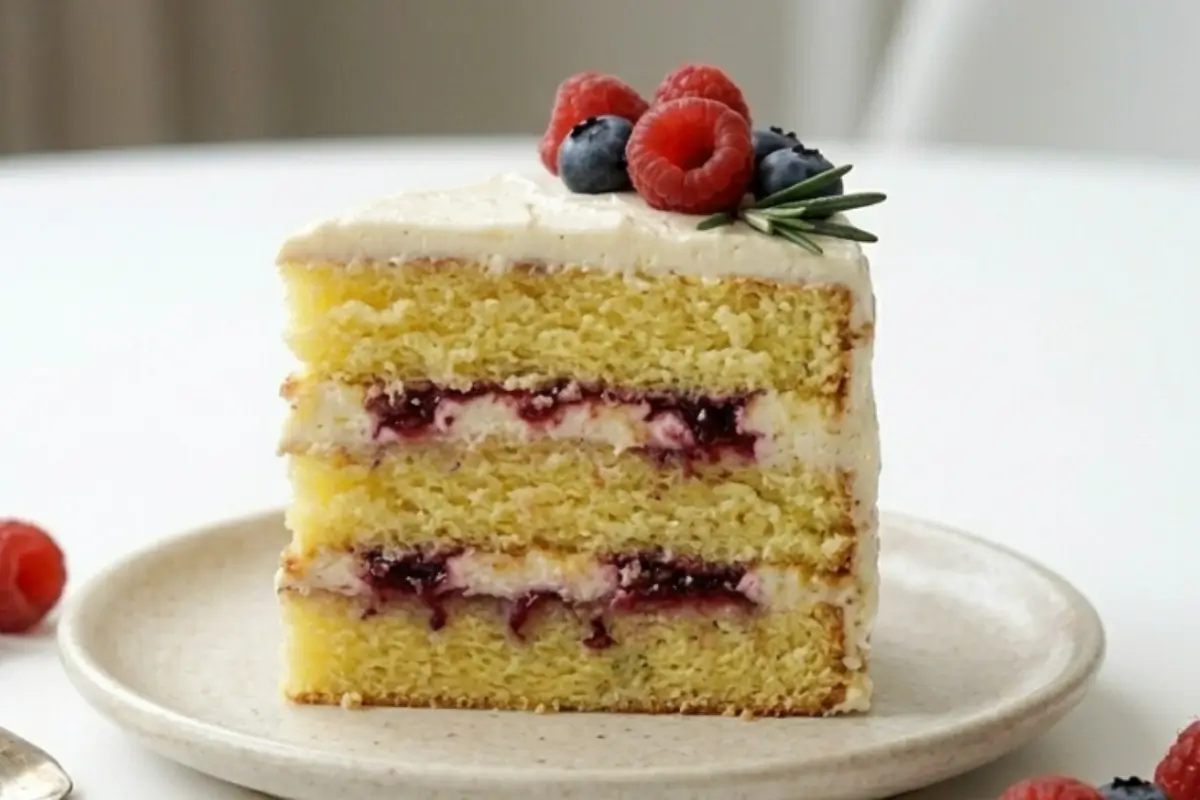
These are the questions I get asked most, and the answers that changed everything.
Why Does My Frosting Look Lumpy or Grainy?
Problem: Overmixing or cold frosting, or not sifting your powdered sugar.
Solution: Mix on low speed for 2 minutes after adding powdered sugar. High speed traps air bubbles and creates graininess. Low speed incorporates sugar gently. If lumps remain, let the frosting sit at room temperature for 5 minutes, then mix again gently.
Most people miss this step, but it makes all the difference: sift your powdered sugar. Just do it. It removes lumps before you even start mixing.
You'll know it's right when it looks silky, not gritty.
Why Are My Layers Sliding All Over?
Problem: No frosting anchor + warm cake + no chilling between layers.
Solution: Remember that dollop of frosting under the first layer? That's your safety net. It genuinely solves 90% of sliding problems.
Prevention: After stacking layers but before final frosting, chill for 10-15 minutes so they lock in.
You'll feel the layers firm up and settle. That's when you know it's safe to frost.
Can I Prep This Ahead?
Yes, and honestly, this is where frosting shines.
Make frosting: up to 3 days ahead (store in the fridge, bring to room temp before using)
Frost layers: best done the same day, but 1 day ahead works fine (cover loosely, refrigerate)
Fully frosted cake: 2-3 days in the fridge, stays fresh and delicious
Freeze: up to 3 months (wrap carefully in plastic, thaw in the fridge overnight)
This means you can make Saturday's cake on Friday afternoon. You can frost Thursday morning and serve Saturday evening. You have options.
Bonus: If you're using vegan or dairy-free frosting, these are actually more stable for make-ahead because they're less temperature-sensitive.
What Type of Frosting Should I Use?
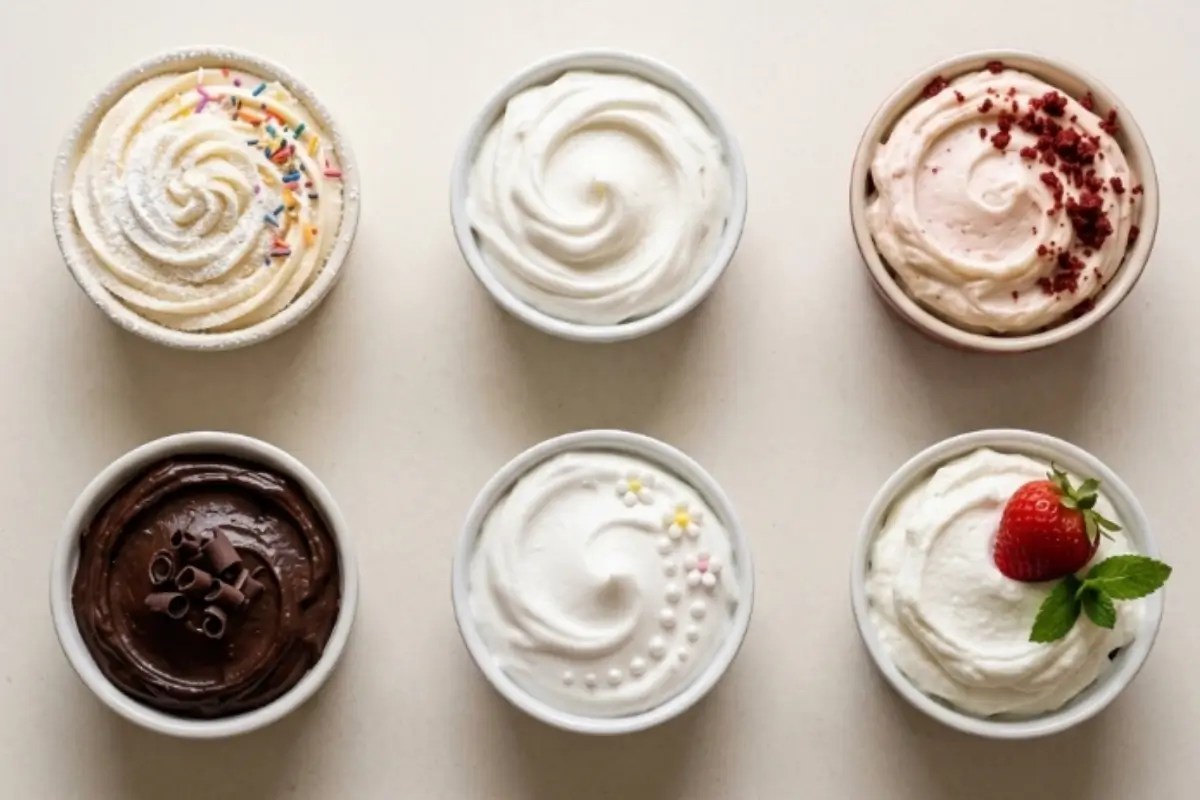
Choose based on your cake, not your skill level. All three work beautifully.
American: Best for vanilla, chocolate, simple cakes (sweet, forgiving)
Swiss: Best for elegant cakes, special occasions (silky, less sweet)
Cream Cheese: Best for red velvet, carrot, lemon cakes (tangy, perfect pairing)
My go-to is American buttercream because it's foolproof. But that's just me, in my kitchen. Your kitchen, your choice, your cake, your win.
My Frosting is Too Soft/Runny. Can I Fix It?
Problem: Frosting is too warm OR too much liquid was added.
Solution: Chill it in the fridge for 15-20 minutes, then mix again. You'll feel it firm up as it cools.
Prevention: Use room-temperature butter (not melted, not cold). Keep your kitchen cool while frosting. In hot weather, work in shorter bursts and chill between steps.
If you live in a hot climate, this is where patience pays off. Take your time, chill between layers, and you'll get beautiful results.
Saving a Little Joy for Tomorrow
Cake storage tips are the easy part; you've already done the hard work.
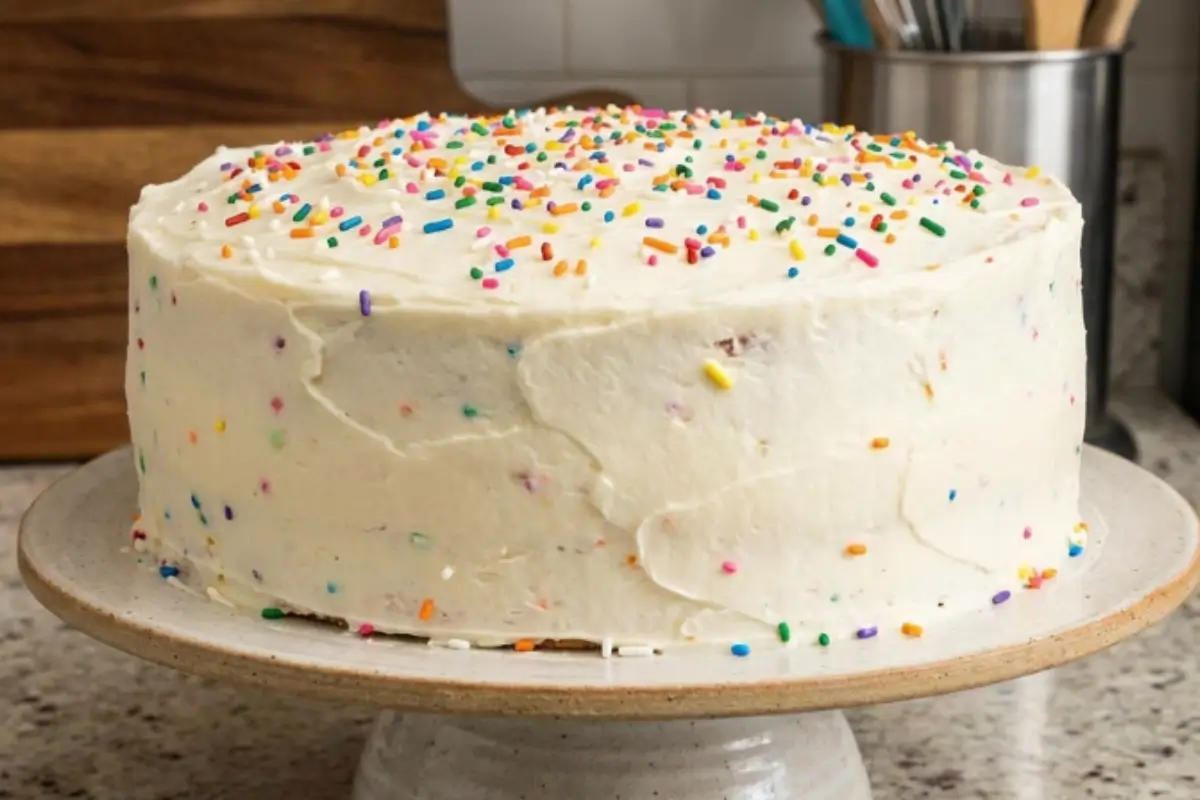
Room Temperature Storage
American buttercream frosted cake: up to 2 days, covered loosely (loose cover lets the cake breathe; airtight seals trap moisture and make the cake dense)
Refrigerator Storage
Any frosted cake: up to 4-5 days in the fridge. The frosting stays silky and creamy.
Freezing for Later (Make-Ahead Magic)
Unfrosted cake layers: 1-2 months (wrap tightly, label with date)
Frosted cake: up to 3 months (wrap carefully in plastic wrap, prevent ice crystals)
Thaw: Room temperature 2-3 hours, OR fridge overnight
This means you can frost on Tuesday and serve on Saturday without stress. You can make layers weeks ahead and frost them fresh.
Fresh Berry Layer Cake
Ingredients
Method
- Preheat the oven to 350°F (175°C) and grease two 8-inch round cake pans.
- Whisk together the flour, baking powder, and salt in a medium bowl.
- In a large mixing bowl, beat the butter and granulated sugar until light and fluffy.
- Add the eggs one at a time, mixing well after each, then stir in the vanilla extract.
- Gradually alternate adding the flour mixture and milk to the batter, beginning and ending with the flour.
- Divide the batter evenly between the prepared cake pans and smooth the tops.
- Bake for 30 to 35 minutes or until a toothpick inserted into the center comes out clean.
- Let the cakes cool in the pans for 10 minutes before transferring them to a wire rack to cool completely.
- For the frosting, beat the softened butter until smooth and creamy.
- Gradually add the powdered sugar, vanilla extract, and heavy cream, beating until light and fluffy.
- Place one cooled cake layer on a serving plate and spread a layer of frosting on top.
- Add the second cake layer and use the remaining frosting to frost the top and sides of the cake smoothly.
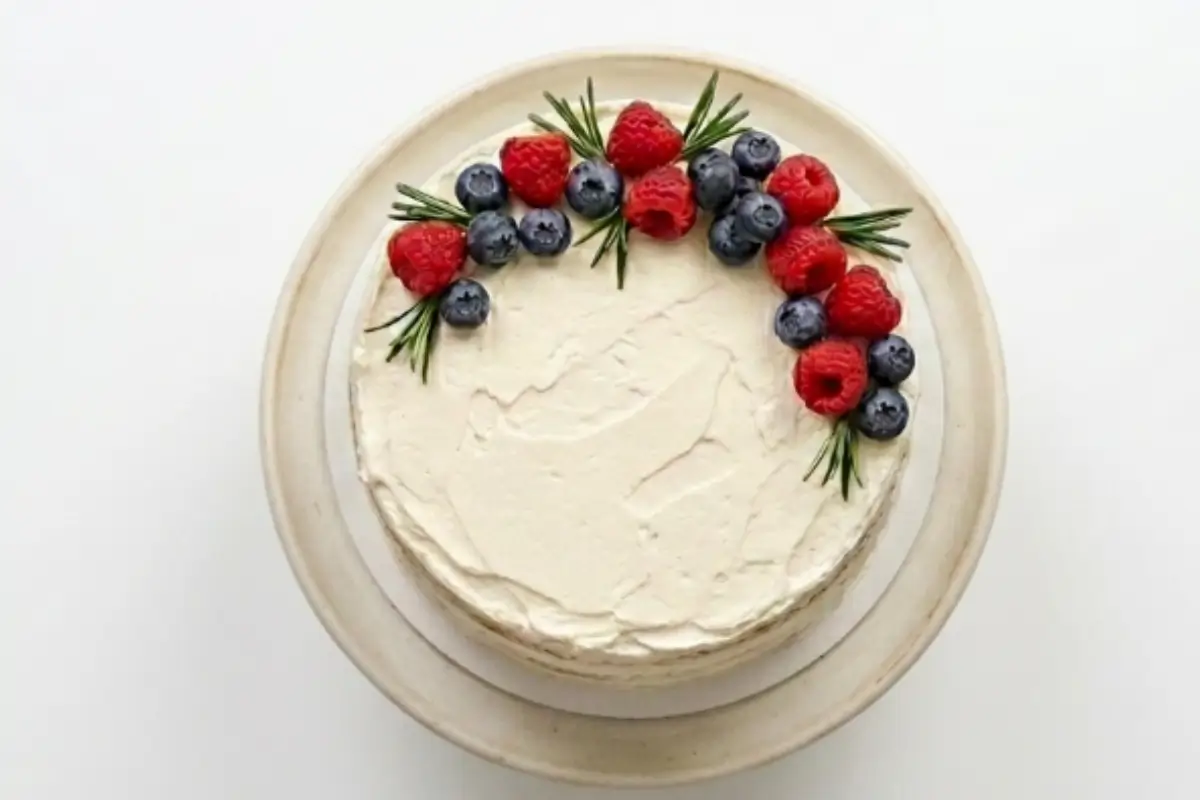
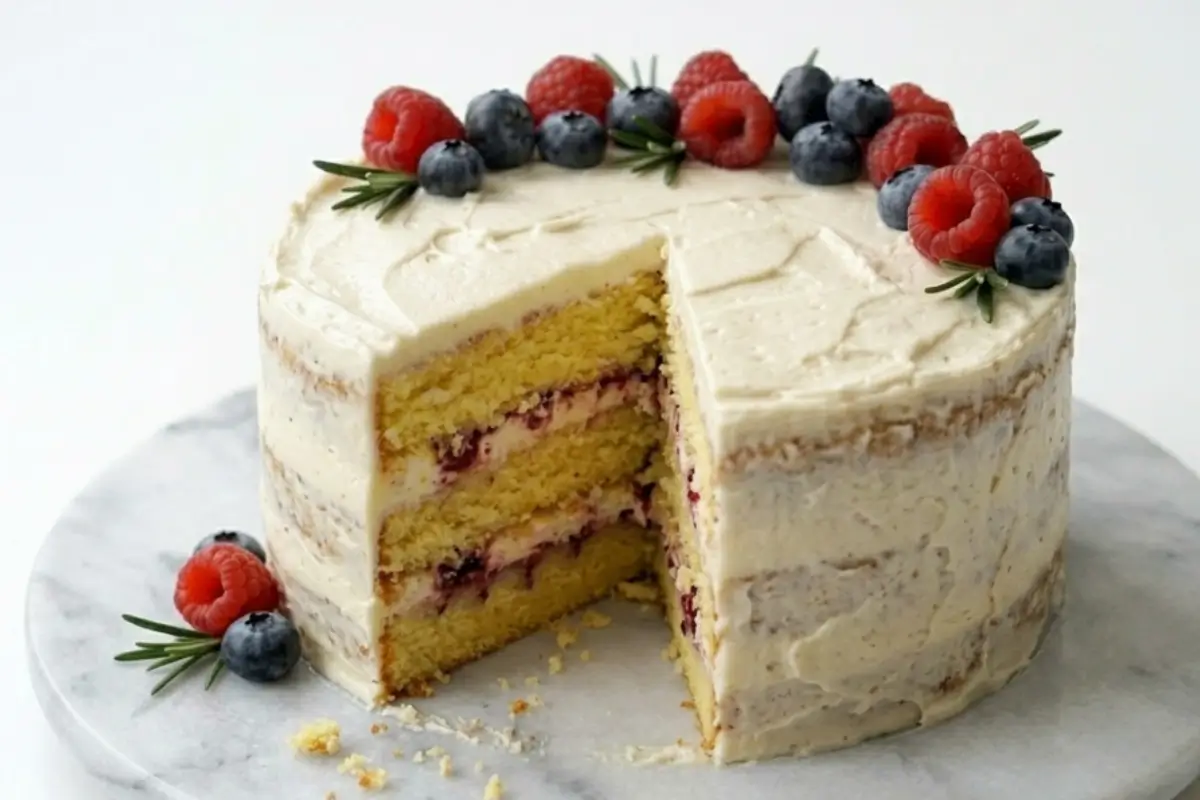
- Arrange the fresh blueberries, raspberries, and rosemary sprigs in a beautiful wreath around the top edge of the cake.
Notes
Making Sweet Memories
Do you remember my Nonna's kitchen? That gentle rhythm of the wooden spoon? That cake wasn't perfect. It had swirls that weren't symmetrical. The layers weren't exactly level. But it was made with love, in her kitchen, on her terms.
That's what your frosted cake is.
Your frosting doesn't have to look like a bakery masterpiece. It just has to be made with intention, in your kitchen, at your own pace. That's what makes it beautiful. Maybe your swirls aren't perfect. Maybe there's a small crack where you smoothed too much. Maybe your layers are slightly uneven.
I promise you: nobody will notice but you. And you know what? They won't care anyway. Because they're going to eat this cake you made, and they're going to be so grateful.
Now go frost that cake. Share a photo in the comments. I want to see your frosting win, imperfect swirls and all. Your cake is going to be loved, celebrated, and devoured. And you're going to realize: you're actually really good at this.
You've absolutely got this.
[…] you store a frosted cake, you must know what kind of frosting you are working […]