
Salted caramel filled cupcakes are the kind of thing that make people stop talking mid-bite.
You know that moment when someone takes a bite of something you made, goes quiet for just a second, and then looks at you with that expression? The one that says, You made this? That's the moment these cupcakes live for.
I think about my Nonna's pastries when I make these. She used to fill small fried dough pockets with fig jam nothing fancy, just a little sweetness tucked inside. As a child, I couldn't understand how the jam got in there. It felt like a magic trick. Like the best part was the secret.
That's what a filled cupcake is, really. A secret. A little hidden joy waiting for someone to find it.
For a long time, I assumed caramel was for professionals. It felt dangerous—hot sugar, candy thermometers, the stories I'd heard about burned batches and seized pots. I kept my distance.
And then one afternoon I decided to stop being afraid, and I learned something that changed everything: caramel is not as complicated as the internet makes it look. You just need to know what to watch for.
Now these salted caramel-filled cupcakes are one of the most-requested things I make. And today, this recipe is yours. I'm going to walk you through every single step the caramel, the cupcakes, the filling technique that nobody talks about clearly enough, and the frosting. Nothing left out. Nothing glossed over.
Let's go.
The Ingredients for Salted Caramel Filled Cupcakes and Why They Each Matter
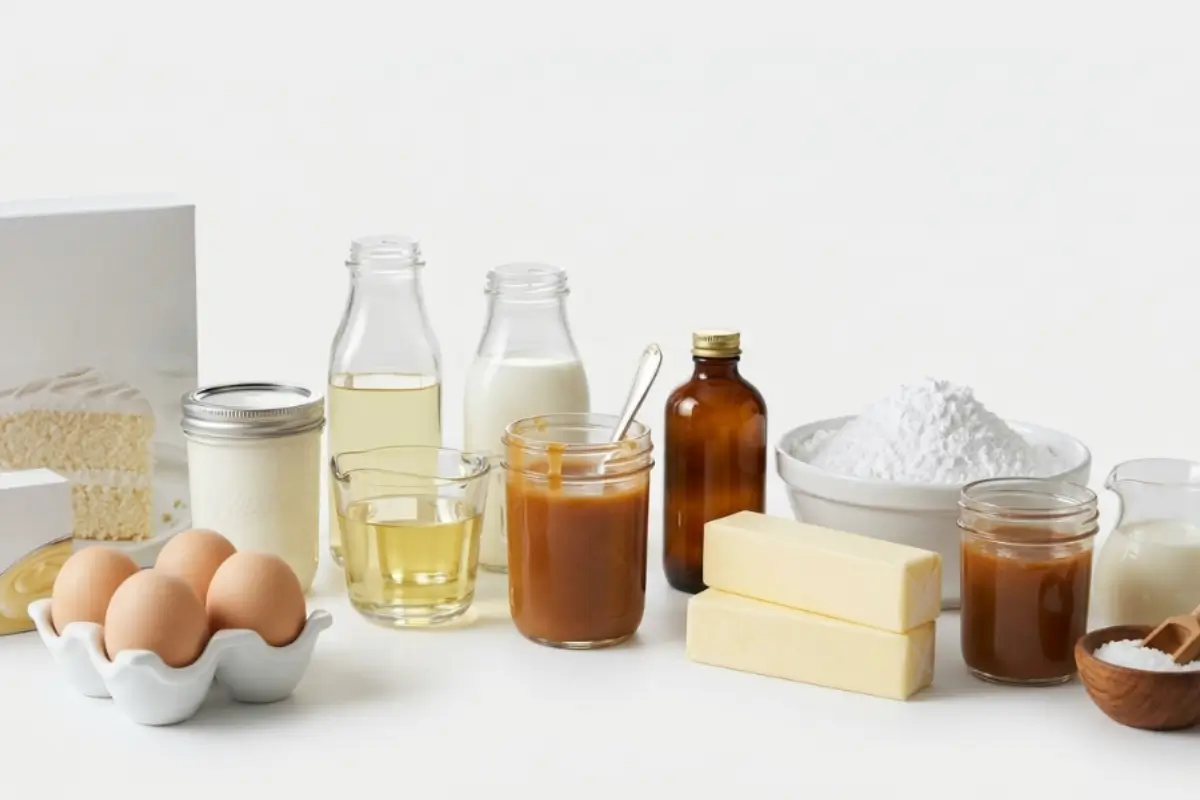
This part is simpler than it looks, I promise. We're working with three component groups the vanilla cupcake base, the salted caramel filling, and the buttercream frosting, and every ingredient has a purpose.
For the Vanilla Cupcake Base:
All-purpose flour: The structure of your cupcake. Spoon it into the measuring cup rather than scooping directly; scooping packs the flour and leads to a dense, heavy crumb.
Baking powder: The lift. Make sure yours isn't expired; old baking powder is the quiet culprit behind flat cupcakes.
Salt: It amplifies every other flavor in the base. Don't skip it.
Unsalted butter, softened: room temperature, genuinely softened. Butter that's too cold won't cream properly; butter that's too warm will make the batter greasy.
Granulated sugar: Sweetness and moisture retention. Creamed with the butter, it creates tiny air pockets that give you a light, tender crumb.
Eggs, room temperature: Cold eggs can cause the batter to curdle. Take them out of the fridge 30 minutes before you start.
Vanilla extract: Pure, not imitation, if you can. This is the background note that makes the whole cupcake taste baked with love.
Whole milk, room temperature: Whole milk gives you moisture and richness. Again, room-temperature cold liquids shock the batter.
Sour cream: My secret for keeping the cupcakes tender for days. It adds just enough tang and fat to keep the crumb moist without making it heavy.
For the Salted Caramel Filling:
Granulated sugar: The base of all caramel. It needs heat and patience, nothing else.
Heavy cream, warmed: Must be warm when it hits the caramel. Cold cream going into hot sugar is what causes violent bubbling and potential seizing.
Unsalted butter: Adds richness and gloss to the caramel sauce.
Flaky sea salt: not table salt. Flaky sea salt dissolves slowly and creates little bursts of savory contrast in every bite. Maldon is my favorite, but any quality flaky salt works beautifully.
A note on store-bought caramel: You are absolutely welcome to use store-bought here no judgment, truly. Look for a thick, scoopable caramel sauce (not a thin caramel topping syrup).
Quality supermarket brands work wonderfully. Simply warm it gently and stir in a good pinch of flaky sea salt if it isn't already salted. I'll tell you more about this in the filling section.
For dairy-free: Substitute full-fat coconut cream for the heavy cream in the caramel. The flavor shifts slightly warmer, a little coconutty, but it's genuinely delicious.
For the Salted Caramel Buttercream:
Unsalted butter, softened: Same rule as above: room temperature. This is the most important variable in any buttercream.
Powdered sugar: sifted. Unsifted powdered sugar means lumpy buttercream.
Salted caramel sauce: Cooled to room temperature. We'll use part of what we made for the filling.
Heavy cream: for adjusting consistency. Add it a little at a time.
Flaky sea salt: A pinch, stirred in, plus more for sprinkling on top. That final flourish of salt on the frosting is what turns these from "really good" to the kind of cupcakes people ask about for weeks.
You're doing beautifully already let's make the caramel.
How to Make Salted Caramel Filled Cupcakes
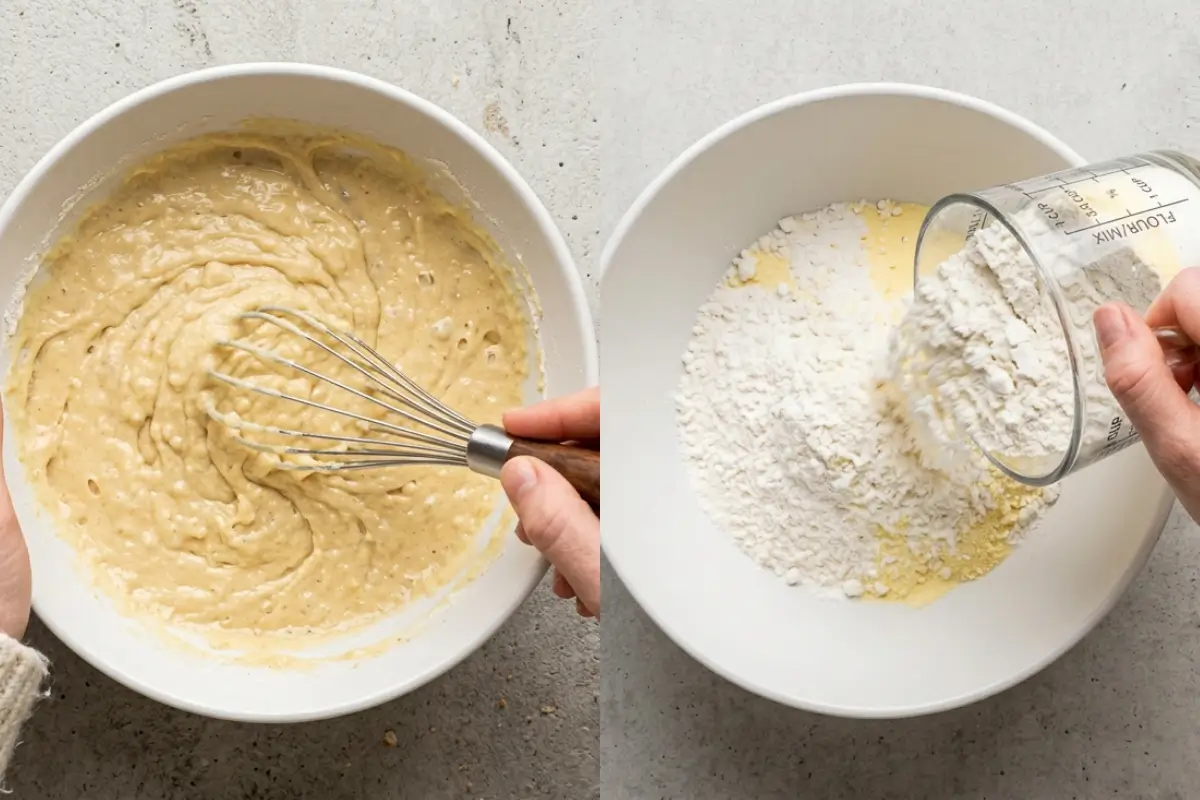
Here's the part everyone overthinks. Let me show you exactly what to watch for no candy thermometer required.
From Scratch: The Visual Method
Here's the only thing you really need to know about making caramel: you're watching for color, not for a number. Color is your thermometer.
Add the sugar to a heavy-bottomed saucepan. A light-colored pan (stainless steel or enameled) is ideal so you can see the color change clearly. Do not stir yet.
Heat over medium heat. The sugar will begin to melt at the edges first. Resist every urge to stir you can gently swirl the pan if the edges are moving faster than the center, but stirring encourages crystallization.
Watch for the color change. It will go through stages: pale gold → light amber → deep amber. You want deep amber—the color of a copper penny or dark honey. At this stage, it should smell like butterscotch and toasted sugar. This is the magic moment.
If yours looks messy here uneven patches, lumpy bits that's entirely normal. Keep the heat and trust the process. It will even out.
Add the warm cream carefully. Pour it in slowly, standing back slightly. The mixture will bubble dramatically. This is normal. Stir gently with a heatproof spatula.
Add the butter and stir until melted and glossy.
Remove from heat. Add the flaky sea salt. Taste. Adjust salt.
Let it cool fully before you use it to fill. Pour it into a glass jar or bowl and let it come to room temperature. This step is non-negotiable I'll explain why in the "Why This Recipe Works" section.
You'll know it's ready to use when it's thick enough to coat a spoon and hold its shape briefly before dripping. It should feel like a thick, pourable sauce not watery, not stiff.
Store-Bought Shortcut
Warm the caramel sauce gently (20 seconds in the microwave, stirred) to loosen it just slightly. Stir in a generous pinch of flaky sea salt. Taste. Let it cool to room temperature before using. That's it you're ready to fill.
Here's the trick I learned the hard way: even the best store-bought caramel needs that pinch of salt stirred in yourself. Pre-salted caramel sauces are rarely salty enough for this recipe. Trust your taste buds.
How to Make the Vanilla Cupcake Base
Now for the cupcake base, and I'll be honest, after the caramel, this feels almost effortless.
Preheat your oven to 350°F (175°C). Line a 12-cup muffin tin with cupcake liners.
Whisk together the dry ingredients: flour, baking powder, and salt. Set aside.
Cream the butter and sugar on medium-high speed for 3–4 minutes, until pale, light, and fluffy. Don't rush this step this is where the lift comes from.
Add the eggs one at a time, beating well after each addition. Add the vanilla extract.
Add the sour cream and mix until just combined.
Add the dry ingredients in three additions, alternating with the milk, beginning and ending with the dry ingredients. Mix until just combined overmixing develops the gluten and makes your cupcakes tough.
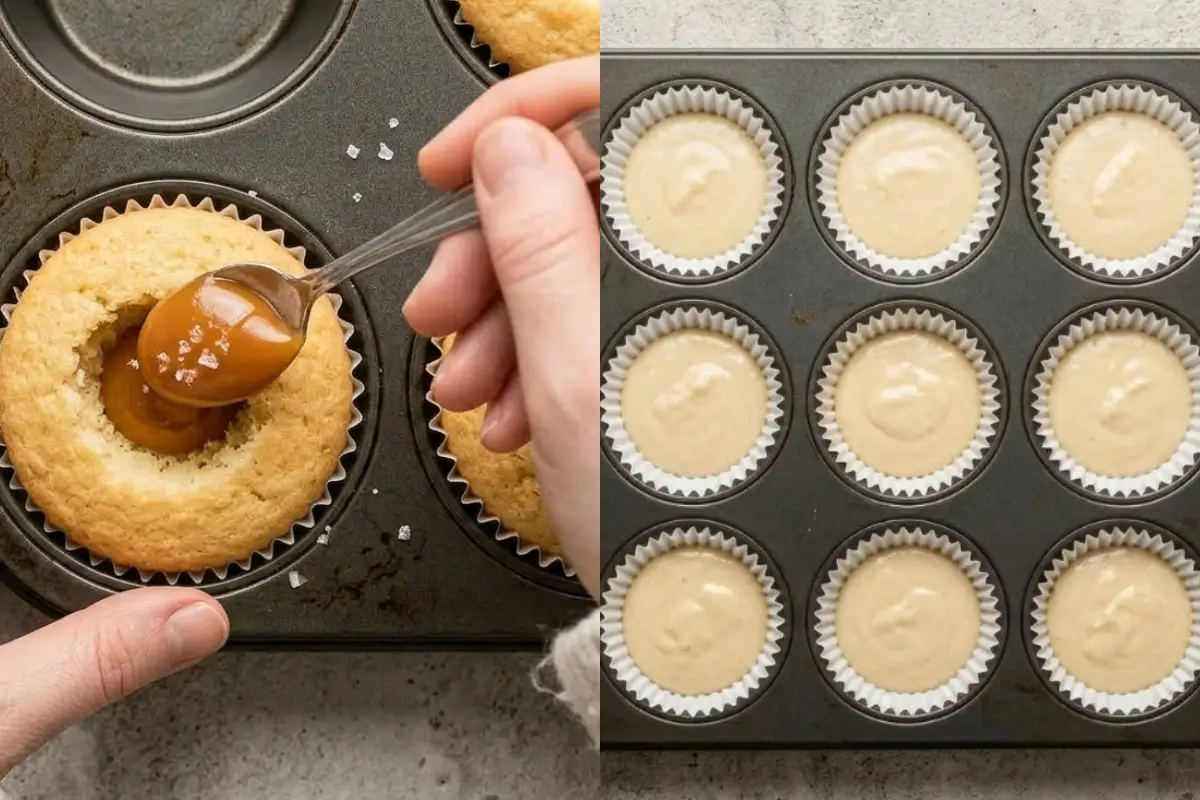
Fill each liner ⅔ full. No more they need room to rise without overflowing.
Bake for 18–20 minutes. Do not open the oven door before the 16-minute mark. The smell of warm vanilla will start drifting through your kitchen that's your cue that they're nearly there.
You'll know they're done when you press the center gently with a fingertip and it springs back softly, not firm, not wet. Not the toothpick test the touch test. A cupcake that passes the touch test will have a moist, tender crumb every time.
Cool fully on a wire rack before filling. This is not optional. Warm cupcakes + caramel = soggy bottoms.
Don't worry if they're not perfectly domed. We're going to fill them the top is just a canvas.
The Filling Step How to Get Caramel Inside a Cupcake (Without It Leaking)
This is the part most recipes rush past. We're not going to do that.
Take a breath. This is simpler than it sounds, and I'm going to walk you through it step by step.
What you'll need: A cupcake corer, an apple corer, or a small, sharp paring knife. A spoon. Your cooled caramel. Your cooled cupcakes.
Step 1: Core the cupcake
Press the corer straight down into the center of the cupcake. Go about ¾ of the way down, not all the way through. You want to leave a base of cake intact; if you go through to the bottom, the caramel will leak through.
No corer? Use a small paring knife: insert it at a slight angle and cut a small cone shape from the center, just like coring an apple. It doesn't need to be perfect the frosting will cover everything.
Step 2:Prepare the plug
Keep the piece of cake you just removed. Using a knife or your fingers, trim it to a thin disc about the width of your thumbnail. This is your plug. Don't throw it away.
Most recipes skip the plug. I don't, and here's why. The plug is what keeps the caramel from pushing up through your frosting swirl when you pipe.
Without it, the pressure of the piping bag can force the filling to the surface and create a soggy, messy center. With it, you get a clean, stable, perfectly filled cupcake every time.
Step 3: Fill
Spoon the cooled caramel into the hollow, about one teaspoon per cupcake. Don't overfill. The caramel should sit just below the rim of the hole, not level with it.
If yours looks a little uneven or messy at this point, that's fine. It's going to be covered entirely.
Step 4:Replace the plug
Press the thin cake disc gently back over the caramel, flat side down. Press lightly to seal.
You'll know you've done it right when the top of the cupcake feels slightly heavier than before, the surface looks flat and sealed, and no caramel is visible.
This is where the magic is hidden. Nobody will know what's inside until they take a bite, and when they do, that caramel will run, and they will love you for it.
How to Make Salted Caramel Buttercream Frosting
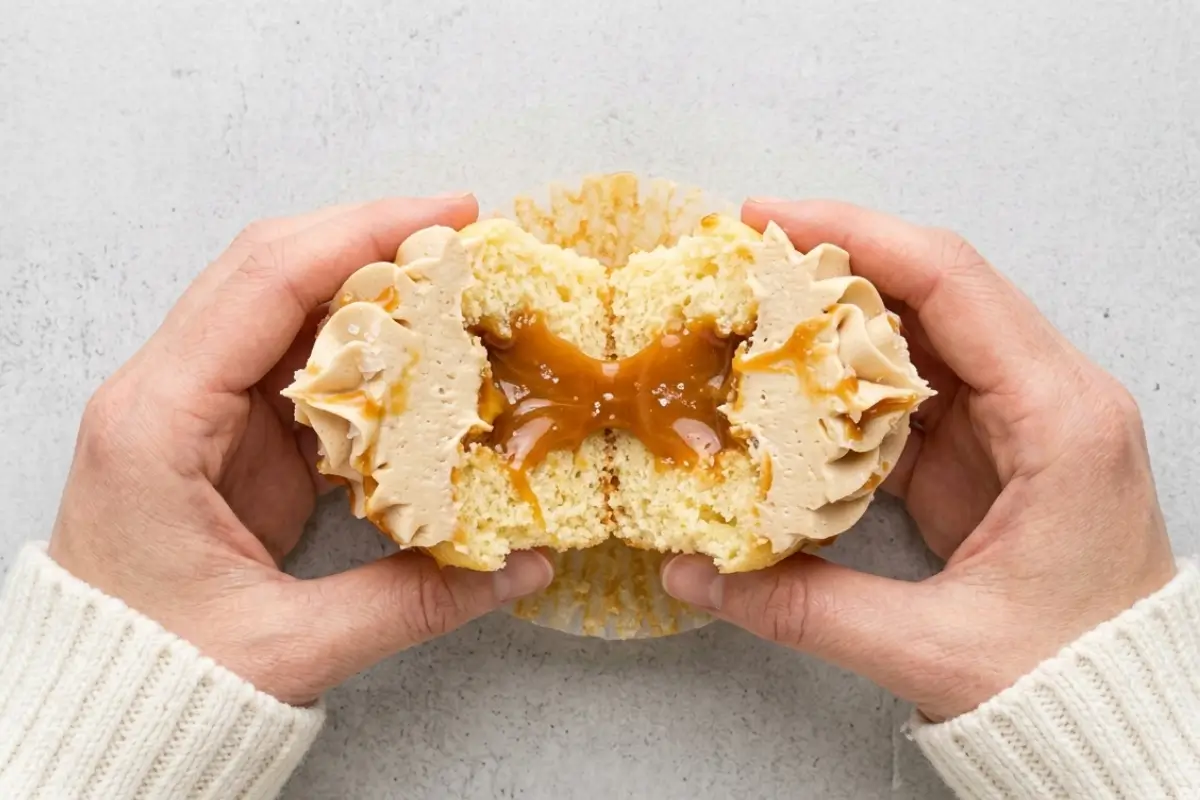
You're so close, and this is the best part.
You have two beautiful options here. Vanilla buttercream if you want to balance the clean sweetness of vanilla against the rich, salty caramel filling.
Salted caramel buttercream if you want to lean all the way in. I'll give you both, and you choose based on how you feel today.
My recommendation: If this is your first time making these, go for the salted caramel buttercream. The depth of flavor is worth it, and it photographs beautifully.
Salted Caramel Buttercream:
Beat the softened butter on medium-high speed for 3–4 minutes until it's pale and fluffy. Properly beaten butter is the foundation of smooth buttercream don't rush this.
Add the sifted powdered sugar, one cup at a time, on low speed. Once it's incorporated, increase speed.
Add the cooled salted caramel sauce and beat on medium speed until combined.
Add the heavy cream, one tablespoon at a time, until the buttercream reaches a thick, pipeable consistency.
Add a pinch of flaky sea salt. Taste. It should be sweet, then buttery, then salty in that order.
You'll know the consistency is right when a spoonful scooped up holds its shape for a few seconds before slowly dropping. If it's too stiff, add cream. If it's too loose, add a spoonful of powdered sugar.
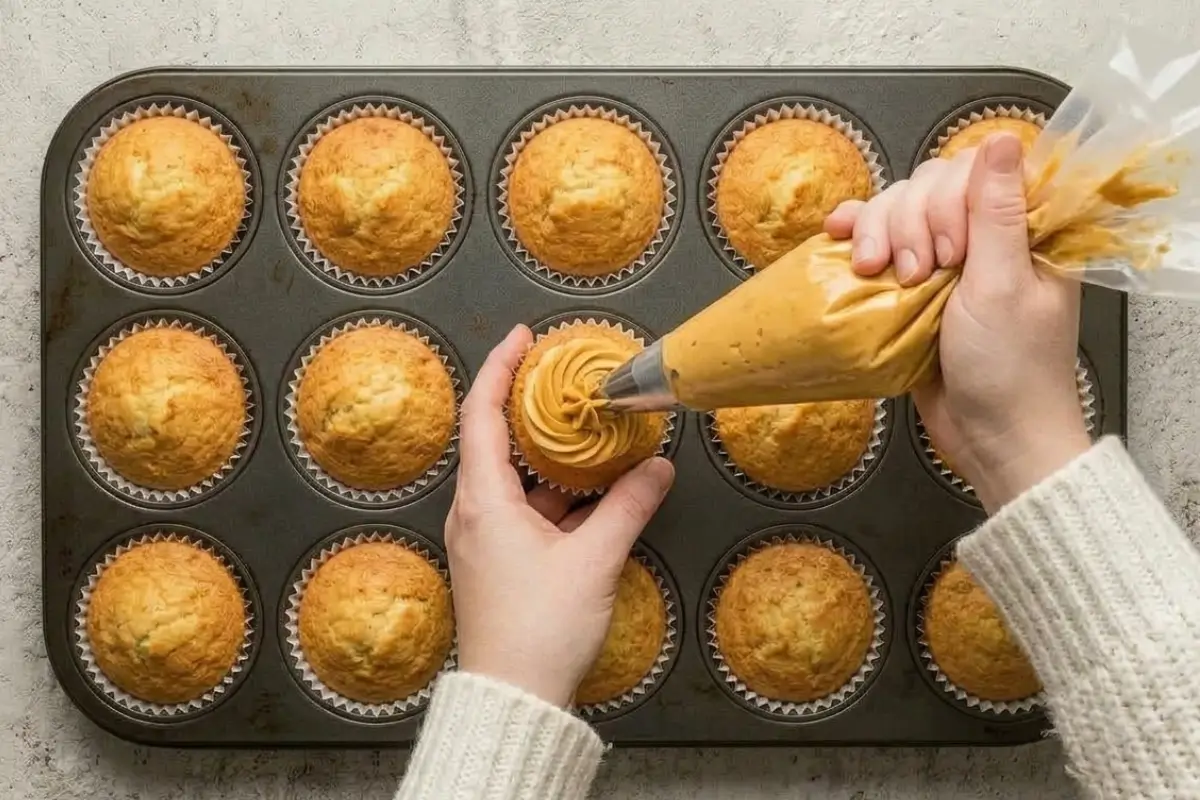
Pipe using a large star tip, swirling from the outside edge toward the center. One smooth, confident motion. Finish with a pinch of flaky sea salt on top.
Most people miss this step, but it makes all the difference: that final pinch of salt on the frosting changes the entire experience. It's not just decoration it's flavor.
See? You're almost there. One more section and these are yours.
Why These Salted caramel filled cupcakes Work
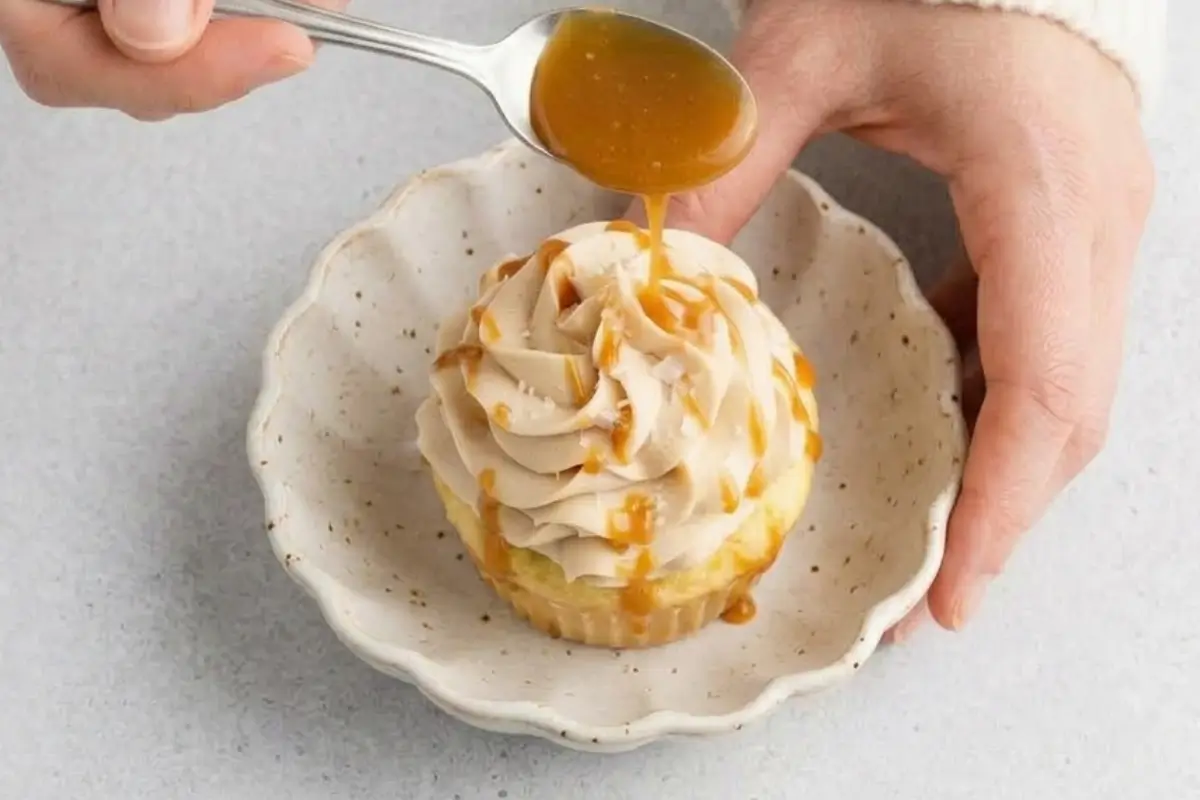
This is where I want to explain the why behind every key step because when you understand why something works, you can fix it when things go sideways, and you can feel confident the whole way through.
The caramel must cool before filling: Hot caramel is liquid and will absorb into the cake walls, making them soggy and causing the cupcake to collapse around the filling.
Room-temperature caramel is thick, stable, and holds its shape inside the hollow. This is the single step that separates a beautiful, filled cupcake from a disappointing one.
The plug holds everything together: When you pipe frosting onto a cupcake, you're applying downward pressure. Without the plug sealing the hollow, that pressure forces the caramel upward you get a messy, wet center and frosting that slides. The plug distributes the pressure and keeps everything where it belongs.
Butter temperature makes or breaks the buttercream: Butter that's too cold creates a lumpy, curdled-looking frosting. Butter that's too warm creates a greasy, flat one. You want it to leave a slight indent when you press it with your finger soft, not squishy. That's the sweet spot.
Flaky salt on top isn't decoration. It's a contrast: The salt interacts with the sweet frosting and the caramel filling to create a flavor experience that layers. Table salt dissolves immediately and disappears.
Flaky salt dissolves slowly and creates little pops of savory throughout every bite. It's the finishing touch that makes people ask, what makes these taste like that?
Room-temperature cupcakes are essential before filling: Warm cake + caramel = the caramel melts into the crumb instead of staying as a pocket. Cool the cupcakes fully for at least one hour at room temperature before you core and fill.
Elena's No-Fail Tips for Salted Caramel Filled Cupcakes
My Caramel Seized What Happened, and Can I Fix It?
Seized caramel is when the sugar crystallizes, and the smooth sauce suddenly turns grainy and lumpy. It's the most common caramel disaster, and it's almost always caused by stirring too early or by a stray sugar crystal on the pan wall falling back into the liquid.
Here's how to rescue it: add one tablespoon of warm water or warm cream to the pot and stir gently over low heat. The moisture will usually dissolve the crystals and bring the caramel back to a smooth sauce.
To prevent it next time: use a clean, dry pan; don't stir once the sugar has started to melt (swirl only); and if any sugar splashes onto the sides of the pan, brush it away with a pastry brush dipped in warm water.
I ruined my first three batches of caramel before I understood this. You're not doing anything wrong you're just learning.
Can I Use Store-Bought Caramel Instead of Making It from Scratch?
Absolutely, yes. Look for a thick caramel sauce, not a thin caramel topping or a syrup. It should be scoopable, not pourable straight from the jar. Stir in a generous pinch of flaky sea salt and taste before using. Let it come to room temperature so it's pliable but not runny.
The only caramels to avoid: very thin dessert sauces, caramel ice cream toppings (too watery), and anything labeled "caramel flavor" rather than actual caramel.
How Do I Fill Cupcakes Without a Piping Bag?
A small spoon and a steady hand are genuinely all you need. Core the cupcake using the method above, spoon in about a teaspoon of caramel, and press the plug back down.
The spoon method gives you excellent control over the amount, sometimes more control than a piping bag.
If you do want a piping bag for the frosting, a zip-lock bag with the corner snipped works perfectly. You don't need specialty equipment for any part of this recipe.
Can I Make These Ahead of Time?
Yes, and this is where a little planning pays off beautifully.
The caramel: Make it up to two weeks ahead. Store it in a sealed glass jar in the refrigerator. When you're ready to use it, warm it gently for 20 seconds in the microwave and stir to loosen.
The cupcake base: Bake, cool, and fill (with plug) up to 24 hours ahead. Store in an airtight container at room temperature. Frost the day you're serving them.
The buttercream: Make it up to 3 days ahead; store covered in the refrigerator. Bring to room temperature and re-beat for a minute before piping.
Fully assembled cupcakes: Best the day they're made, but still wonderful the next day. Store in an airtight container at room temperature (not in the refrigerator cold air dries out the sponge).
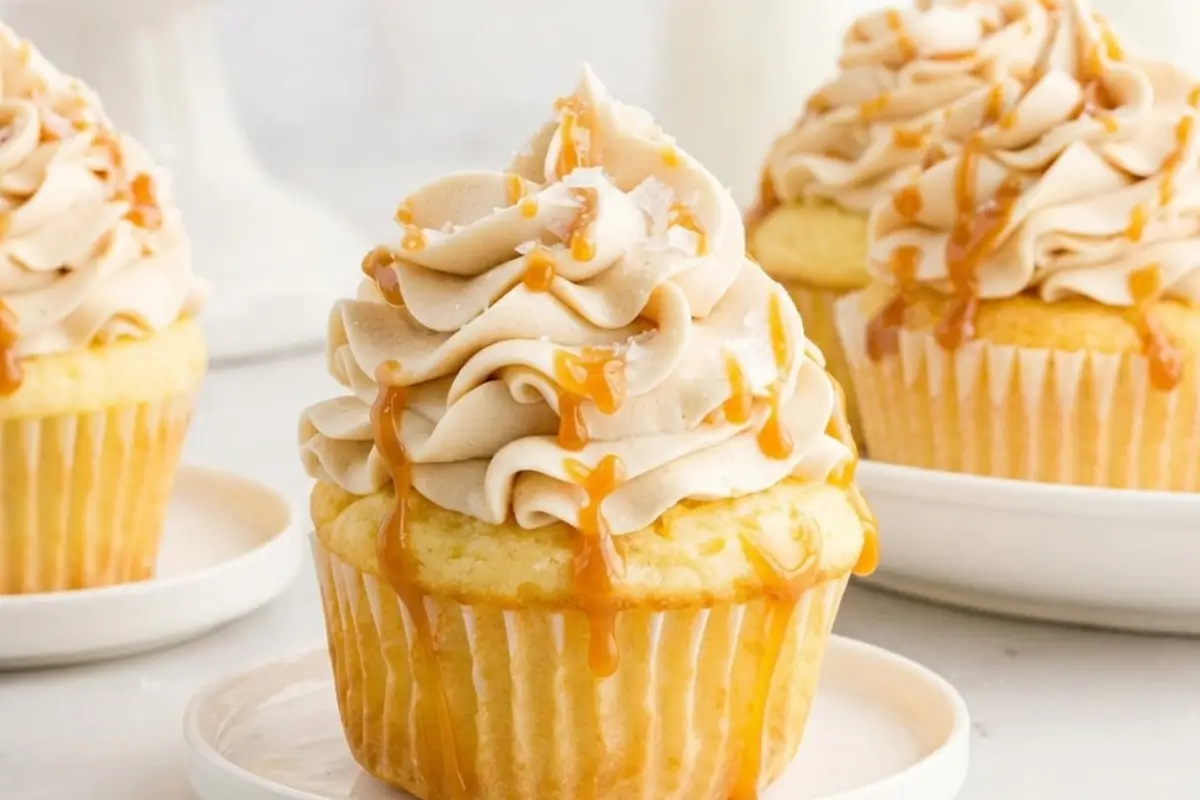
Salted Caramel Filled Cupcakes
Ingredients
Method
- Preheat oven to 350°F (175°C). Line muffin tins with cupcake liners and set aside.
- In a large mixing bowl beat together cake mix, instant pudding, eggs, sour cream, oil, and milk.
- Scoop batter into prepared muffin tins, filling each cup no more than ⅔ of the way full.
- Bake for 20 minutes or until a toothpick inserted in the center of the cupcake comes out with just a few crumbs. Remove from oven and cool completely.
- When cupcakes are cool, use a serrated spoon to carve out a small hole in the top center of each cupcake. Fill each cupcake with about 1 teaspoon salted caramel.
- To make the frosting, beat together butter and vanilla extract until smooth and creamy.
- Add powdered sugar, half at a time, and beat until fully mixed (mixture will be thick).
- Add salted caramel while the beater is running and whip until smooth.
- Add whipping cream and continue beating until frosting is fluffy.
- Pipe swirls of frosting over the filled cupcakes.
- Drizzle with additional caramel and sprinkle with flaked sea salt.
Notes
Saving a Little Joy for Tomorrow
These cupcakes are at their absolute best the day they're made the caramel is gooey, the frosting is soft, and the sponge is tender. But I promise you: day two is still pretty magical.
At room temperature: Store filled and frosted cupcakes in an airtight container for up to 2 days. Keep them at room temperature the refrigerator dries them out.
In the refrigerator: To extend their life to 3 days, store them in an airtight container in the refrigerator, then bring them to room temperature for 30–45 minutes before serving. Cold buttercream is firm; room-temperature buttercream is the dream.
Freezing: Freeze the unfrosted, unfilled cupcake bases only. Wrap each one individually in plastic wrap, then place in a freezer bag. They'll keep for up to 2 months. Thaw at room temperature, then fill and frost as normal.
The caramel: As mentioned above, store in the refrigerator for up to 2 weeks. It will thicken in the fridge warm it gently to loosen before using.
Making Sweet Memories
When I think about those little jam-filled pastries from Nonna's kitchen, what I remember most isn't the taste, though the taste was extraordinary. What I remember is the surprise. The way you'd bite into something that looked simple from the outside and find something hidden and sweet inside.
That's what I hope these salted caramel-filled cupcakes give you. A little surprise. A little sweetness tucked away, waiting for whoever gets that first bite.
You don't need to be a professional pastry chef to make something that feels extraordinary. You just need good ingredients, a little patience, and the willingness to try. You've already done everything right today.
At AddCakes, we believe in memories, not masterpieces. The cupcakes don't have to be perfect. They just have to be made with love and shared with someone worth sharing them with.
Simply add cake for joy.
Tell me in the comments vanilla buttercream or salted caramel frosting? I'm always curious which side you're on.