
This blackberry cake holds a very special place in my heart. I can still remember standing on a wobbly wooden stool in my Nonna's kitchen, watching her simmer wild berries on the stove until the air turned sweet and heavy.
My little hands were stained bright purple for days from sneaking tastes of the sweet jam long before the batter was even ready to bake. I know how much pressure you put on yourself to make every dessert look flawless, especially when your days are already so full and busy.
But I promise you, your family will remember the joy of being together and the love you poured into the kitchen, not whether the layers are perfectly straight.
This recipe is my gift to you a family-tested, human-created guide that tastes just like a memory and finally lets you say goodbye to those dreaded soggy bottoms.
Moving from those cherished memories into your kitchen, I know the technical side of baking can feel daunting. You might be worried about fruit sinking to the bottom, or that strange, unappealing color shift that sometimes happens when berries meet cake batter.
Take a breath; you’re doing great so far. Through my "Anti-Gravity Berries" trick and the "Seedless Silk" frosting guarantee, we are going to turn those intimidating science experiments into a warm, stress-free experience.
This cake is designed to be sturdy, naturally vibrant, and absolutely delicious, so you can focus on the joyful process rather than performance.
The Key Ingredients For Blackberry Cake And Why They Matter
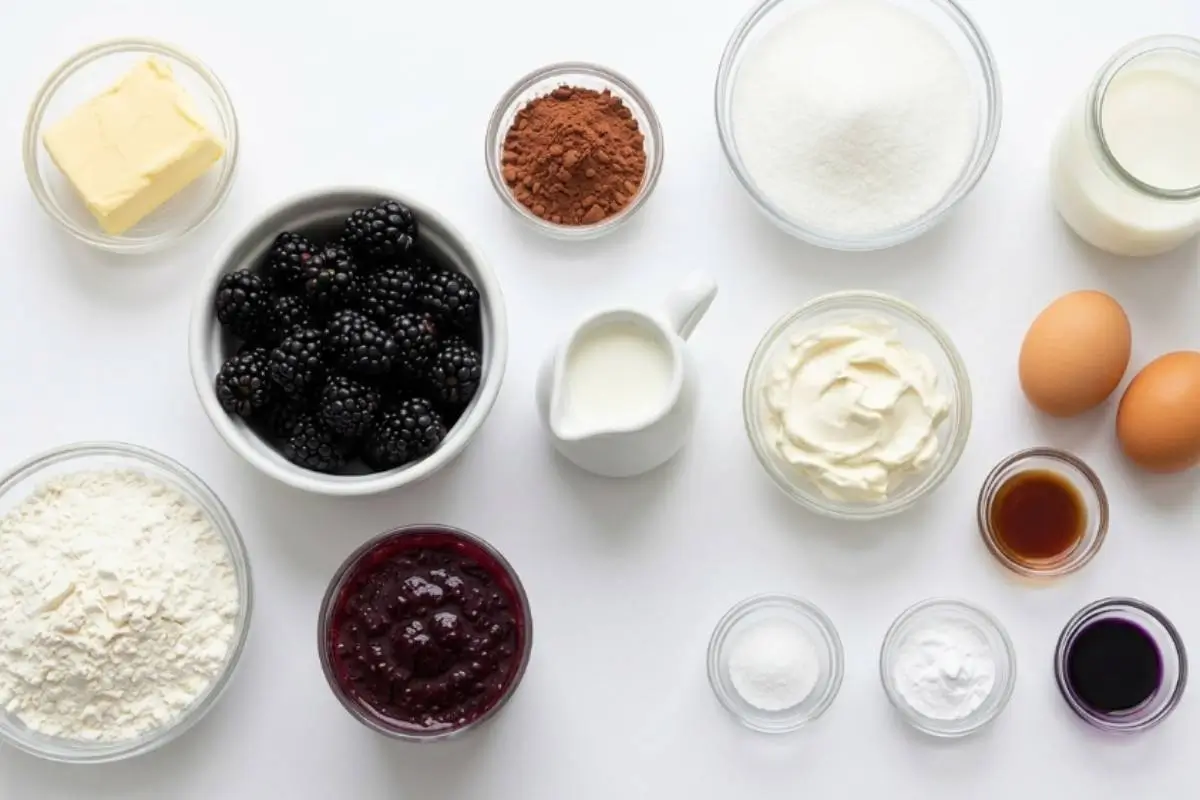
Gathering your ingredients is the first step in creating something soulful, so take your time and enjoy the process. To keep our blackberry cake structurally sound and beautiful, we need to respect the chemistry of the ingredients.
Fresh vs. Frozen Berries: Please stick to fresh berries for this recipe. Folding unthawed frozen berries into a delicate sponge releases way too much water, which almost guarantees a collapsed, gummy cake.
Lemon Zest (The Color Protector): This isn't just for that bright, sunny flavor! The acidity in the lemon zest actively prevents an alkaline reaction (where the baking soda turns berries a muddy green or grey), keeping that natural, vibrant purple hue.
The "Seedless Silk" Frosting: I know the frustration of crunchy seeds in a smooth frosting. Straining your blackberry puree is mandatory for a luxurious, professional mouthfeel.
A Note on Botanicals: While lavender is a trendy addition, most of us agree it tends to impart a soapy, "salad-like" flavor that masks the fruit. Instead, garnish with safe, edible flowers or fresh mint leaves for a beautiful, natural touch.
A comforting note for my dietary-conscious friends: If you need to adapt this, a 1:1 gluten-free flour blend works beautifully here, and you can easily swap the butter and cream cheese for high-quality, plant-based alternatives to achieve that same decadent finish. See? You’re already doing beautifully.
The Golden Rule Step-by-Step Instructions
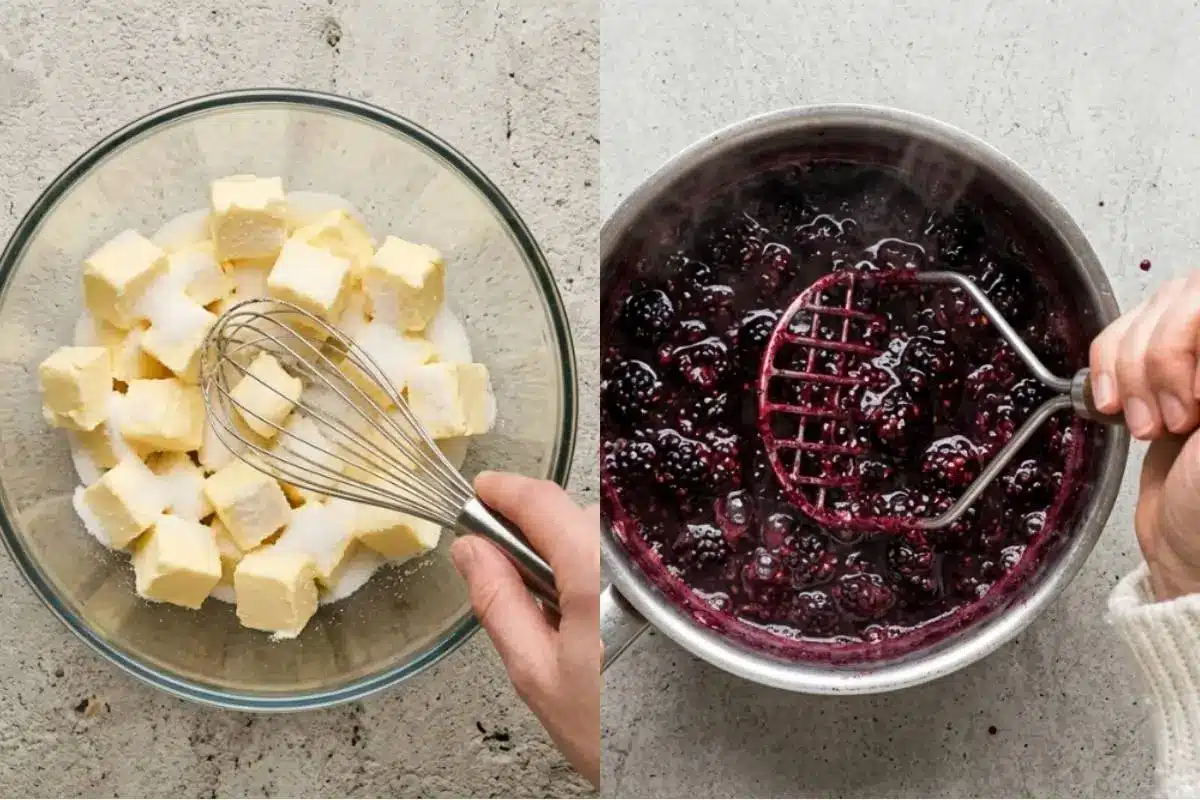
Here is the part everyone overthinks but you won't. This is where the magic starts to happen.
Phase 1: The Puree Prep. Simmer your berries with a little sugar and water until thickened. Mash them well and strain them immediately through a fine-mesh sieve. This rapid-strain method ensures you get that "Seedless Silk" texture every time.
Phase 2: The Anti-Gravity Berry Toss. Before adding your fresh blackberries to the batter, toss them in 1–2 tablespoons of flour. This creates a little bit of friction, which is your ultimate defense against the berries sinking to the bottom of the pan.
Phase 3: The Batter Balance. Combine your ingredients gently. The goal is to just bring them together. If you overmix, you lose that delicate, airy structure that prevents soggy bottoms. The batter should feel thick and rich, like a soft cloud.
Phase 4: Equipment Note: To make sure this bakes up perfectly, I recommend using two 8-inch pans. It’s the secret to getting that beautiful, even bake every time!
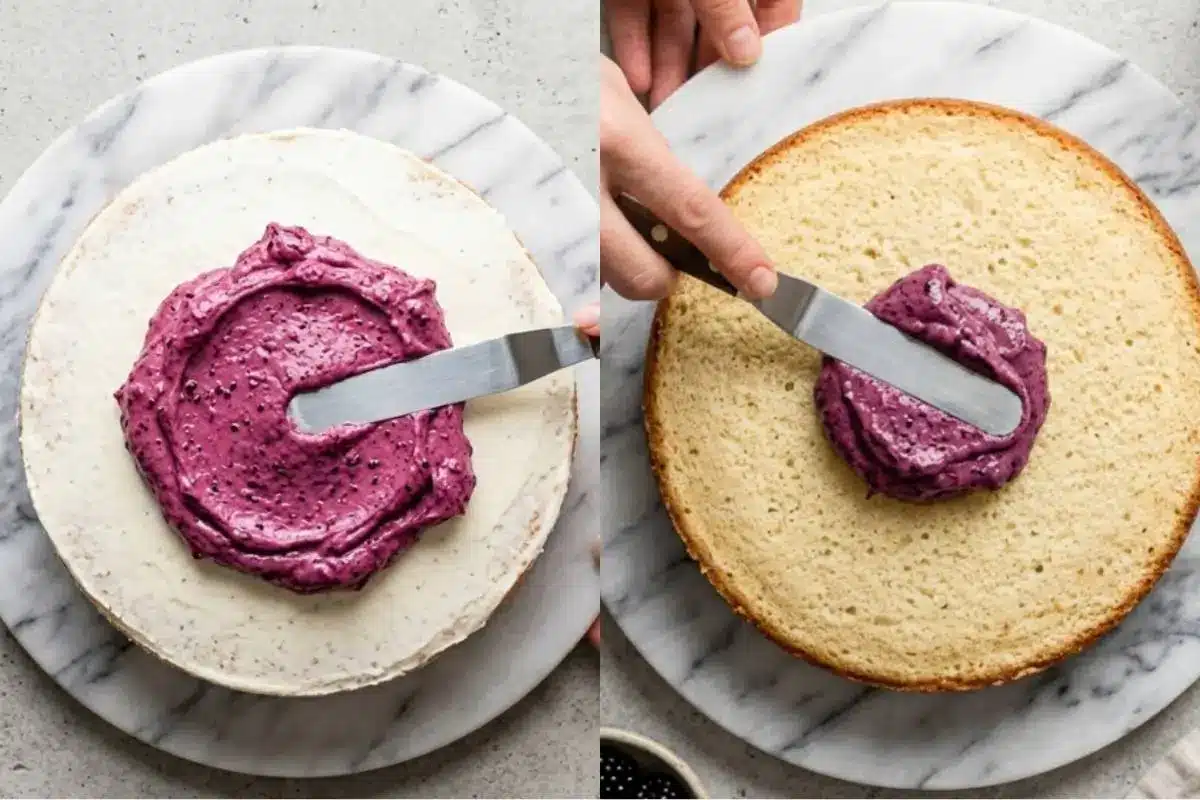
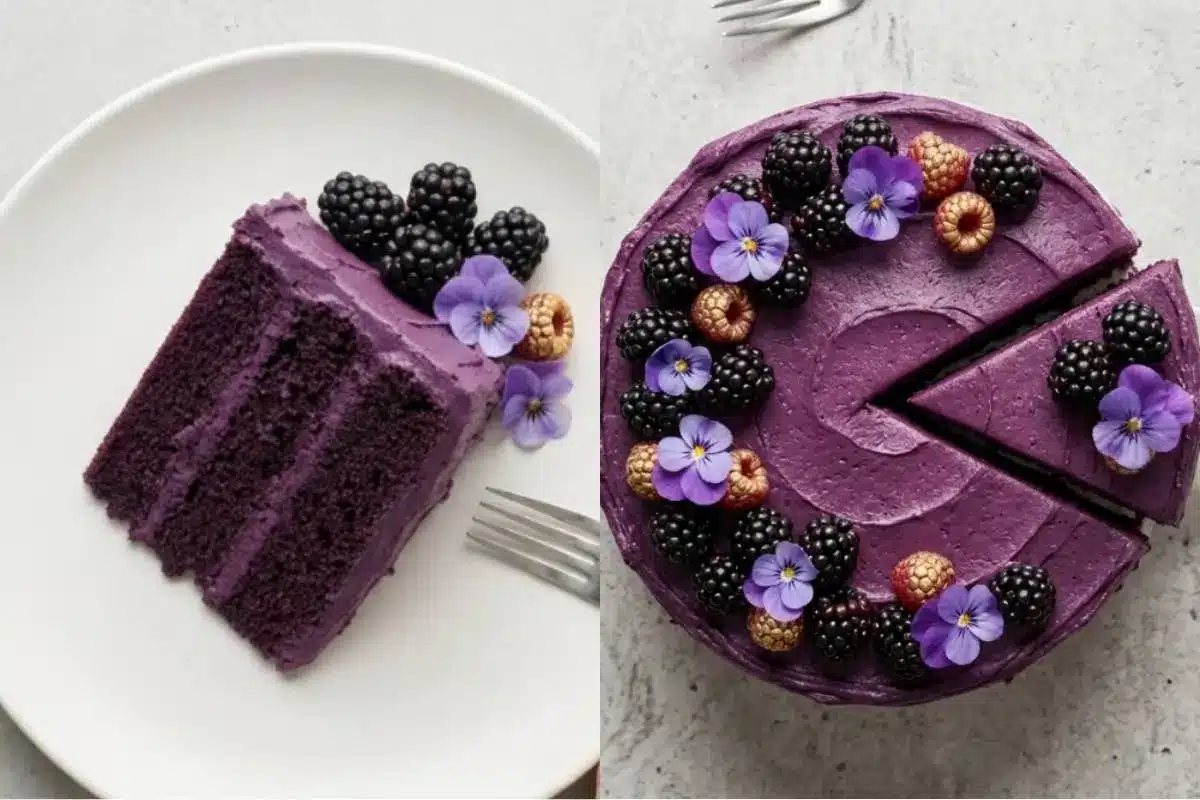
Phase 5: Assembly & Visuals: Frost your cooled layers with a rustic, "semi-naked" look. Let the deep-purple frosting peek through, and feel free to let a few extra dollops cascade down the sides it looks so elegant and intentional!
If the batter looks a little thick while mixing, you are still on the right track!
Why This Blackberry Cake Works
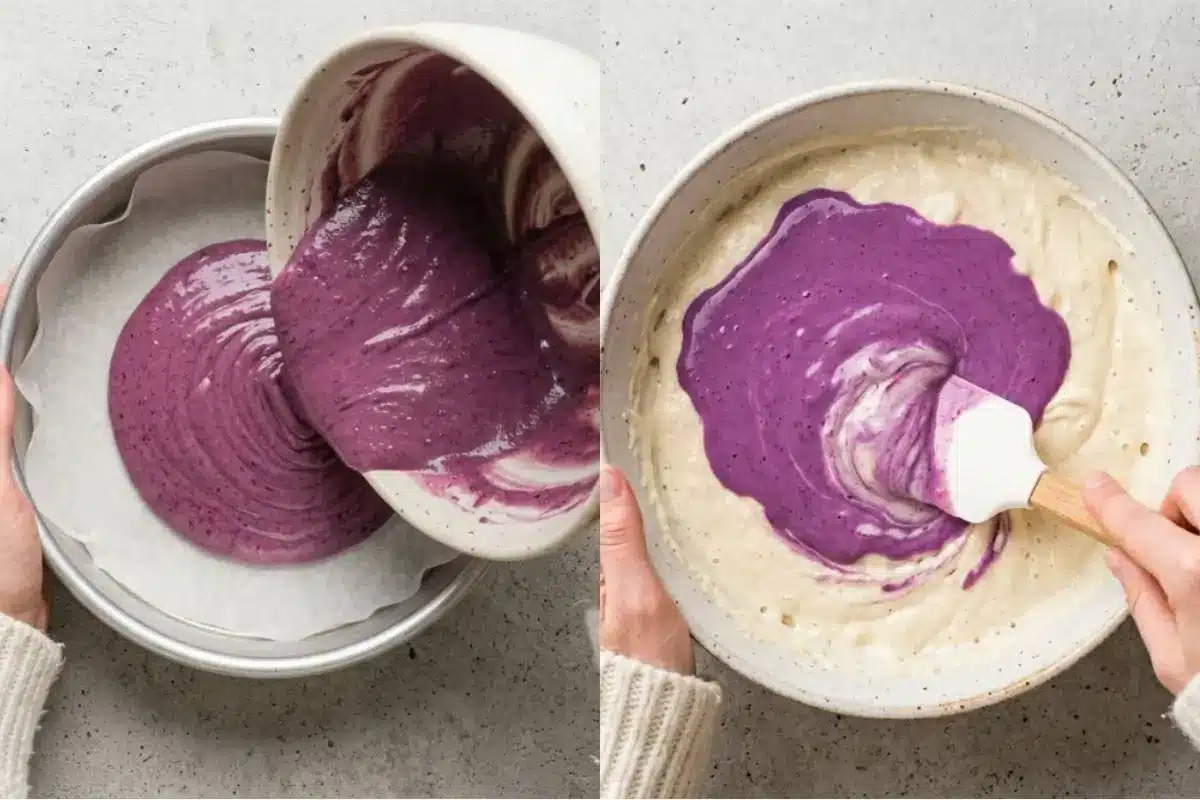
Understanding the "why" behind the what alleviates the fear of complex baking science ruining your event.
Soggy Bottom Defense: Our specific ratio of buttermilk and flour creates a sturdy, thick batter that supports the weight of the fruit without collapsing.
Anti-Gravity Physics: By dusting the berries, we ensure they stay perfectly suspended throughout the cake, giving you that beautiful pop of fruit in every single bite.
Color Preservation: By balancing the acidity of the buttermilk and lemon zest, we protect the natural pigment of the blackberries, keeping the cake a beautiful purple instead of grey.
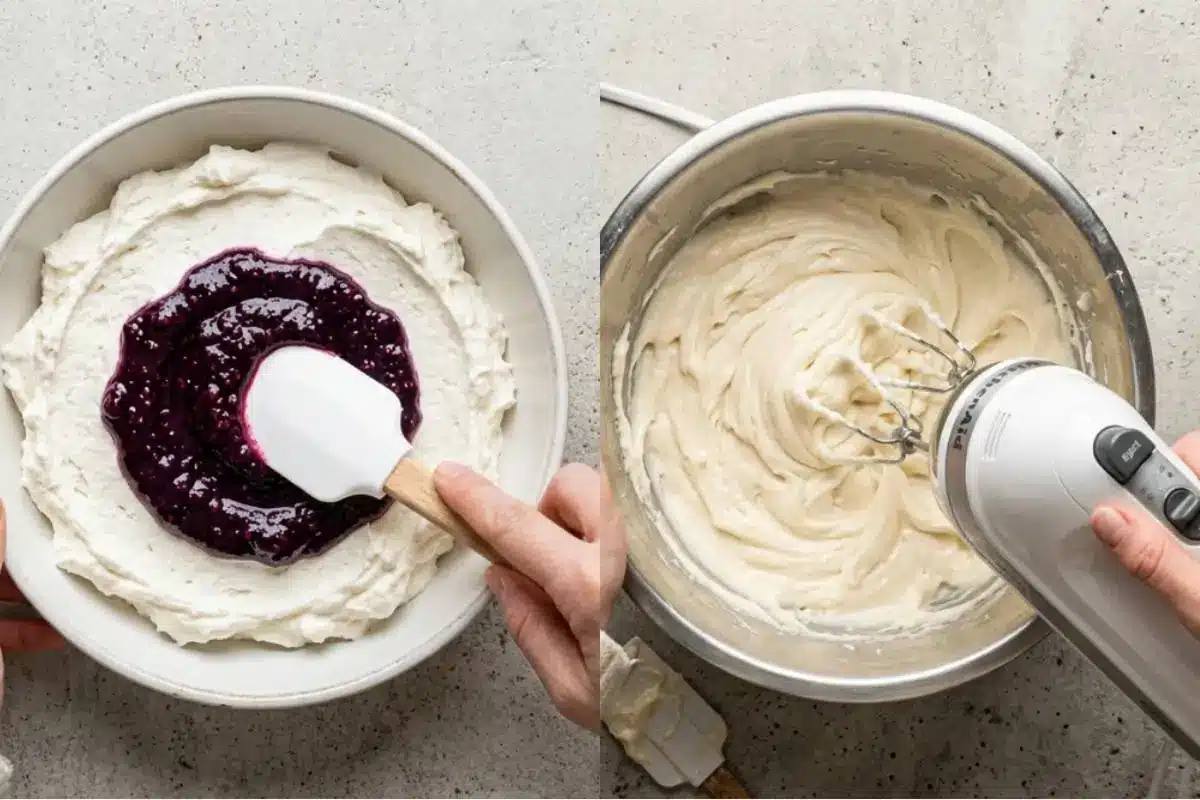
Texture Perfection: Utilizing the classic creaming method ensures a melt-in-your-mouth crumb that stays tender even after being chilled.
This is what I make when I want something comforting but simple for a Sunday afternoon. It’s a cake that feels like home. You’re closer than you think keep going.
Elena’s No-Fail Tips For Your Blackberry Cake
How do I stop BlackBerries from sinking to the bottom?
It all comes down to the flour-toss! By coating your fresh berries in a light dusting of flour before folding them into the batter, you create enough friction to keep them suspended in the cake.
How do I fix a soggy cake bottom when baking with fresh berries?
Make sure not to over-mix your batter, as this breaks down the structure. Also, ensure your oven is fully preheated and you are using the correct pan size so the cake bakes through evenly.
Why did my blackberry cake turn green or grey?
This happens when the baking soda reacts with the berry juice. Using lemon zest or a touch of lemon juice ensures the environment remains acidic enough to keep your cake a gorgeous, vibrant purple.
Should I strain the seeds out of the blackberry puree?
Yes, absolutely! While it takes an extra minute, straining ensures that luxurious, silky mouthfeel that distinguishes a homemade cake from a truly "professional" one.
Saving a Little Joy for Tomorrow: Storage Tips, Freezing & Make-Ahead Notes
Don't stress about the timing; this cake is actually very forgiving when you plan ahead. Because of the cream cheese in our frosting, this cake should be stored in the refrigerator.
However, for the best experience, take it out about 20 minutes before serving so the crumb can soften and the flavors can bloom.
My best tip is to make your blackberry reduction a day ahead of time it deepens the flavor and color, and lets you prep without rushing! If you need to freeze the cake, do so before frosting it.
Wrap the cooled sponge layers tightly in plastic wrap to keep them moist, and they will stay perfect for up to two weeks.
Now you can truly relax before your guests arrive.
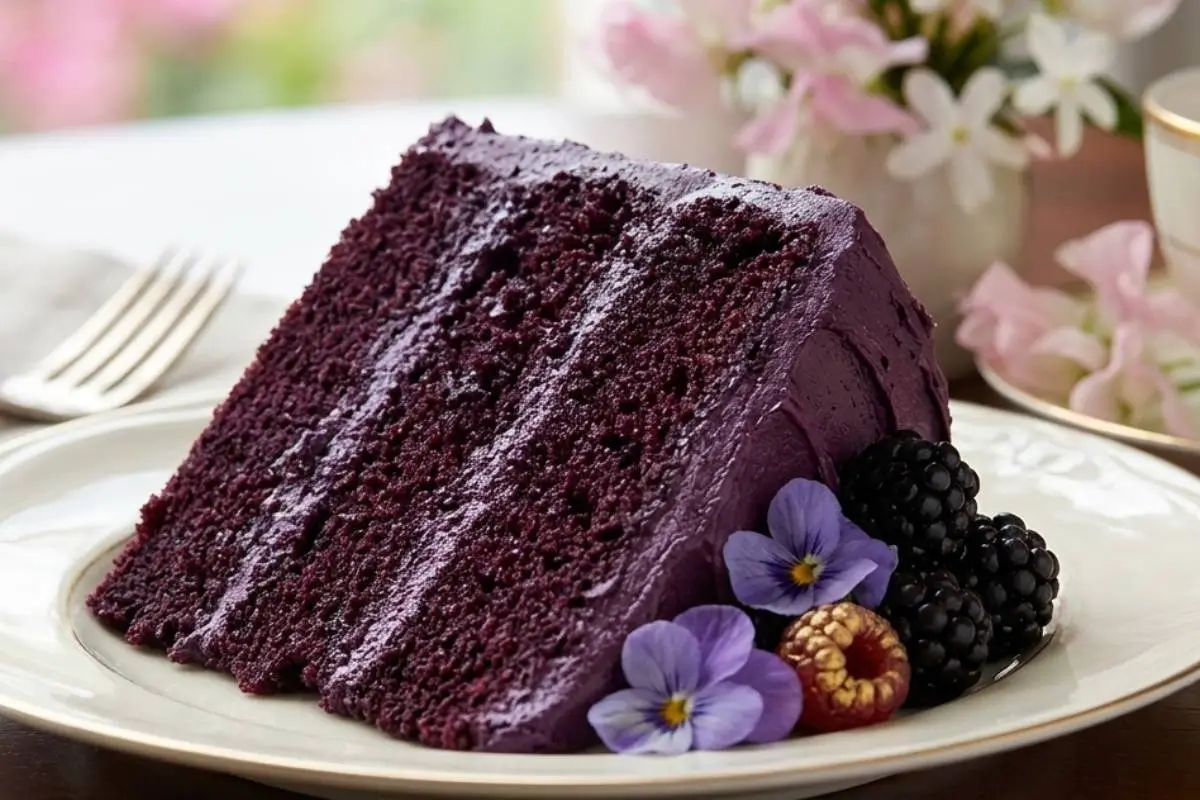
The Most Beautiful Blackberry Cake
Ingredients
Method
- In a small saucepan, combine 1 and a half cups of blackberries with 2 tablespoons of sugar and a splash of water. Simmer for 8 to 10 minutes until thickened.
- Mash the berries and strain them. Let this cool completely. Set aside half a cup of this puree for the cake and a third of a cup for the frosting.
- Preheat your oven to 350°F (175°C). Grease and line two 8-inch cake pans.
- In a bowl, whisk together the flour, baking powder, baking soda, and salt.
- In a large bowl, beat 1 cup of butter and the granulated sugar until light and fluffy, which takes about 3 to 4 minutes.
- Add the eggs one at a time, mixing well after each, then stir in the vanilla extract and lemon zest.
- In a small bowl, whisk the buttermilk with the half cup of blackberry puree you set aside for the cake.
- Add your dry and wet ingredients to the butter mixture, alternating back and forth, beginning and ending with the flour mixture. Do not overmix. Stir in the food coloring if you are using it.
- Divide the batter evenly between your pans and smooth the tops. Bake for 28 to 32 minutes, or until a toothpick comes out clean.
- Let the cakes cool completely before removing them from the pans.
- For the frosting, beat the remaining 1 cup of butter and the cream cheese until smooth.
- Add the powdered sugar gradually, then mix in the third cup of blackberry puree, vanilla, and salt. Beat until fluffy.
- If the frosting feels too soft, chill it in the fridge for about 10 minutes.
- Frost and layer your cooled cakes. Decorate the top with extra berries, edible flowers, or mint leaves.
Notes
Making Sweet Memories
Real love is not found in a bakery-perfect display. It is in the memory of those purple-stained hands and the quiet, sun-drenched moments in Nonna’s kitchen.
I hope this cake brings a little bit of that magic into your home today. Remember, the goal isn't perfection;
it’s the joy of being together. Your family will remember the love you poured into the kitchen, not whether the layers were perfectly straight.