
Gluten-free cupcakes are the bridge between the care you want to give and the worry-free joy of the gathering.
There is something so deeply grounding about a sun-drenched kitchen, the soft hum of the oven, and the intoxicating scent of something sweet baking on a quiet afternoon.
I remember standing in my Nonna’s kitchen, watching her flour-dusted hands work with a kind of rhythm that made everything feel possible. We learned early on that you don’t need a grand occasion to bake; the simple act of creating something from scratch is a gift in itself.
I know that look you get when you’re baking for guests—the nervous flutter of wondering if the dessert will "pass the test."
Will it be too dry? Will they notice it’s gluten-free? I promise you, those worries stop here.
Pulling these golden, fragrant beauties from the oven, you won't just see a dessert; you’ll see the delight on your loved ones' faces when they take that first bite and realize they are just as soft, fluffy, and delicious as any "traditional" cupcake.
Baking, especially when dietary needs are involved, can often feel like a stressful chemistry experiment.
But you can take a breath—you’re doing great. I’ve done the troubleshooting and the fine-tuning so you can step into the kitchen with total confidence.
This recipe is your new, go-to toolkit for every birthday, school event, or simple Sunday afternoon, designed to bring people together without the stress.
The Key Ingredients For These Gluten-Free Cupcakes And Why They Matter
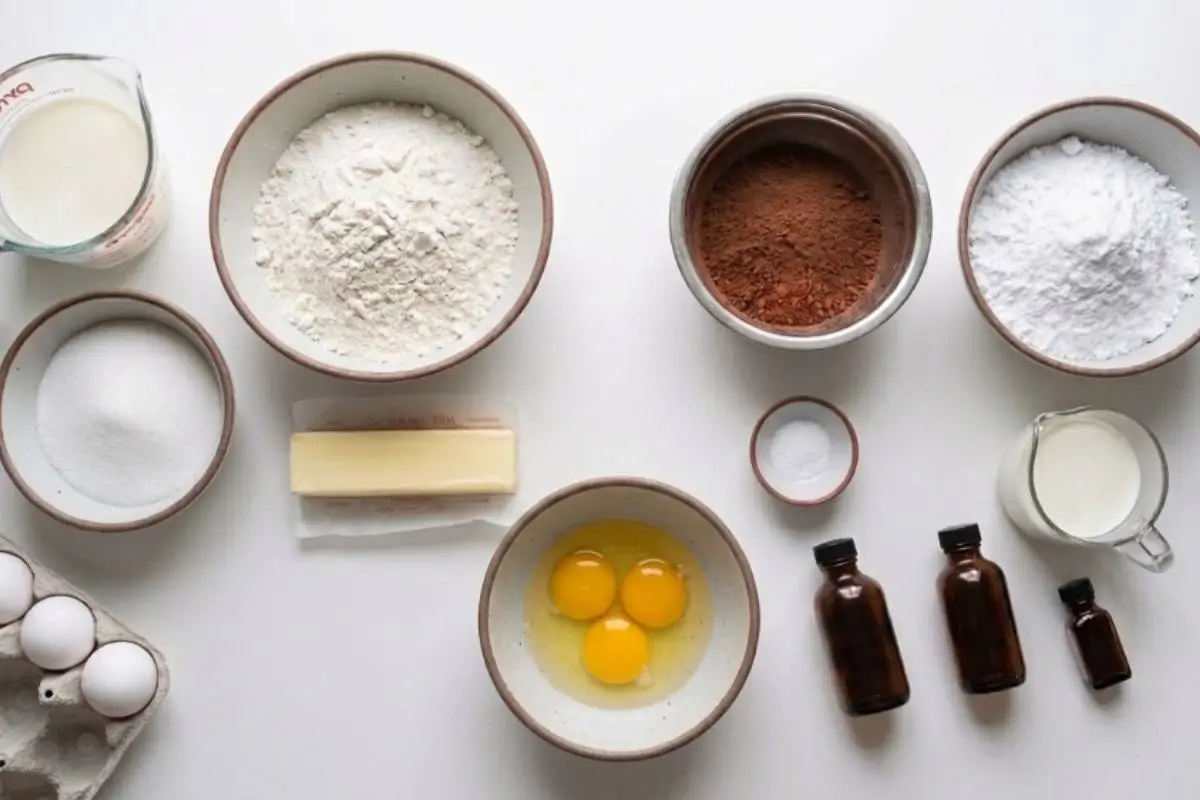
This part is simpler than it looks, but the secret lies in the quality of your foundation.
To achieve that professional, soft crumb, you must use a high-quality 1-to-1 measure-for-measure gluten-free flour blend that already contains xanthan gum.
Think of this as the "glue" that keeps everything together; if you try to use single flours like almond or coconut alone, the structure will struggle to hold, and you’ll end up with a crumbly mess.
Room Temperature is Non-Negotiable: I know it’s tempting to rush, but having your butter, eggs, and milk at room temperature is the secret to a proper emulsion. When ingredients are the same temperature, they bind together into a smooth, stable batter rather than curdling.
Dairy-Free Notes: If you need to keep these dairy-free, simply swap the butter for a high-quality plant-based butter stick and use your favorite unsweetened plant-based milk. The results remain just as tender.
This is where the magic starts to happen—once you have your ingredients prepped, you are already halfway to success.
The Golden Rule Step-by-Step Instructions
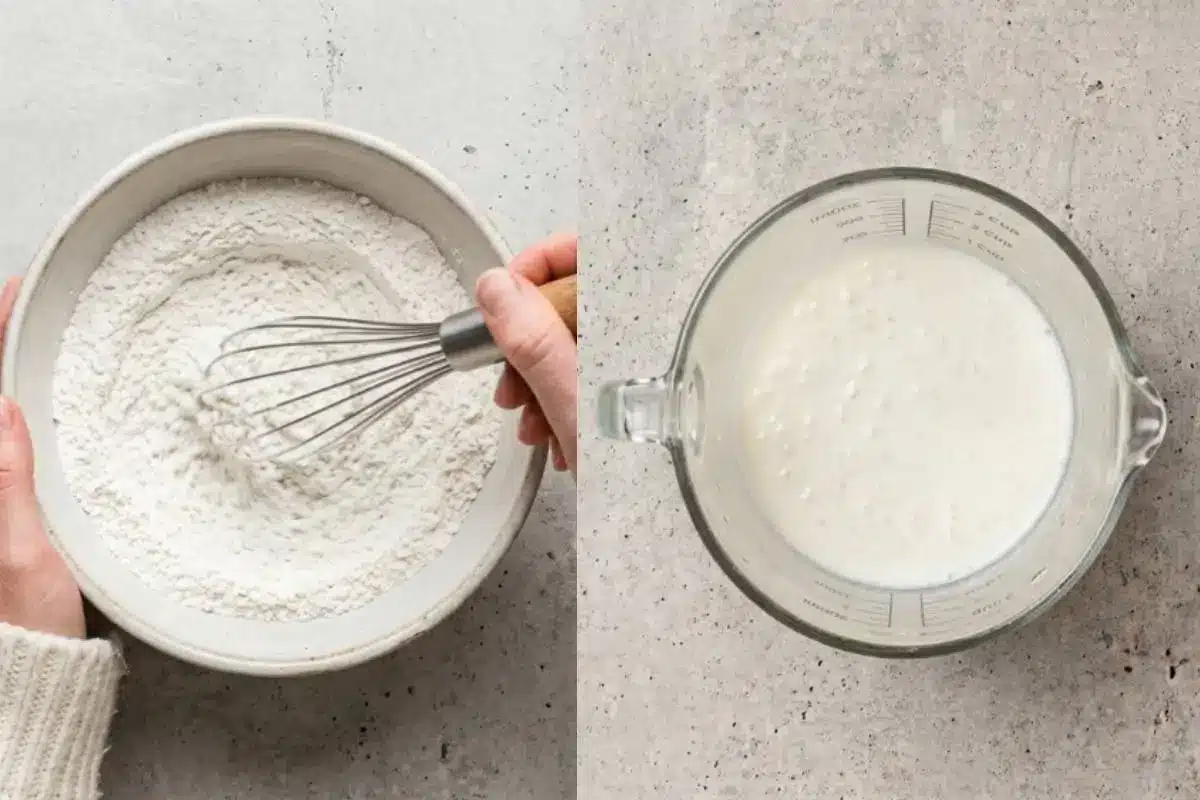
Here’s the part everyone overthinks—but you won’t, because we are using the "No-Grit" Hybrid Hydration method.
Prep the Foundation: Preheat your oven to 350F and line your muffin pan.
Pro Tip: If you want to prevent greasy liners, place about a teaspoon of raw, dry rice into the bottom of each muffin cup before inserting the paper liner. It absorbs excess moisture and keeps the sides perfect!
The Hydration Hack: Whisk your milk and cider vinegar together in a measuring cup and let it sit for 5 minutes. This creates a gentle buttermilk. In your bowl, whisk your flour, cornstarch, baking powder, and salt.
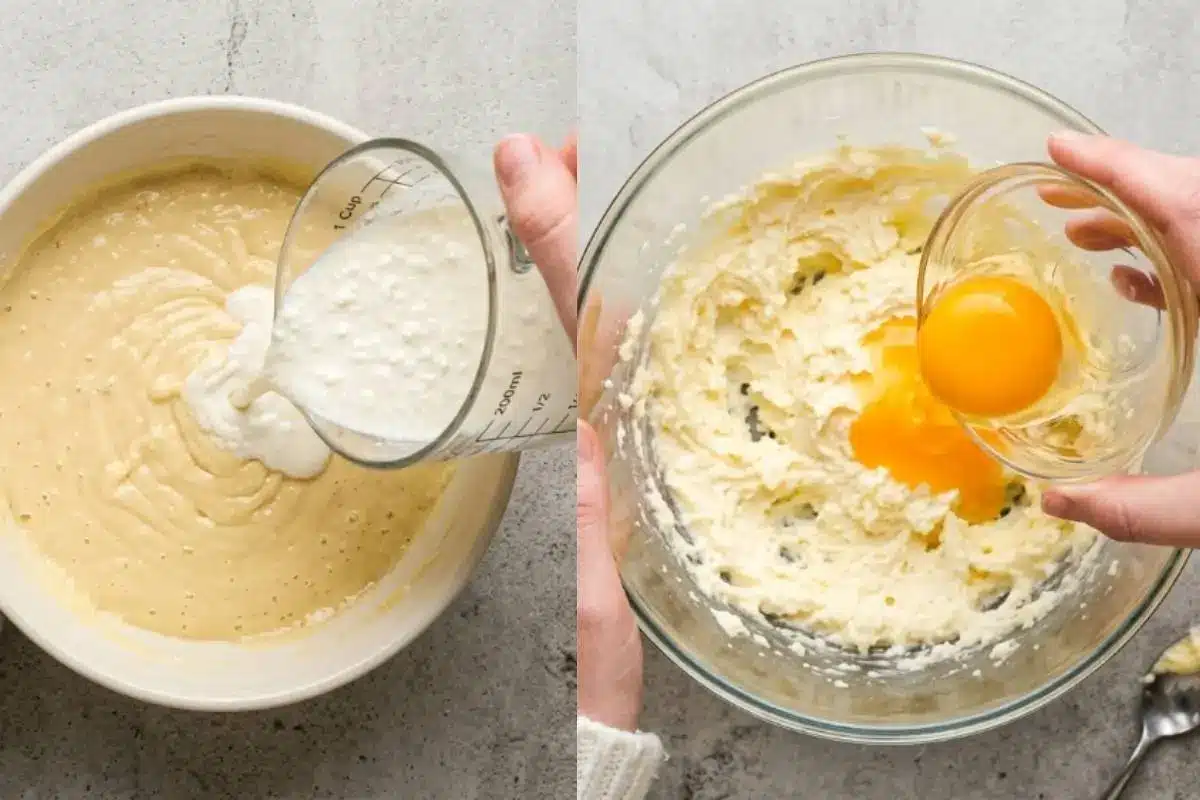
The Mix: In a stand mixer, cream the butter and sugar until pale and fluffy. Add the egg, egg yolks, and vanilla. When you start adding the dry ingredients alternately with the milk mixture, do it in three parts.
The Visual Cue: Your batter should look like thick, glossy silk. If yours looks a little messy or thick at first, that is completely normal—you are still on the right track!
See? You’re already doing beautifully.
Why This Gluten-Free Cupcake Recipe Works
It’s natural to be skeptical of gluten-free baking, but this recipe is designed to stand up to the toughest critics.
Structural Integrity: The specific ratio of starch to flour prevents the dreaded "mid-bake sink" that plagues so many gluten-free recipes.
The Texture Promise: By allowing the flour to hydrate properly with the wet ingredients, we eliminate that "gritty" texture often associated with rice-based flours. You get a clean, melt-in-your-mouth bite.
The Social Seal of Approval: These are a guaranteed win for everyone at the table. Because the crumb is so close to traditional wheat cupcakes, you can serve these to anyone, and they’ll simply enjoy a delicious treat.
You’re closer than you think—keep going.
Elena’s No-Fail Tips For Your Gluten-Free Cupcakes
Why did my cupcakes sink?
It’s almost always about timing. Either the oven wasn’t fully preheated, or the oven door was opened too early. Keep that door shut for at least the first 15 minutes!
Can I make these ahead?
Absolutely. Bake them a day early and keep them in an airtight container at room temperature once cooled.
My liners are greasy. Use the raw rice trick I mentioned in the instructions; it’s a game-changer that most people miss.
Can I swap the flour blend?
I strongly advise against it. Every brand is balanced differently; stick to a reliable 1-to-1 blend for that consistent, professional result I know you’re capable of.
You’re doing a wonderful job, and your kitchen is going to smell like a dream.
Saving a Little Joy for Tomorrow: Storage, Freezing & Make-Ahead Notes
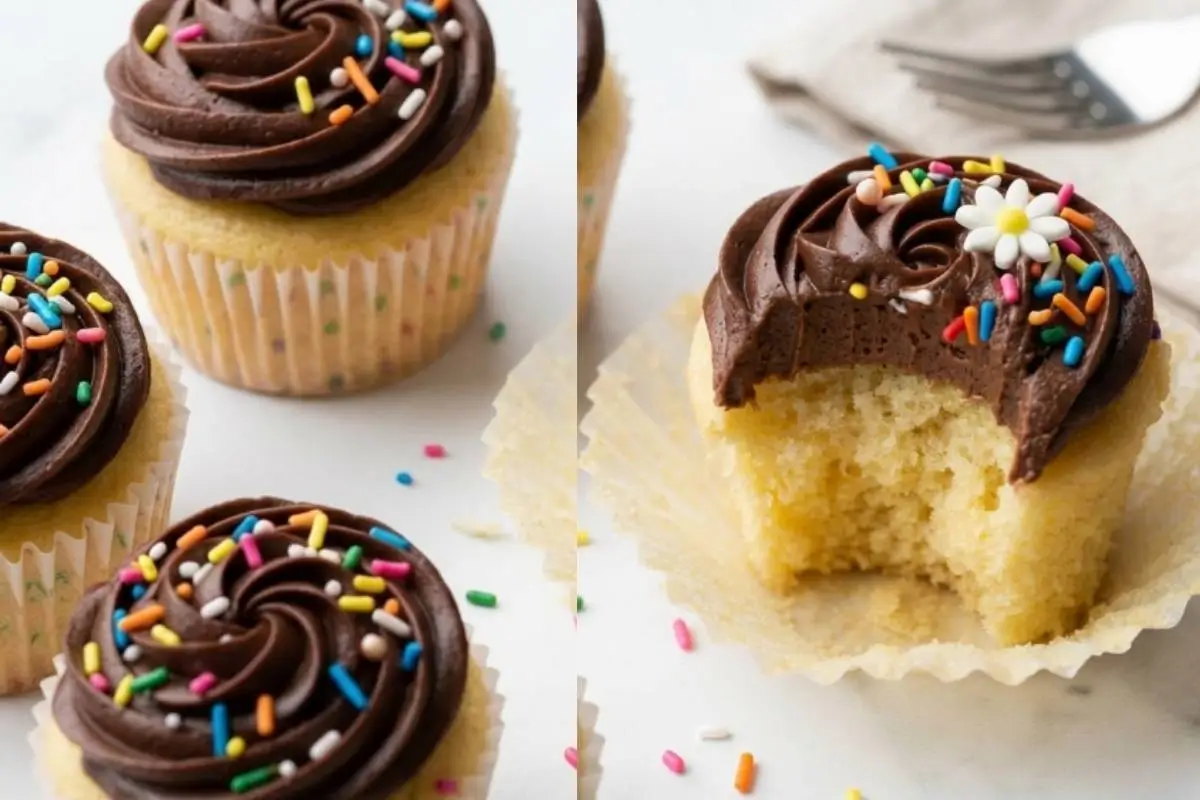
Take a breath; you’re doing great so far. Proper storage is the final step in ensuring your hard work stays delicious.
The Golden Rule: Never store these in the refrigerator. The cold environment accelerates "starch retrogradation," which will make your beautiful, fluffy cupcakes go rock-hard.
Best Practice: If you need to keep them for more than two days, wrap the unfrosted cupcakes tightly in plastic wrap and place them in an airtight container in the freezer for up to three months. When you're ready, just let them thaw at room temperature before adding your frosting.
This is the perfect way to have a homemade treat ready for those last-minute moments of connection.
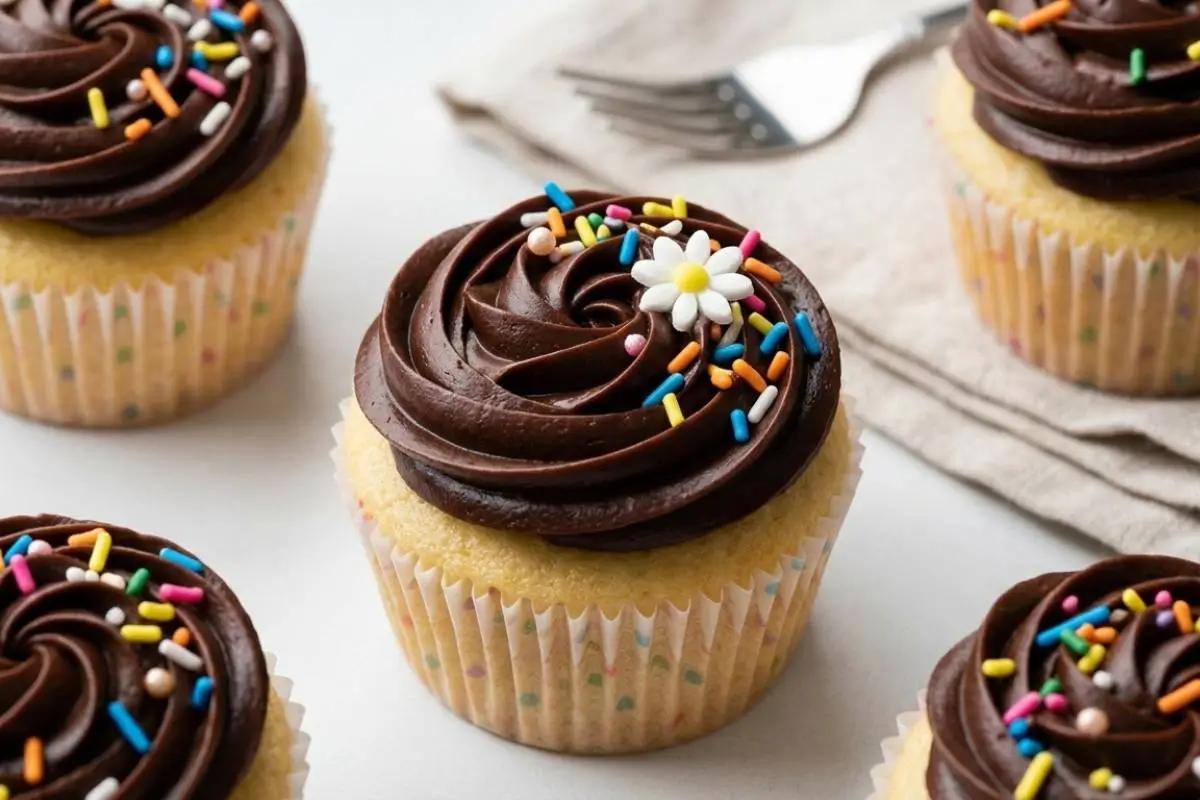
The Gold-Standard Gluten-Free Cupcake
Ingredients
Method
- Preheat your oven to 350F and line a muffin pan with cupcake liners.
- In a measuring cup, whisk the milk and cider vinegar together and let it sit for 5 minutes.
- In a bowl, mix the gluten-free flour, cornstarch, baking powder, and salt, then set it aside.
- In a stand mixer, cream the butter and sugar, then add the egg, egg yolks, and vanilla until fluffy.
- Add one third of the milk mixture alternately with one third of the dry ingredients, beating on medium speed after each addition.
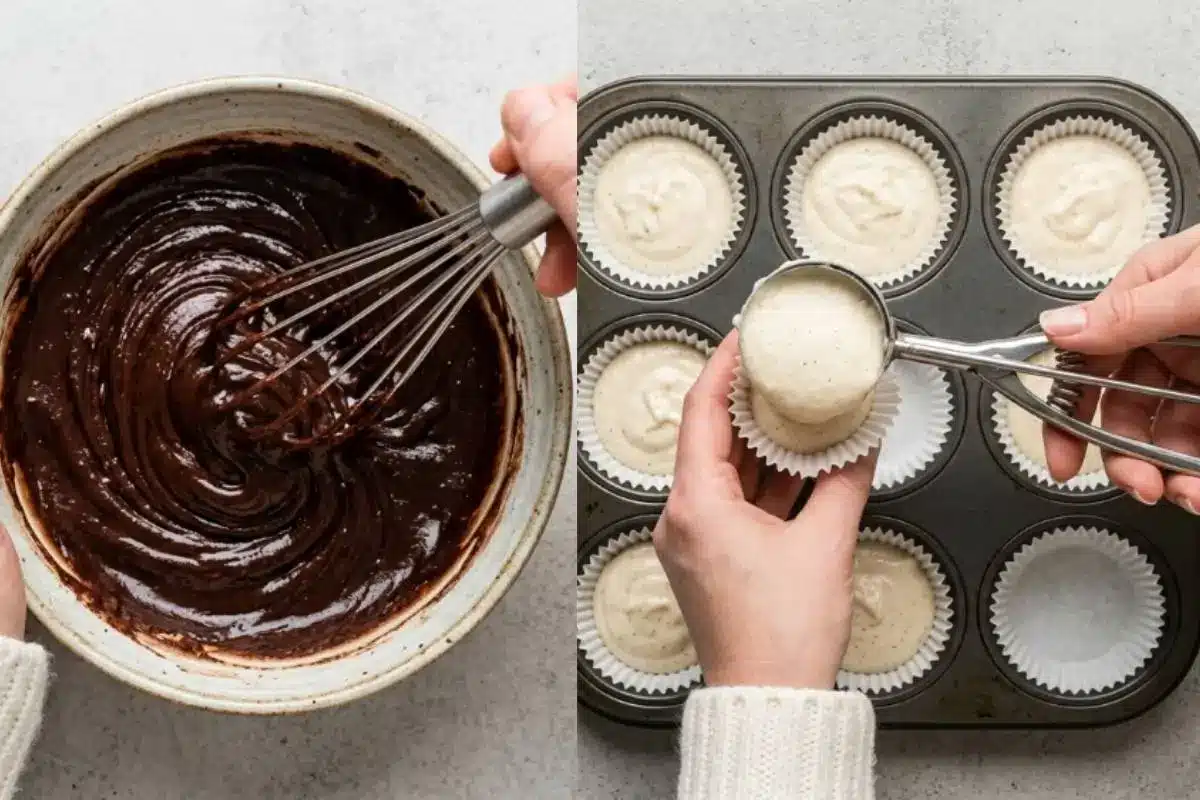
- Scoop the batter into the lined pan and bake for 18 to 20 minutes, or until a toothpick comes out clean.
- Transfer to a wire rack and let them cool completely before frosting.
- For the frosting, mix the cocoa powder to remove lumps, then add the butter and mix until smooth.
- Add the remaining frosting ingredients, mix on low to incorporate, then increase speed to medium until light and fluffy.
- Spread or pipe the frosting over your cooled cupcakes and enjoy.
Notes
Making Sweet Memories
Before I leave you to your baking, remember this: the true beauty of these cupcakes isn't in the perfect crumb or the glossy frosting.
It’s in the quiet, intentional act of sharing something homemade with the people who matter most to you.
If your frosting is a little messy, or if you sprinkle things with a heavy hand, please don’t worry. Those little "imperfections" are just proof that these were made with love.
My Nonna always used to say that the best ingredient in any recipe is the care you put into it. Keep that in mind, and you’ll always get it right. After all, we’re here for the memories, not the masterpieces. Enjoy every bite!
[…] Gluten-free and dairy-free versions store exactly the same way. […]
[…] want everyone at your table to enjoy this. For a gluten-free crunch, simply use Rice Chex or gluten-free vanilla sandwich cookies, and a 1-to-1 GF flour blend for the cake. If you are dairy-free, […]
[…] you bake without eggs or with gluten-free flour blends, your batter is almost certainly higher in moisture than a standard recipe. Standard […]
[…] you want to create an inclusive table, this is beautifully adaptable. You can use gluten-free chocolate sandwich cookies for the crunch […]