
A chocolate chip mug cake is more than just a quick dessert; it is my secret weapon for those nights when the day's marathon feels like it simply won't end. I remember those evenings so clearly—the house finally quiet, the kids tucked away, the lights dimmed to a soft glow, and the only sound being the gentle hum of the refrigerator.
In those moments, I didn't want a kitchen project. I didn't want to wash heavy bowls or wait for an oven. I just needed a tiny taste of something sweet—a little act of kindness for myself.
If you are standing in your kitchen right now, perhaps feeling a bit weary, please know that it is perfectly okay to keep things simple.
You deserve this. You deserve a moment just for yourself, even if it is only for five minutes.
Looking at a warm, steaming mug on the counter reminds me that the best things in life are often the simplest ones. This is my go-to when I need a "hug in a mug," a soulful little reward that says, “You did enough today.”
The Key Ingredients For Chocolate Chip Mug Cake And Why They Matter
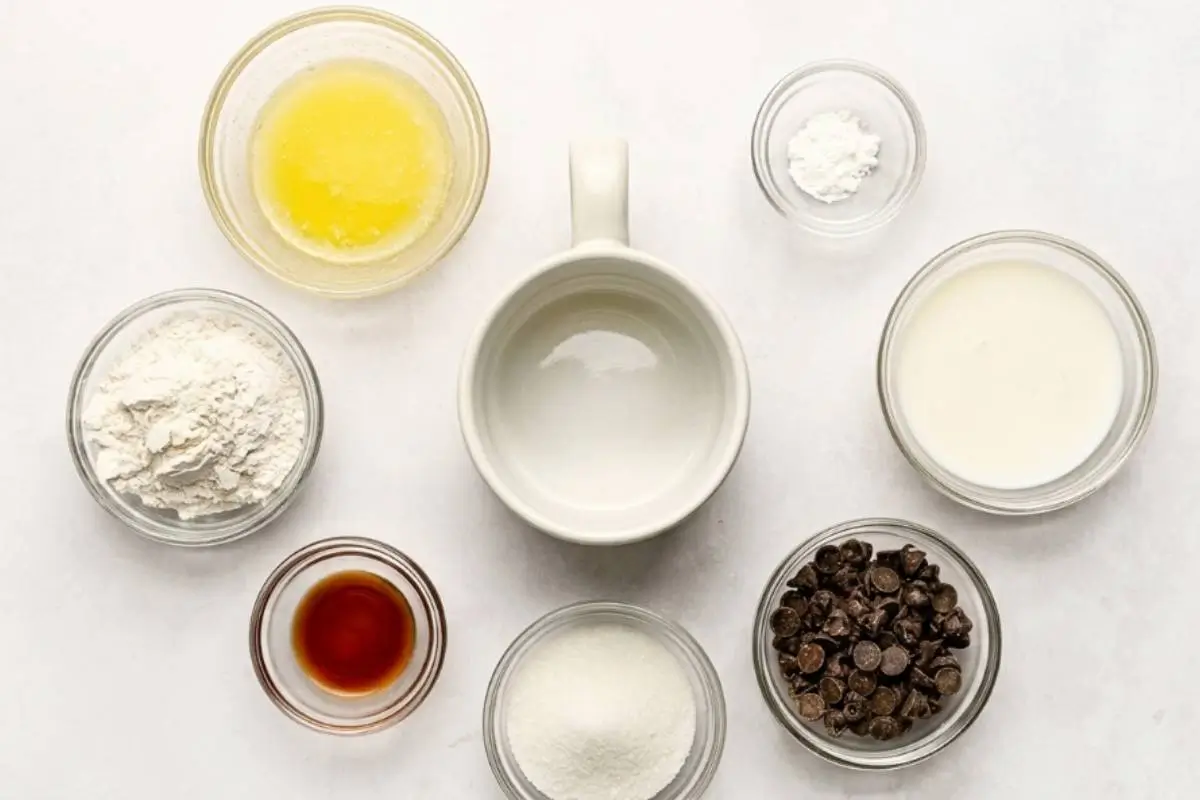
Take a breath; you’re doing great so far. We are just gathering a few humble pantry staples to create something wonderful.
In my home, we believe that simple ingredients, when treated with love, become extraordinary. Let’s look at why these specific components are the secret to your success:
The Brown Sugar: This is the soul of our cake. The molasses in the brown sugar gives it that deep, caramel-like complexity that reminds me of the cookies Nonna used to make.
It creates a chewiness that refined white sugar simply cannot replicate. Make sure to pack it lightly so you get that lovely, moist sweetness.
The "Anti-Rubber" Formula: You might notice we are skipping the egg. I’ve found that in the high-heat, fast-paced environment of a microwave, eggs often turn into "rubbery" little sponges.
By relying on a precise balance of low-fat milk and vegetable oil, we create a tender, soft crumb that holds its own. It’s a trick I learned the hard way after many failed attempts, but now? It’s pure silk.
Aluminum-Free Baking Powder: This is a little detail I learned from years of experimentation. Standard baking powder can sometimes leave a faint metallic tang or, in some cases, cause an odd discoloration.
Using aluminum-free ensures the flavor stays clean and the texture stays light, just like a "proper" cake.
The Chocolate Chips: Use high-quality semisweet chips if you can. As they melt, they create little pockets of molten chocolate that contrast beautifully with the warm, buttery-scented sponge.
If you’re out of dairy milk, oat milk or almond milk works beautifully here, too. Just ensure they are unsweetened so the brown sugar can truly shine. See? You’re already doing beautifully.
The Golden Rule Step-by-Step Instructions
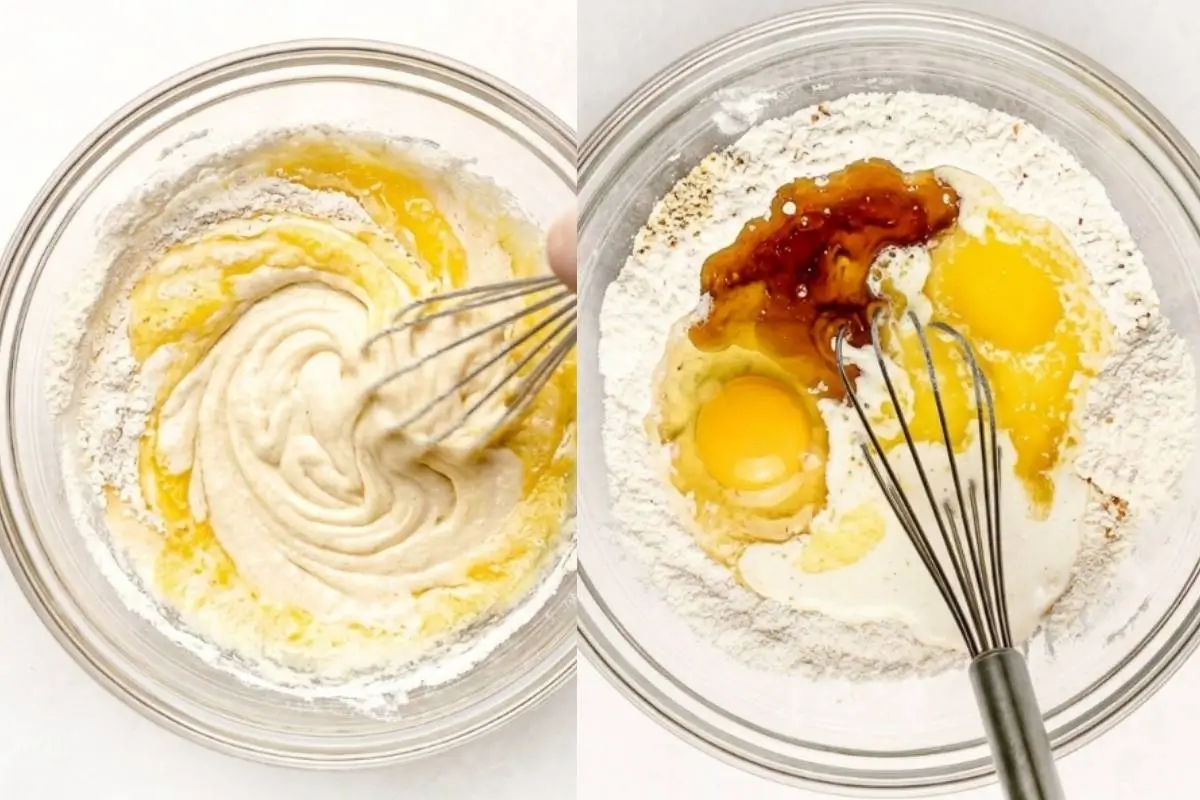
Here’s the part everyone overthinks—but you won’t. We are going to take it one easy, sensory step at a time.
Choose Your Vessel: Grab a microwave-safe mug—ideally 12 to 16 ounces with straight sides. I love using my favorite ceramic mug that feels heavy and warm in my hands. Because this cake rises, the extra space is your best friend to prevent any "volcanic" overflows.
The Mix: Combine your flour, sugar, and baking powder directly in the mug. Use a small, sturdy whisk or a fork to stir. Here is my
Pro tip: be sure to scrape the bottom corners of the mug aggressively. If you see streaks of white flour at the bottom, keep mixing! That little bit of extra effort ensures your cake is consistent from top to bottom.
You’ll know it’s ready when the batter looks like a smooth, uniform ribbon as it falls from your fork.
The Liquid & Chips: Stir in your milk, oil, and vanilla until the batter is smooth. Fold in half of your chocolate chips, and sprinkle the remaining chips right on top. They will sink slightly and create those little pockets of melted chocolate magic.
The Lava Variation: If you’re feeling extra indulgent, you can tuck a half-teaspoon of chocolate hazelnut spread right into the center of the batter before microwaving. It’s a lovely surprise for when you reach the middle—a little hidden treasure that warms the spirit.
The Magic Minute: Microwave on high for about 1 minute. You’ll hear the gentle bubbling of the chocolate—a lovely, comforting sound.
If your mug looks a little messy around the edges when it comes out, don't worry—that’s just the sign of a rustic, homemade treat. It’s meant to be eaten, not put in a museum!
Why This Chocolate Chip Mug Cake Works
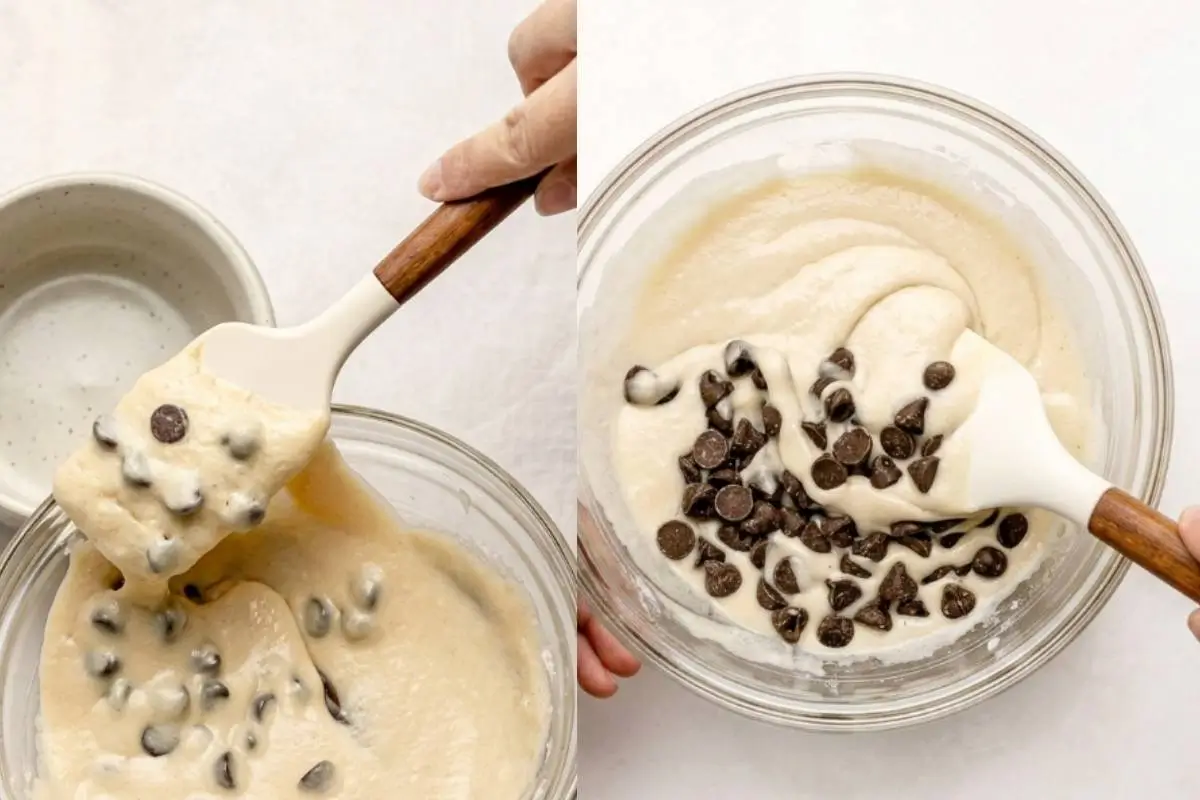
This part is simpler than it looks, and there’s a lovely bit of science behind why it succeeds every time.
The frustration with many mug cakes is that "rubbery" texture that makes them feel like a chore to chew.
By omitting the egg and balancing our fat-to-flour ratio, we’ve created a structure that traps moisture rather than drying out.
The Spoon & Level: When measuring your flour, use a spoon to fill your measuring cup and then level it off with a knife.
Packing the flour into the cup is the enemy of a tender crumb—it makes the cake heavy. We want our cake to feel like a soft, warm cloud.
The Resting Period: This is my most important piece of advice. Let your cake sit for at least 2 minutes after the microwave beeps.
It’s not just for cooling; it’s when the heat redistributes, and the crumb sets into that soft, moist texture we want. If you eat it too fast, it will be piping hot and potentially still a bit gummy. Patience is the final ingredient!
If you found this little moment of calm helpful, I have a few other simple, pantry-friendly treats that are just as easy to whip up when you need a little kindness.
Elena’s No-Fail Tips For Your Chocolate Chip Mug Cake

Help! My cake turned out rubbery—what happened?
It usually means it was overcooked by just a few seconds. Microwaves are like people; they all have different personalities! If yours is very high-wattage, start checking at the 50-second mark. If it looks set but still slightly shiny on top, it’s done.
How do I adjust for my microwave's wattage?
If you have a powerful 1100W microwave, 60 seconds is usually perfect. If you have an older or smaller 700W model, you might need an extra 15–20 seconds.
A quick test is to look for the "bounce"—if you gently poke the top with a teaspoon, it should spring back.
Can I prep ahead?
Absolutely. You can whisk the dry ingredients into a small jar or even keep them in the mug.
When the craving hits, just add the wet ingredients, stir, and microwave. It’s my favorite way to make sure I always have a "moment of calm" ready to go.
Saving a Little Joy for Tomorrow: Storage & Make-Ahead Notes
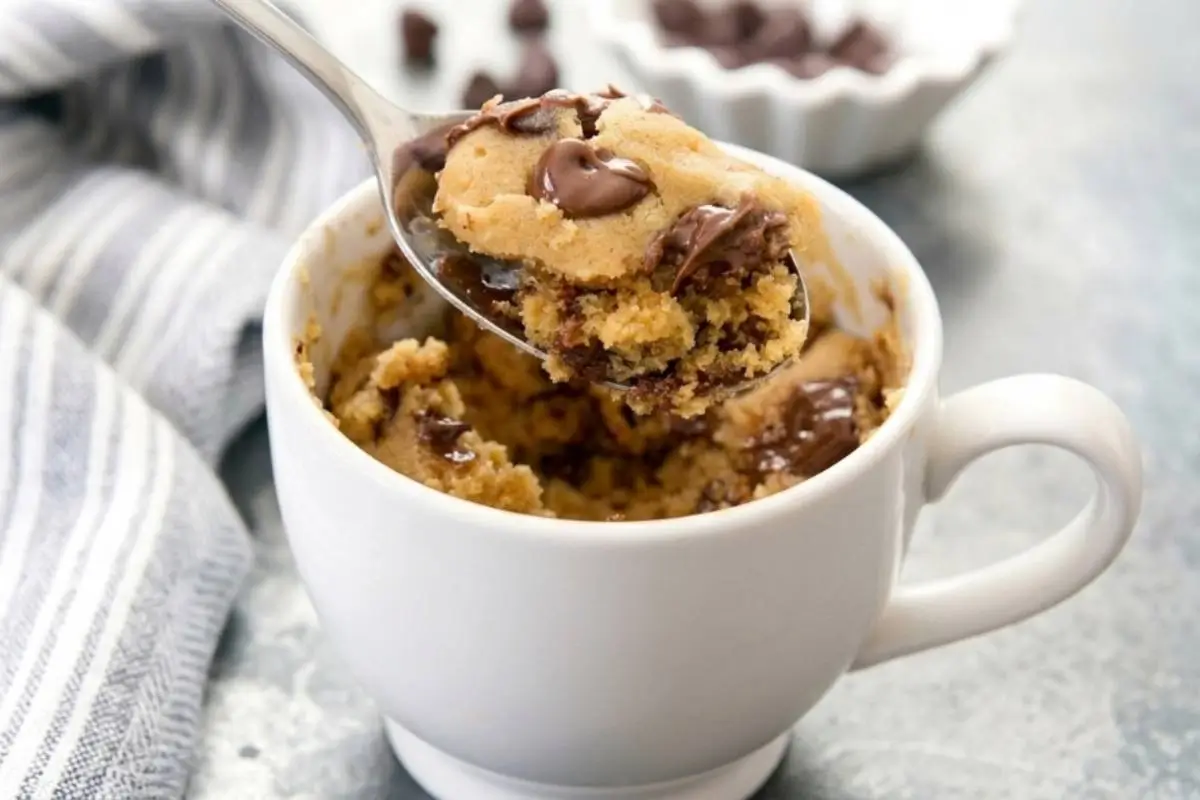
This is truly an "emergency" dessert, and while I recommend enjoying it fresh, you can definitely keep the pre-mixed dry goods in your pantry for whenever the moment calls for it.
If you happen to mix the batter and get interrupted by life’s little marathons, you can cover it and keep it in the fridge for up to 24 hours. Just give it a quick stir before popping it into the microwave.
However, there is something truly special about the smell of warm vanilla and melting sugar wafting through the kitchen in the quiet of the night, so whenever possible, enjoy it fresh.
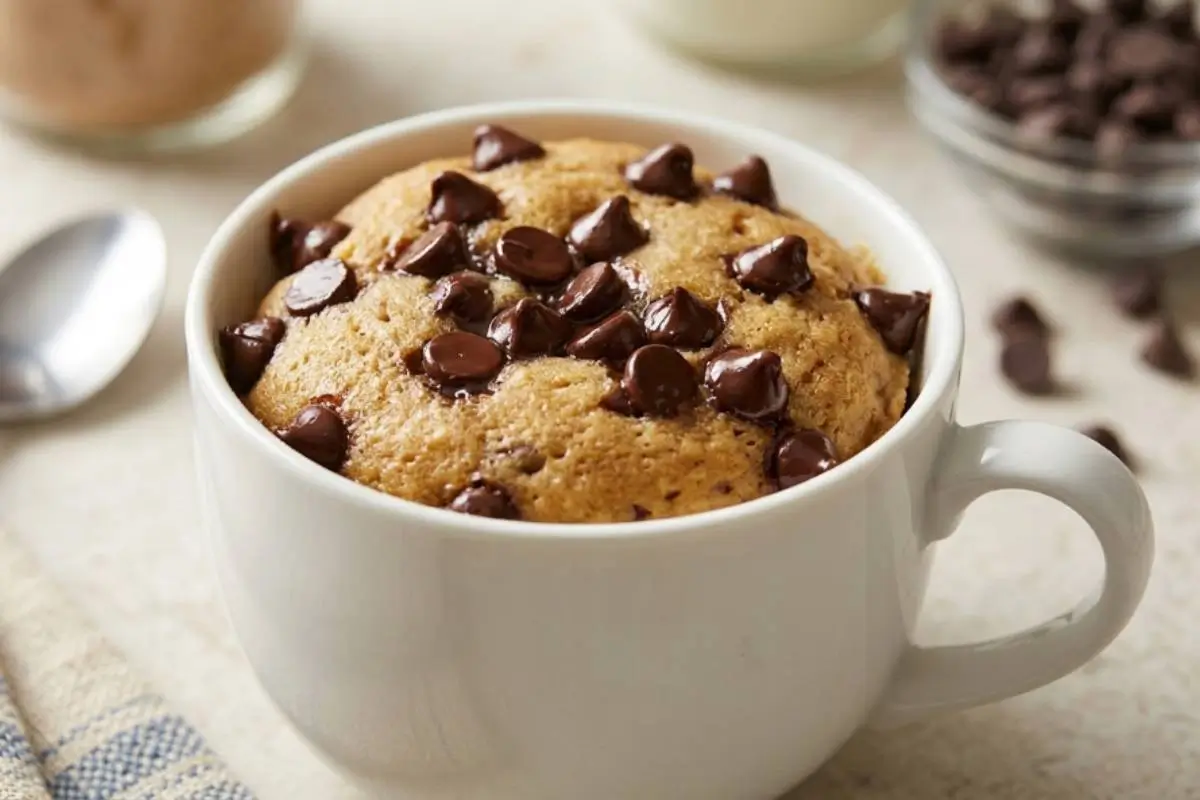
The Quickest Chocolate Chip Mug Cake
Ingredients
Method
- Combine all ingredients except for the chocolate chips into a microwave safe mug. An 8 oz mug works perfectly, as the cake will rise right to the top.
- Mix everything with a small, sturdy whisk until you have a smooth batter with no lumps.
- Stir in half of the chocolate chips, and sprinkle the rest right on top.
- Microwave for about 1 minute.
Notes
Making Sweet Memories
You did it. You took a moment out of your busy day to pause, to nurture yourself, and to create something sweet. This wasn't just about making a cake; it was about honoring your own need for peace.
Remember, life is for living, and cakes are for enjoying—memories over masterpieces, always. I hope this little mug cake provides the warmth you need tonight.
You’ve earned this quiet moment, and I’m so glad we could share it together. As you take that first bite, savor the warmth and the sweetness—you deserve every bit of it.
[…] for structural integrity and ease of serving. Trying to dig an ice cream cake out of a standard cake tin will result in a soupy, scooped mess instead of beautiful, towering […]