
When I bake this Chocolate Chip Cheesecake, I always think about those long afternoons in my Nonna's kitchen, where time seemed to slow down just for us.
We would wait for the old oven to chime, breathing in the sweet, comforting scent of vanilla and sugar, and there was always this beautiful, quiet patience in the air.
Life feels so fast lately, doesn't it? Especially around the holidays, when the high stakes of baking can make us feel so anxious about ruining expensive ingredients.
But I have found that taking the time to bake something truly soulful and foolproof—like this cherished dessert—is a way of reclaiming a little bit of that peace for ourselves.
It is a beautiful, indulgent reminder that you are worth the time it takes to create something wonderful. This recipe is what dreams are made of, and I promise you, it will not greet you with a massive crack down the center.
I know the fear of soggy crusts and catastrophic surface fissures can be paralyzing. That is exactly why I am sharing my "Steam Rack Shortcut" and my "Flour Dusting Secret" with you today.
These are comforting, stress-free alternatives to the clinical, rigid baking methods that take the fun out of the kitchen. Let’s focus on the joy of serving the people we love, rather than the stress of absolute perfection.
The Key Ingredients For Chocolate Chip Cheesecake And Why They Matter
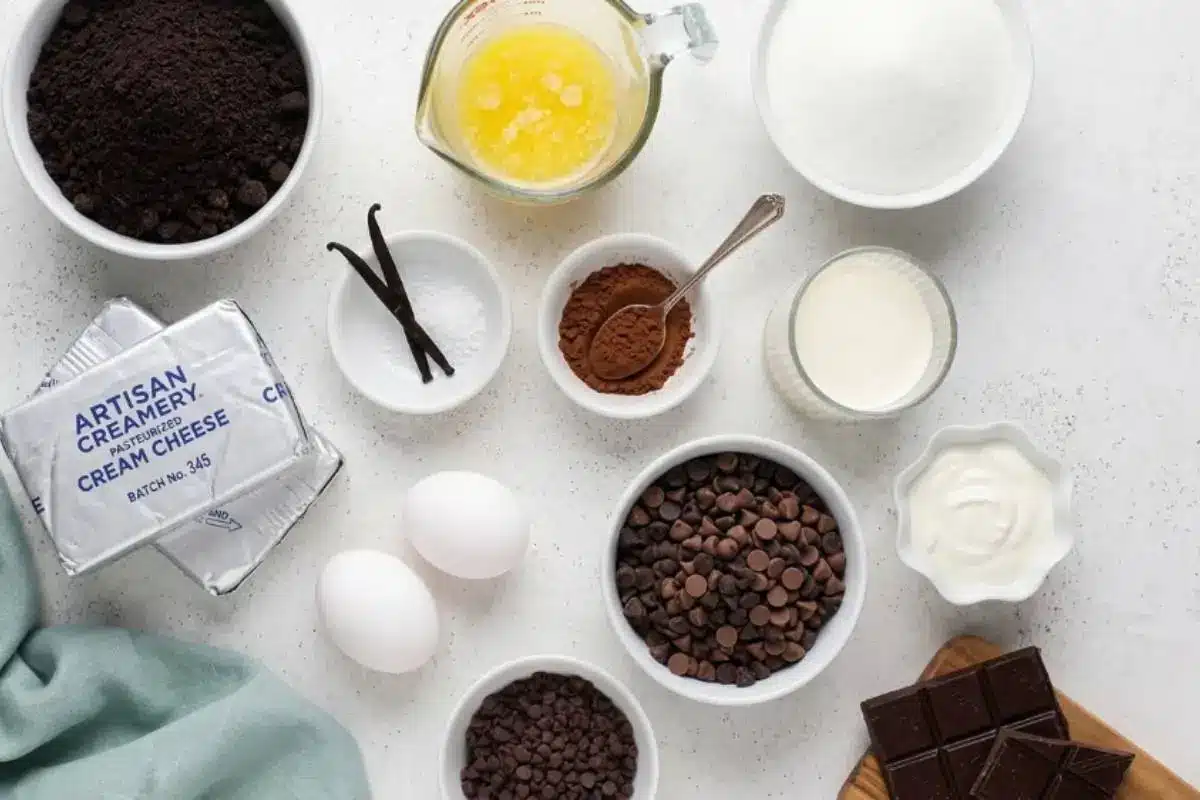
Gathering your ingredients is the first step, and I promise, this part is simpler than it looks. The soft, buttery aroma of graham cracker crumbs mixing in a bowl will instantly make your kitchen feel like home.
Why Room Temperature Ingredients are Non-Negotiable
To achieve a flawlessly smooth filling, your cream cheese and eggs must absolutely be at room temperature before you begin. Cold cream cheese will not blend smoothly, leaving you with a lumpy, grainy batter.
This inevitably forces you to overmix the batter to compensate, whipping in excess air that expands in the oven and causes deep surface cracks.
The Chocolate Chips & The Flour Secret
For the best texture, use mini semisweet chocolate chips.
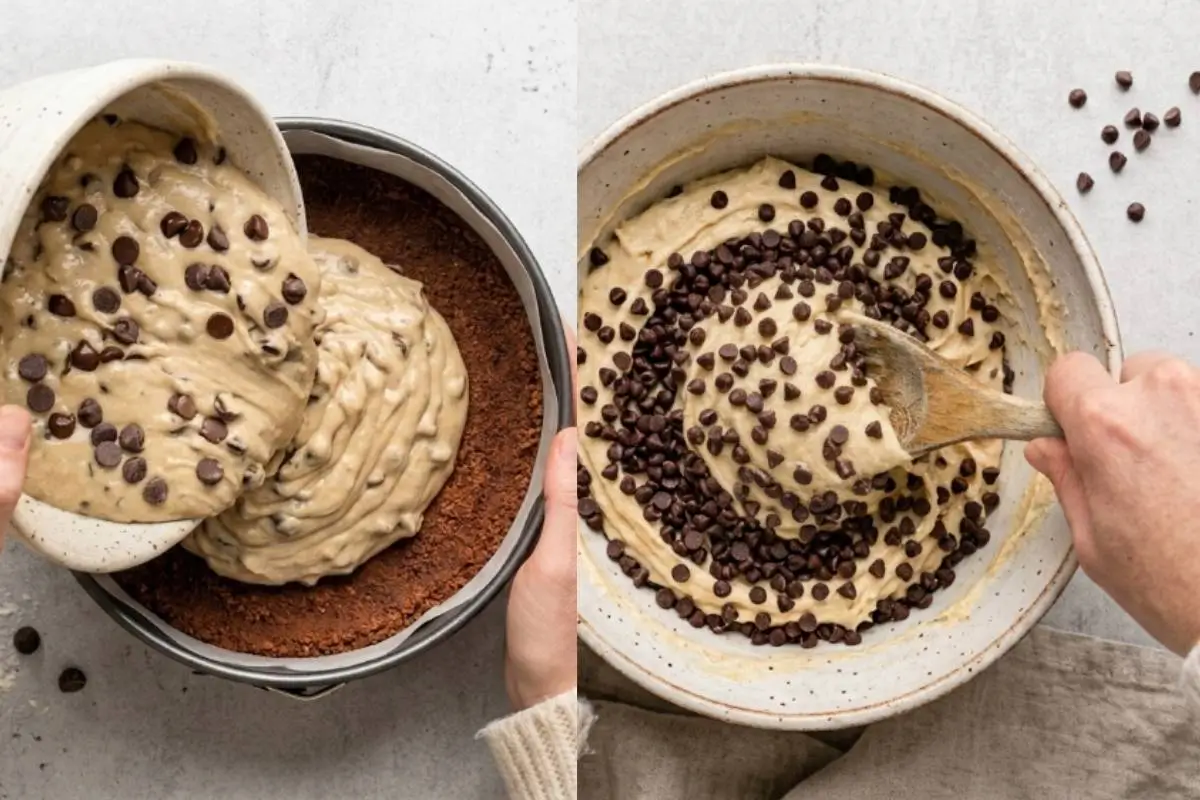
Here is the trick I learned the hard way: you must toss your mini chocolate chips in a light dusting of flour before folding them into the batter. Most people miss this step, but it makes all the difference, ensuring the chips suspend perfectly in the batter rather than sinking to the bottom.
Simple Dietary Modifications
We want everyone at the table to feel loved, so if you need to adjust this recipe, it is incredibly forgiving:
Dairy-Free/Vegan: Swap the cream cheese for soaked raw cashews blended smoothly with coconut cream, or use high-quality commercial plant-based blocks (like Violife).
Gluten-Free: Substitute the graham crackers for gluten-free chocolate sandwich cookies or fine almond flour to create a beautiful, nutty crust.
If you love creamy textures, you’ll also love my ricotta-based desserts, but today, we are focusing purely on decadent chocolate!
See? You’re already doing beautifully.
The Golden Rule Step-by-Step Instructions
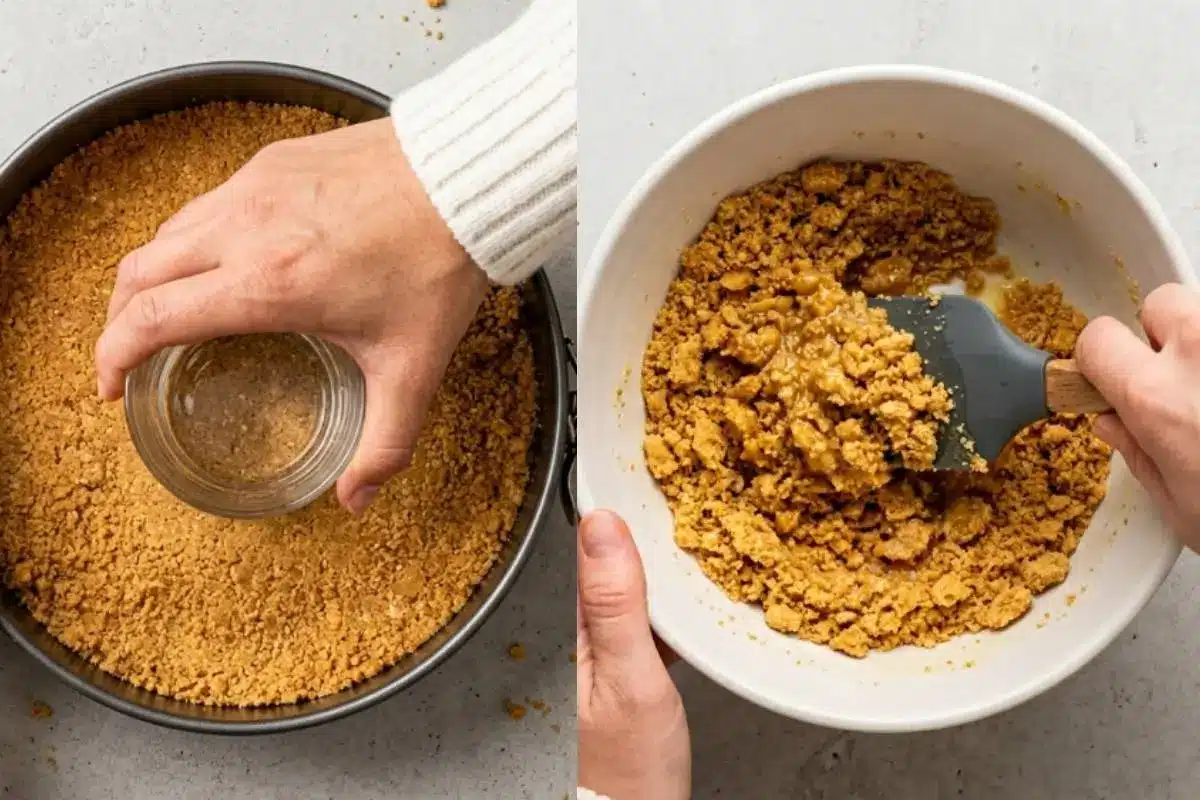
Take a breath; you’re doing great so far, and the oven does most of the heavy lifting here. There is nothing quite like the rhythmic tap-tap of the whisk against the ceramic bowl to ground you in the present moment.
This is what I make when I want something comforting but simple, perfect for slow Sunday afternoons. Follow these gentle rules for guaranteed success:
Prep the Pan: Lightly spray your 9-inch springform pan. No need to wrap it in heavy-duty foil today—we are skipping the messy water bath!
The Crust: Combine your cracker crumbs, sugar, and melted butter until it feels like damp sand. Press it gently into the bottom and 1 inch up the sides. Bake for 10 minutes.
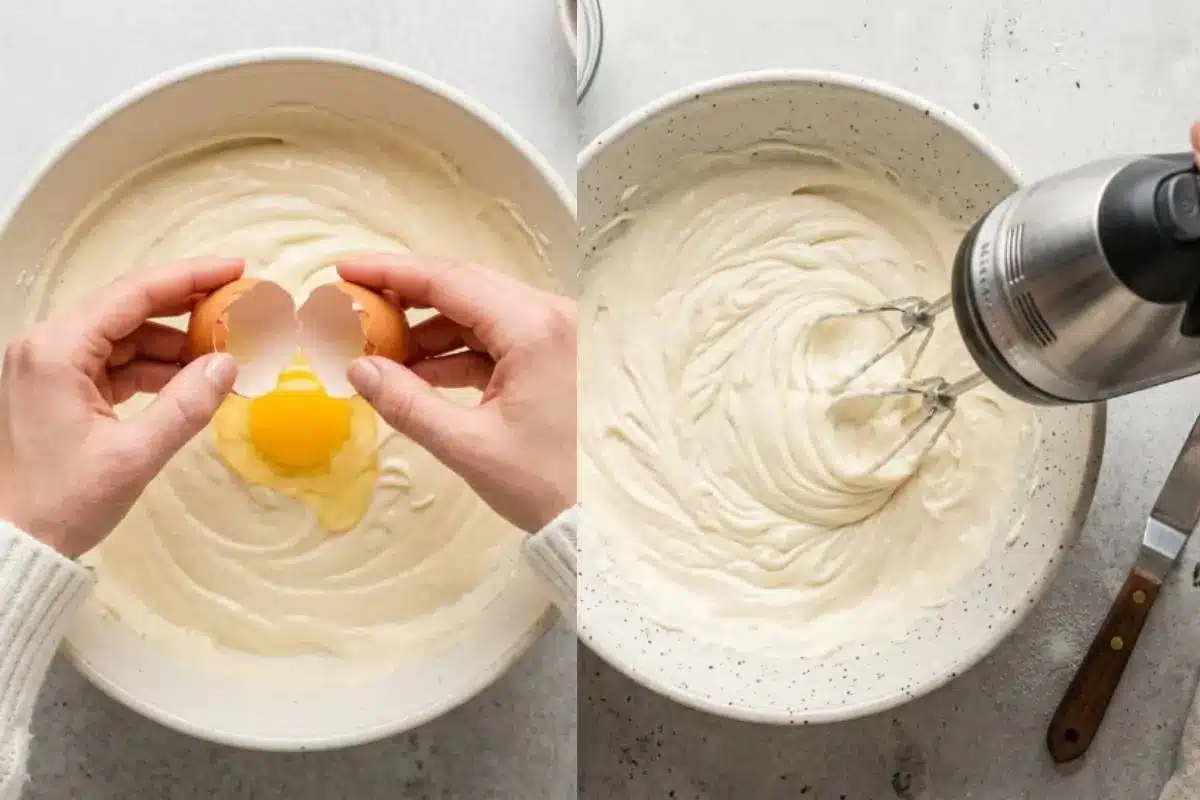
The Cream Cheese Base: Beat your sugar, flour, and softened cream cheese on medium speed for 2 minutes. Scrape down the bowl so nothing is left behind. If your batter looks a little thick here, that’s completely normal.
The Egg Rule: Add the eggs one at a time, on low speed, just until the yellow disappears. This is crucial! Whipping excess air into the batter at this stage is the leading cause of cracks.
Fold Gently: Add the vanilla and heavy cream, mixing briefly. Finally, gently fold in your flour-dusted mini chocolate chips.
The Steam Pan Shortcut: Pour the filling over the crust. Instead of putting your cheesecake inside a water bath, place a large roasting pan filled with boiling water on the oven rack directly beneath your cheesecake.
Bake: Bake for 60-70 minutes. You’ll know it’s right when the edges are completely set, but the center two inches have a slight jiggle. (Imagine a gentle wave—check our video loop if you are unsure what this slightly gelatinous center looks like!).
The Draft Warning: Turn the oven off, crack the door slightly, and let the cake rest inside for exactly one hour. Do not open the door fully or remove it early!
This is where the magic starts to happen.
Why This Chocolate Chip Cheesecake Works
Here’s the part everyone overthinks—but you won’t, because the science is on your side. Even the act of making the topping brings comfort, watching the glossy, bubbling surface of the dark chocolate ganache as you whisk it smooth.
The No-Leak Guarantee: Placing the steam pan on the bottom rack provides the exact humidity needed for a silky, cloud-like texture without the paralyzing fear of water breaching your foil and ruining the beautiful crust. Joy, not perfection!
The Flour Suspension: Tossing the mini chocolate chips in flour defies gravity, ensuring a perfectly even distribution of chocolate in every single bite.
The Gentle Cool-Down: Leaving the oven door cracked for an hour after baking eliminates the sudden shock of cold kitchen air, which is the primary culprit behind the dreaded "Grand Canyon" surface crack.
The Ganache Spackle: A thick, glossy chocolate ganache drip not only adds visual abundance, but it acts as the perfect, stress-free cover-up for any minor bumps or imperfections.
You’re closer than you think—keep going.
Elena’s No-Fail Tips For Your Chocolate Chip Cheesecake
Even the best bakers have questions, and I am right here with you to answer them. As the rich, nutty smell of the toasted graham crust fills your kitchen, you can bake with complete confidence.
Why did my chocolate chips sink?
Chocolate chips sink when they are not dusted with a light coating of flour before being folded in, or if the batter becomes too warm prior to baking.
The flour creates friction, allowing the chips to suspend perfectly in the thick batter rather than dropping to the bottom.
How do I know when my cheesecake is done?
Your cheesecake is perfectly baked when the outer edges are entirely set and slightly puffed, while the center two inches exhibit a slight, gelatinous jiggle when you gently tap the pan. Remember, baking until the center is entirely solid leads to a dry, crumbly texture.
How do I fix a cracked cheesecake?
First, take a deep breath—it always looks a bit imperfect before the topping! Allow the cheesecake to cool slowly as directed so the crack doesn't widen.
Once chilled, simply "spackle" over the crack with our rich fudge ganache or pipe on some fresh whipped cream. No one will ever know!
Can I speed up softening the cream cheese in the microwave?
Please avoid microwaving your cream cheese! Microwaving results in a greasy, uneven batter with separated butterfat and stubborn lumps that will never whisk out. Counter-softening at room temperature for a few hours is mandatory for a silky, perfect texture.
Armed with these secrets, you are going to bake this perfectly.
Saving a Little Joy for Tomorrow: Storage Tips, Freezing & Make-Ahead Notes
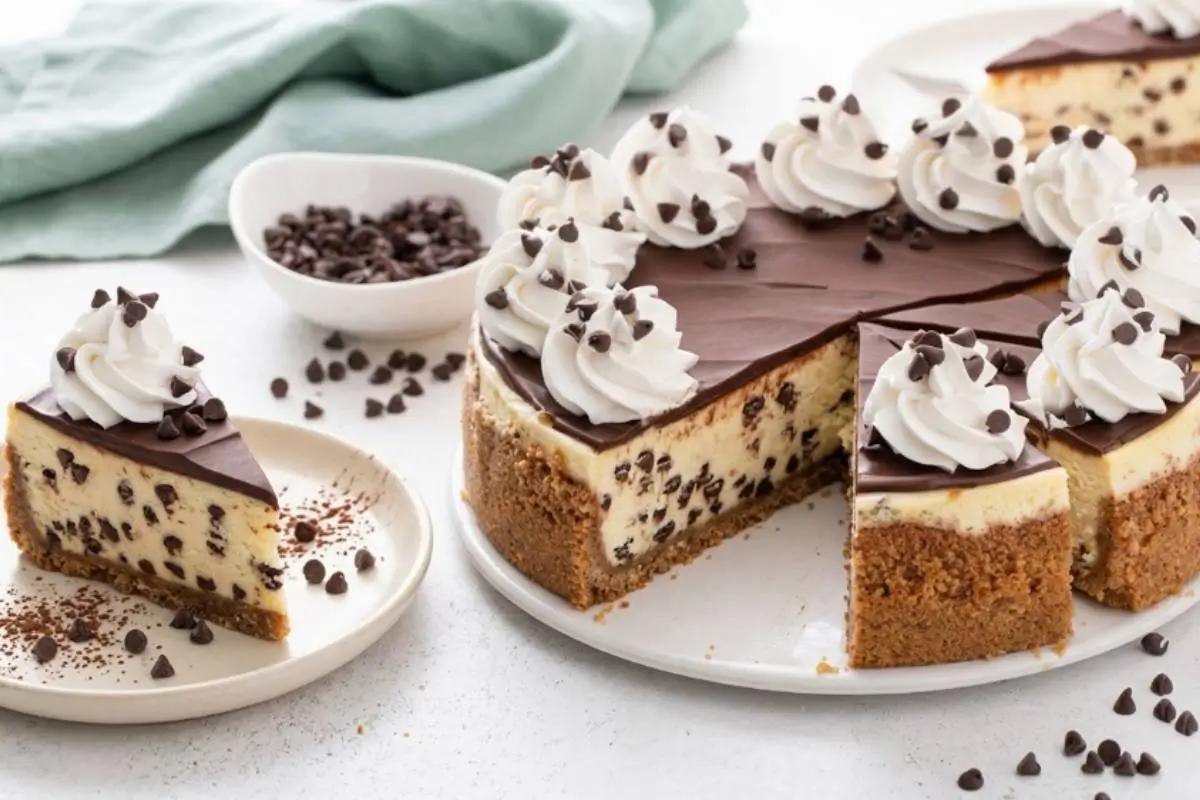
Don't worry about timing; this cake is incredibly forgiving and waits patiently for you. Slicing through the cold, dense, creamy center the next day is a sensory joy of its own.
Knowing you have a beautiful, cherished dessert waiting in the fridge is the ultimate stress-reliever before a busy Sunday dinner or holiday.
Make-Ahead: You can prep the crust and even the ganache up to 48 hours in advance. Keep them tightly covered in the fridge.
Freezing: If you are a high-stakes host planning ahead, a baked, un-topped chocolate chip cheesecake can be tightly wrapped in plastic wrap and aluminum foil and frozen safely for up to one month. Thaw it overnight in the refrigerator before adding your fresh ganache.
Just knowing dessert is done is the best feeling in the world.
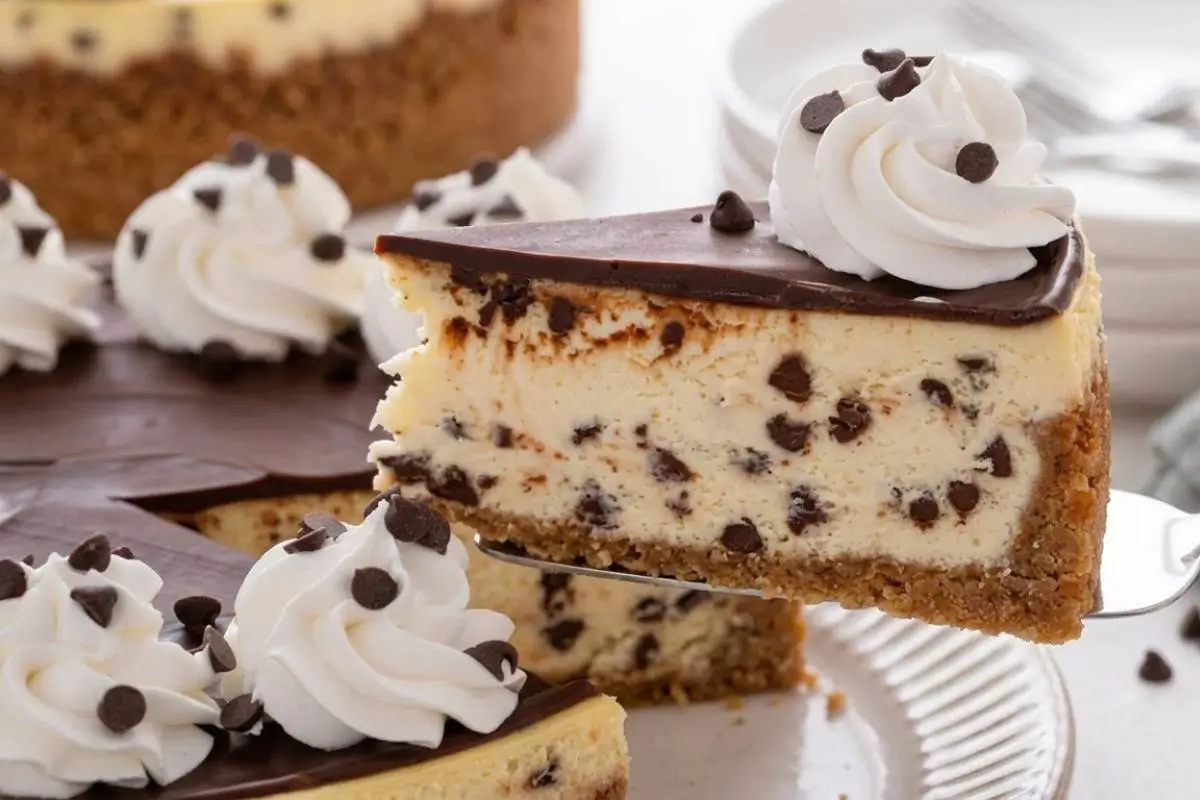
The Most Decadent Chocolate Chip Cheesecake
Ingredients
Method
- Preheat oven to 350 degrees.
- Tightly wrap a 9-inch springform pan in heavy duty foil to prevent leaks. Alternatively, place your 9-inch pan inside a 10-inch round cake pan before putting it into your roasting pan. Lightly spray with nonstick cooking spray.
- Combine the crust ingredients in a medium bowl until evenly distributed. Press into the bottom and 1 inch up the sides of the pan. Bake for 10 minutes, then move to a cooling rack.
- Start a kettle of water to boil.
- In a large bowl, combine the sugar and flour. Add cream cheese and beat on medium speed for 2 minutes. Scrape down the sides and mix for another 30 seconds.
- Add the eggs one at a time, scraping down the bowl as you go.
- Add vanilla and heavy cream, mixing for 30 seconds. Fold in the chocolate chips.
- Pour filling over the crust. Place your cake pan inside a large roasting pan and fill the roasting pan with boiling water until it reaches halfway up the side of the cake pan.
- Bake for 60 to 70 minutes until the edges are set but the center has a slight jiggle. Turn off the oven, crack the door, and let the cake rest inside for one hour.
- Remove from the water bath and cool completely. Refrigerate for at least 8 hours.
- To make the ganache, heat the heavy cream until very hot but not boiling. Pour over the chocolate chips in a bowl and let sit for 5 minutes. Whisk until smooth. Spread over the chilled cheesecake and refrigerate for one more hour.
- Top with whipped cream and more chocolate chips if you like.
Notes
Making Sweet Memories
When the house finally goes quiet at the end of the day, having a slice of this rich, soulful cake waiting for you is such a beautiful reward.
Did your center crack slightly? Don't panic—that’s just a brilliant excuse to add extra ganache! Show us your beautifully 'spackled' slices in the comments below. Remember, in Nonna's kitchen, we bake for memories, not masterpieces.
Buon appetito!