
Making a Philadelphia No-Bake Cheesecake always takes me back to the heavy heat of summer afternoons in Sanremo, when turning on the oven felt like an impossible chore.
I can still see my Nonna pulling a cool block of cream cheese from the fridge, reaching for her heavy ceramic bowl, and moving with a slow, practiced grace that instantly calmed the room.
I know the profound pressure you feel when you are hosting—the longing to create a flawless, high-stakes dessert, mixed with the quiet anxiety that a culinary failure might ruin the night.
You want something cherished and simple, a treat that is both husband-approved and kid-approved. This soulful, comforting recipe is my heritage-rooted secret, and I promise it guarantees a beautiful success.
We often fear wasting expensive ingredients on a runny, humiliating dessert, but technical baking rules are not rigid laws; they are gentle, cozy guidelines that are here to support you.
You can absolutely deliver a visually stunning, deeply heartwarming dessert without losing your peace of mind or spending hours sweating in a hot kitchen. Let’s melt that tension into warmth.
The Key Ingredients For Philadelphia No-Bake Cheesecake And Why They Matter
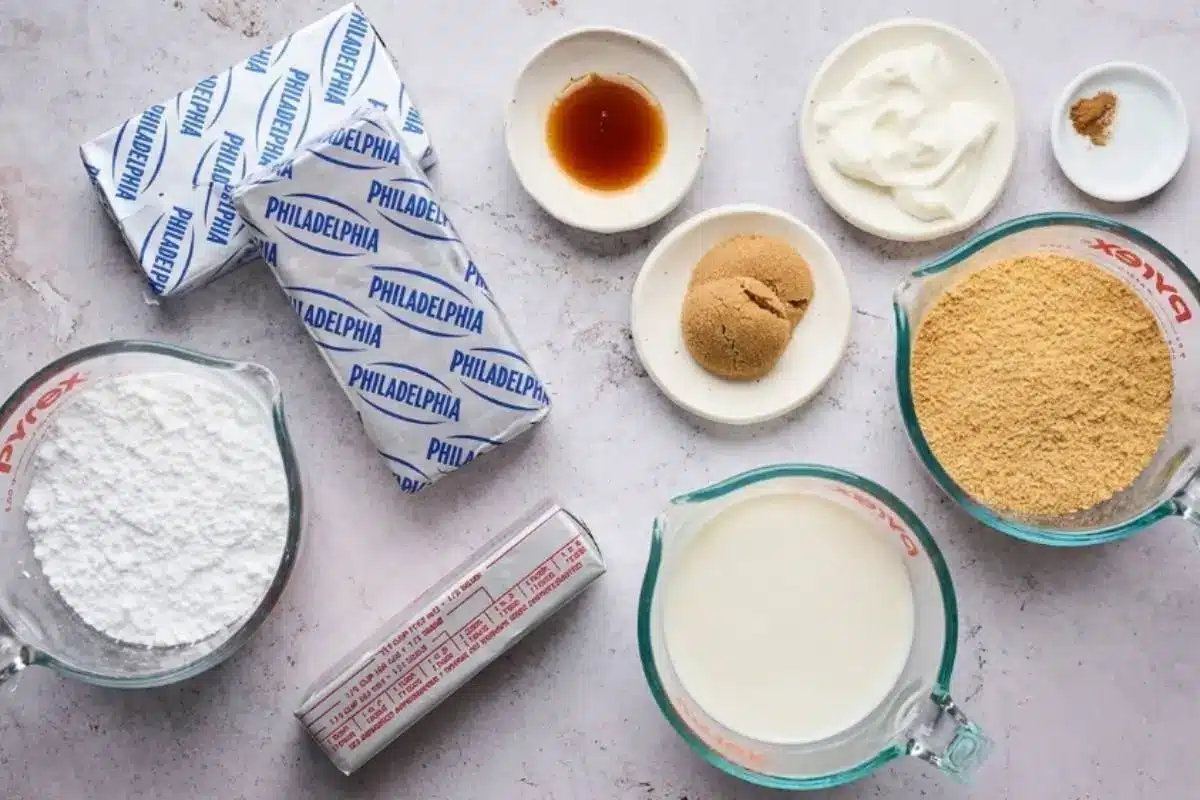
Shopping for baking can feel overwhelming, but this part is simpler than it looks.
The Tub Trap: The most common reason these desserts fail to set is using spreadable tub cream cheese. Tub cream cheese has an altered moisture ratio designed for your morning bagel, and it will leave your filling far too soft. Always reach for the full-fat blocks.
The Temperature Clash: For the silkiest texture, your cream cheese blocks must be completely at room temperature to avoid unfixable lumps, while your heavy cream must be ice cold to whip properly into stiff peaks. Most people miss this step, but it makes all the difference.
The No-Judgment Shortcut: If you are a time-strapped entertainer, I completely validate using Cool Whip instead of whipping heavy cream from scratch! Both the traditional method and the shortcut are joyful choices that fit different hospitality needs perfectly.
Gluten-Free Adaptation: If you are swapping in gluten-free graham crackers, please note that gluten-free cookies absorb butter differently. You may need just a teaspoon or two of extra melted butter to keep the base from being too crumbly.
"Assembly-Core" Variations: If you want to add a beautiful, nostalgic twist, try swapping the traditional graham crackers for crushed Biscoff cookies! The warm, buttery smell of the spiced crumbs is purely nostalgic, and they are beautiful when layered into trendy dessert jars.
See? You’re already doing beautifully.
The Golden Rule Step-by-Step Instructions
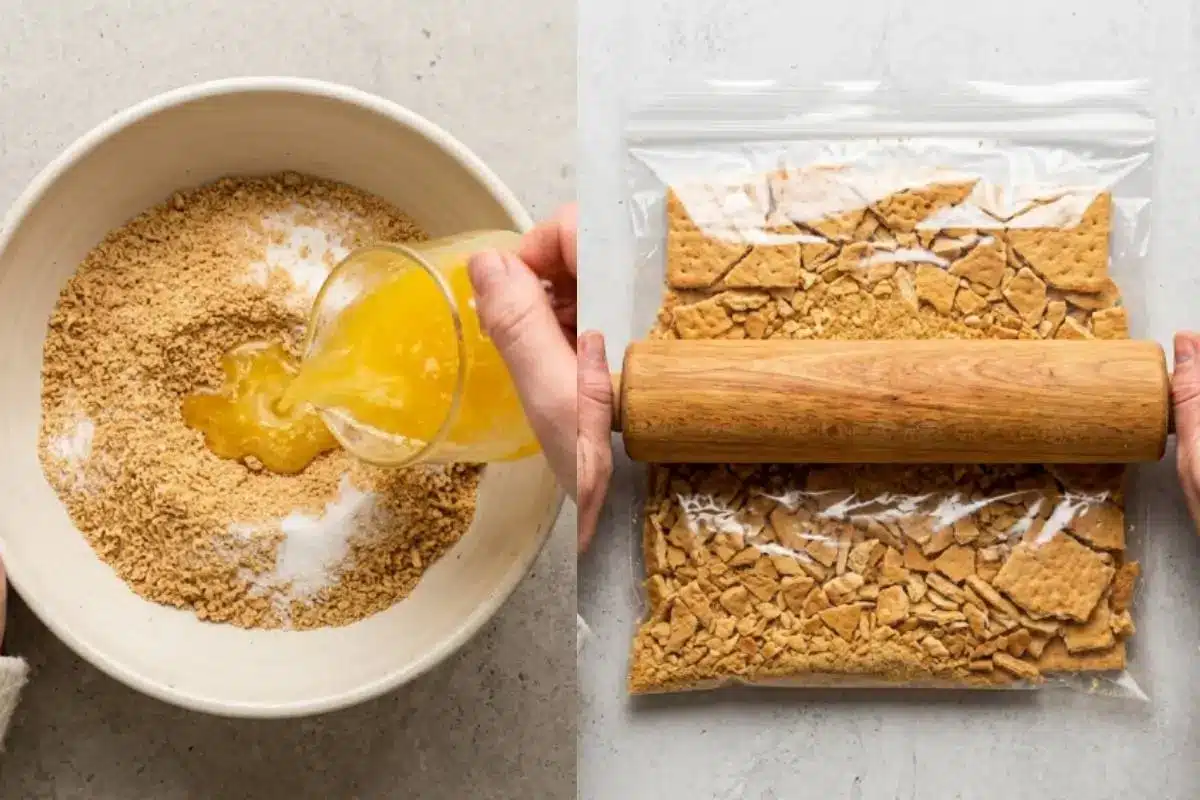
Take a breath; you’re doing great so far, and this is where the fun begins.
The Crust
Prepare your pan: Line the base of a 9-inch springform pan with parchment paper.
Crush the crackers: Crush 13 and 1/2 sheets of graham crackers or digestives into fine crumbs.
Mix the dry ingredients: In a large bowl, mix the cracker crumbs with 1/4 cup of granulated sugar.
Add the butter: Pour in 1/3 cup of melted, unsalted butter and mix well. If your crumb mixture looks a little messy here, that’s completely normal. You’ll know it’s right when it looks and feels like wet sand.
Press and chill: Press the crumb mixture firmly into the bottom of your prepared pan using the flat bottom of a measuring cup. Chill in the refrigerator for at least 30 minutes.
The Filling
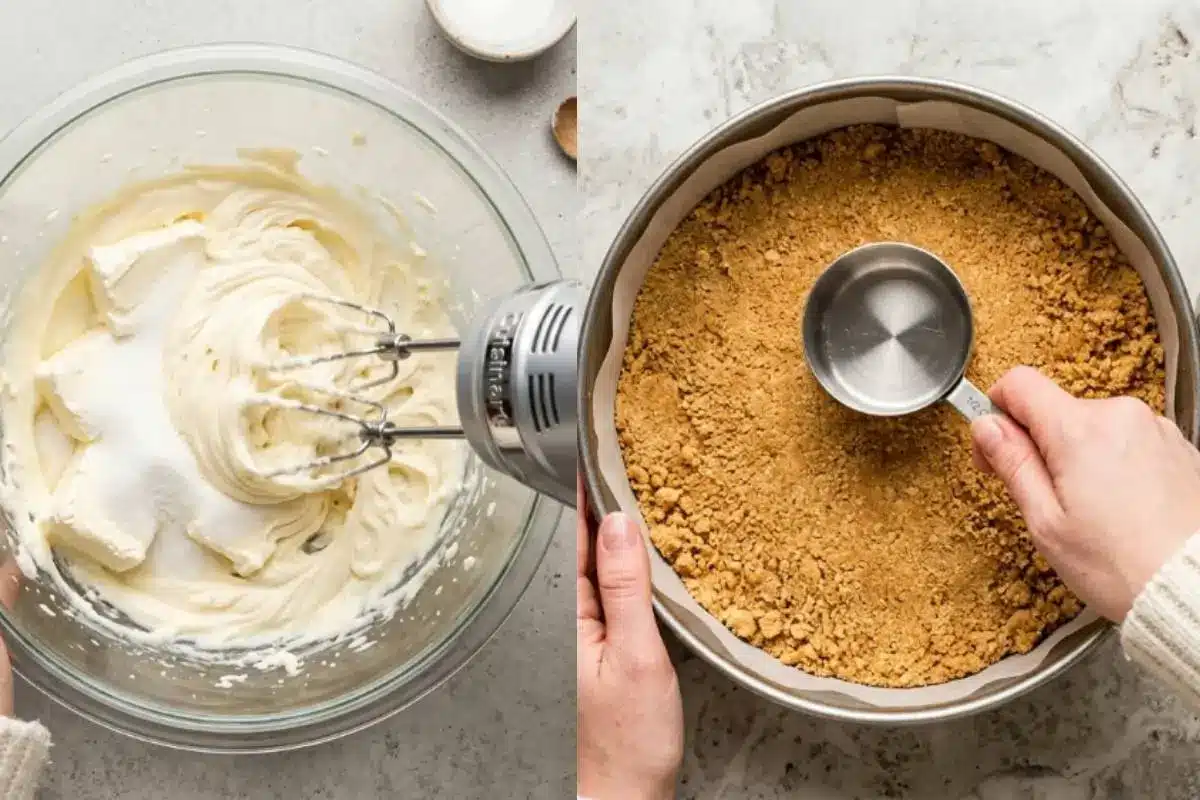
Beat the cream cheese: In a large bowl, beat 2 eight-ounce blocks of softened full-fat cream cheese and 2/3 cup of granulated sugar on medium speed for 2 to 3 minutes until thick and fluffy.
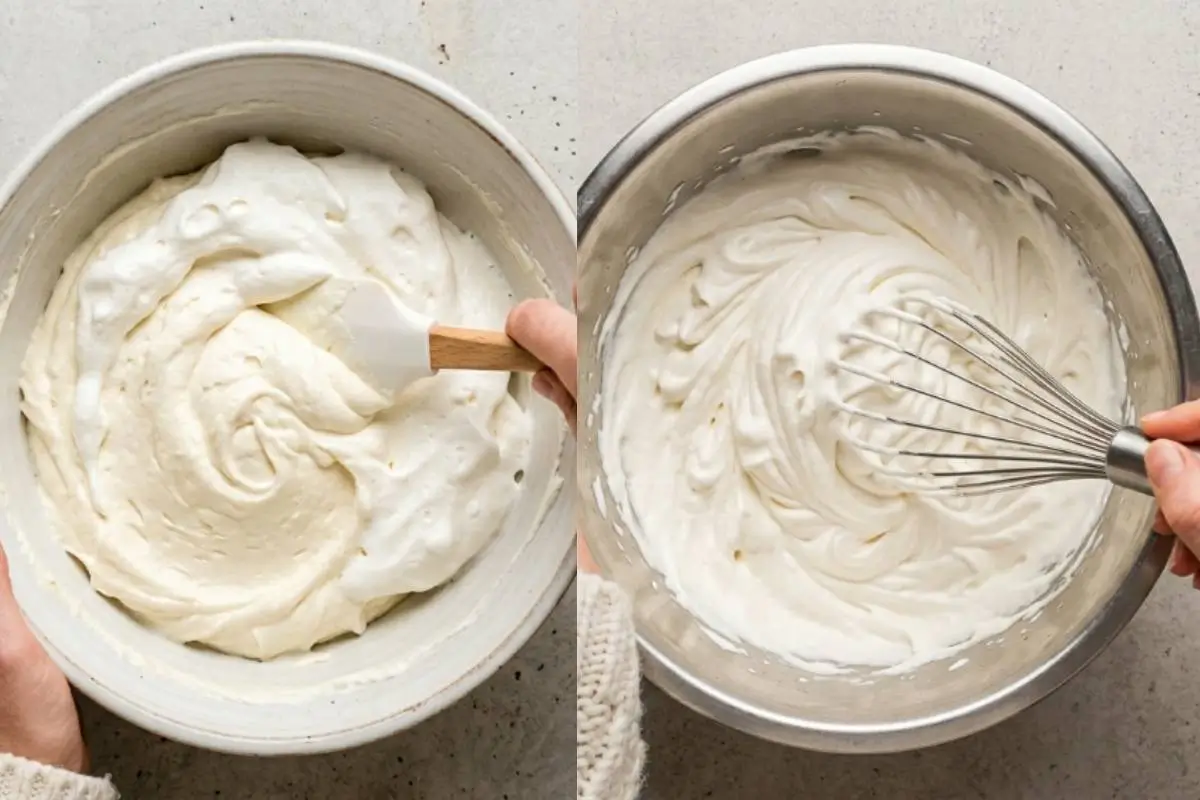
Whip the cream: By using the Elena Two-Bowl Rule, we eliminate the dreaded "cheesecake soup." In a separate bowl, whip 1 cup of cold heavy cream on medium-high speed for 5 to 6 minutes until stiff peaks form. The rhythmic sound of the whisk tapping the heavy bowl always reminds me of Nonna's kitchen!
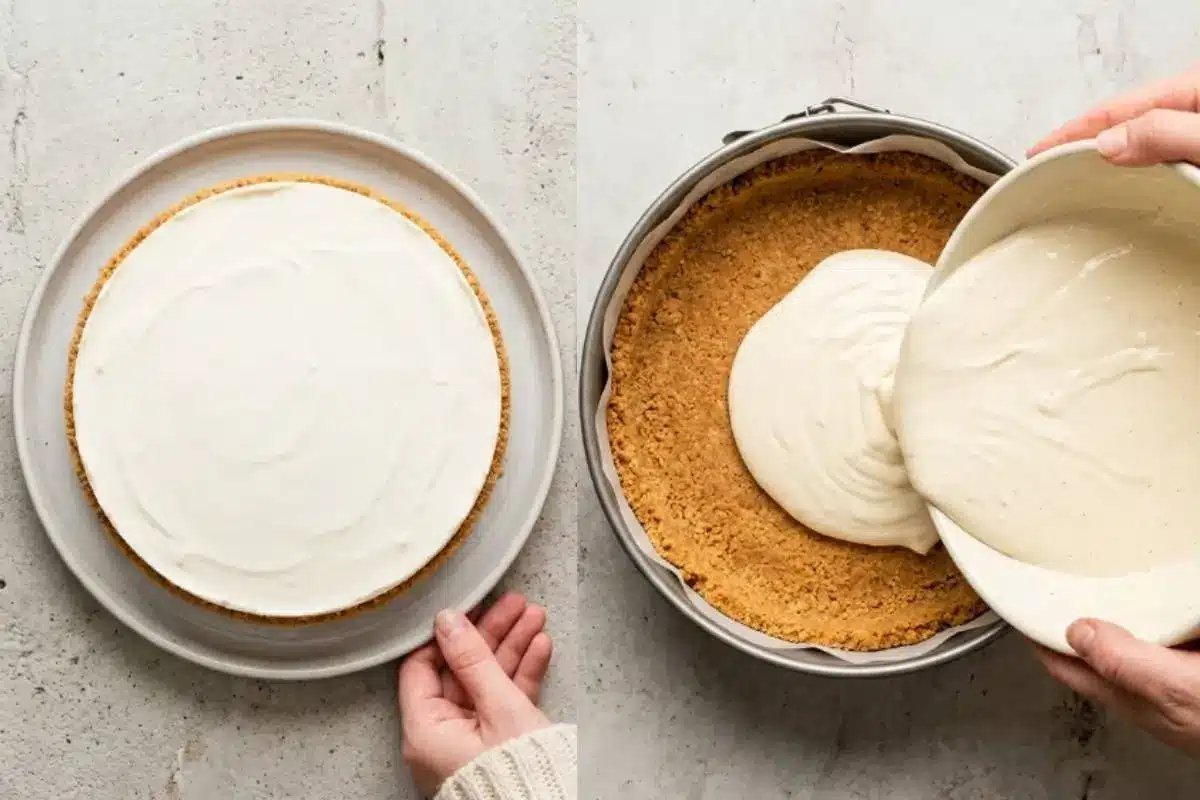
Fold gently: Gently fold the whipped cream into the cream cheese mixture with a spatula. Take your time and be very gentle. Over-beating the combined batter breaks down dairy stabilizers and returns the mixture to a liquid state.
Pour and smooth: Pour your batter over the chilled crust, spreading it out to the edges.
Chill thoroughly: Cover the pan and let it chill in the refrigerator for at least 6 hours, though overnight is truly the best. This exact timing guarantees structural success for the busy host.
This is where the magic starts to happen.
Why This Philadelphia No-Bake Cheesecake Works
The No-Gelatin Promise: We skip the gelatin entirely. This guarantees a rich, soulful, cloud-like mouthfeel, completely avoiding that controversial, rubbery "Jell-O-like" texture.
The Perfect Crust Ratio: Our specific melted butter-to-sugar-to-crumb ratio acts as a perfect binding agent. It guarantees you get clean, beautiful slices without the graham cracker crust crumbling apart on the plate.
Host-Friendly "Assembly-Core" Flexibility: This exact foolproof batter can be layered directly into wine glasses, mini-shooters, or clear plastic cups. It is a stunning, beautiful presentation that lets you skip the stress of pie slicing entirely!
You’re building a masterpiece, layer by simple layer.
Elena’s No-Fail Tips For Your Philadelphia No-Bake Cheesecake
If you are feeling a little nervous about getting it perfect, let me put your mind at ease. This is what I make when I want something comforting but simple, and I ruined this recipe twice before I figured this out, so you don't have to!
Why does my filling turn into "cheesecake soup"?
A runny filling is almost always caused by overmixing the final batter or using spreadable tub cream cheese instead of blocks.
To avoid this, strictly adhere to the Two-Bowl method, separating your whipped cream from your beaten cream cheese, and fold them together with a very light hand.
Should I use Cool Whip or heavy cream?
Heavy cream provides a dense, rich, and traditional texture that feels incredibly luxurious. However, Cool Whip is a perfectly valid, foolproof shortcut that guarantees the dessert will set beautifully for busy hosts.
If you love creamy textures, you’ll also love my ricotta-based desserts, where we use similar simple shortcuts!
How do I get clean slices without the crust crumbling?
The secret is in the pressure and the patience. Pack that wet-sand texture incredibly firmly into the bottom of the pan using a heavy measuring cup, and completely respect the minimum 6-hour chill time. The butter needs those hours to solidify and bind the crumbs.
You’re closer than you think keep going.
Saving a Little Joy for Tomorrow: Storage Tips, Freezing & Make-Ahead Notes
The best part of this recipe is that it actually wants you to rest before your guests arrive. Because this dessert must be made in advance, it is the ultimate hospitality secret for any busy host. You can completely prepare it the day before your event, allowing you actually to enjoy your own party.
The Freezer Fallacy: Please resist the temptation to freeze the cheesecake to make it set faster! Freezing ruins the velvety, soft texture, resulting in a fractured crust and an icy, unpleasant filling once it thaws.
Refrigerator Storage: Instead, rely on standard refrigerator storage. Keep the pan tightly wrapped in plastic wrap or aluminum foil.
It will keep beautifully in the fridge for up to 4 days, with the golden edges of the crust staying perfectly intact, tasting just like Nonna's every single time.
See? Your future self will thank you for this.
The Creamiest Philadelphia No Bake Cheesecake
Ingredients
Method
- Line the base of a 9-inch springform pan with parchment paper.
- Crush your graham crackers into fine crumbs using a food processor or by crushing them in a plastic bag with a rolling pin.
- In a large bowl, mix the cracker crumbs with the granulated sugar.
- Pour in the melted butter and mix until it looks like wet sand.
- Press the crumb mixture firmly into the bottom of your prepared pan using a spatula or the bottom of a measuring cup. Put the crust in the refrigerator to chill for at least 30 minutes.
- In a large bowl, beat the softened cream cheese and sugar together on medium speed for about 2 to 3 minutes until thick and fluffy.
- In a separate bowl, whip the cold heavy cream on medium-high speed for 5 to 6 minutes until stiff peaks form. The cream should hold its shape wonderfully.
- Gently fold the whipped cream into the cream cheese mixture with a spatula. Take your time and be very gentle so the cream stays light and fluffy.
- Pour your cheesecake batter over the chilled crust, spreading it out to the edges and smoothing the top lightly.
- Cover the pan with plastic wrap or aluminum foil and let it chill in the refrigerator for at least 6 hours, or overnight if possible.
- When it is fully set, gently lift the cover. Run a warm knife around the edges to help release it from the pan, slice, and serve.
Notes
Making Sweet Memories
I hope this recipe brings a deep sense of peace to your kitchen. I will always remember the feeling of those cookie crumbs scattered across the floor in Sanremo, crunching under our feet as we worked, and the comforting patience in Nonna’s voice.
She taught me that the sweetest celebrations are simply about the people gathered around your table, not the hours of stress you endured before they arrived.
Embrace joy, not perfection. You are creating beautiful memories, and they do not require a culinary masterpiece to be meaningful. Take this recipe, breathe easy, and enjoy the beautiful moment you’ve created.