
Baking this Oreo Cheesecake always transports me right back to sitting at the worn kitchen table with Nonna, armed with a heavy wooden rolling pin and a plastic bag full of chocolate cookies.
She never worried about the dark cookie crumbs that would inevitably scatter across the table and somehow end up smudged on my nose.
Instead of demanding absolute perfection, she taught me that the most beautiful, soulful celebrations start with a little bit of joyful, chaotic mess.
Today, I know the overwhelming pressure you carry—the intense longing to create a flawless, bakery-worthy dessert centerpiece while juggling a million other hosting tasks.
You are exhausted by the thought of "water bath trauma" and terrified of cutting into a disastrous "cheesecake soup."
It is paralyzing to fear wasting expensive, dairy-heavy ingredients and hours of your precious time, only to end up with a leaking springform pan just as your guests arrive. But this recipe is different.
Unlike clinical, unforgiving baking formulas, this cherished, comforting, tender recipe treats baking as an act of familial love, not a strict science experiment.
I promise you a foolproof path to high-impact visual drama with absolutely zero technical dread, so you can focus on the heartwarming memories instead of the stress.
The Key Ingredients For Oreo Cheesecake And Why They Matter
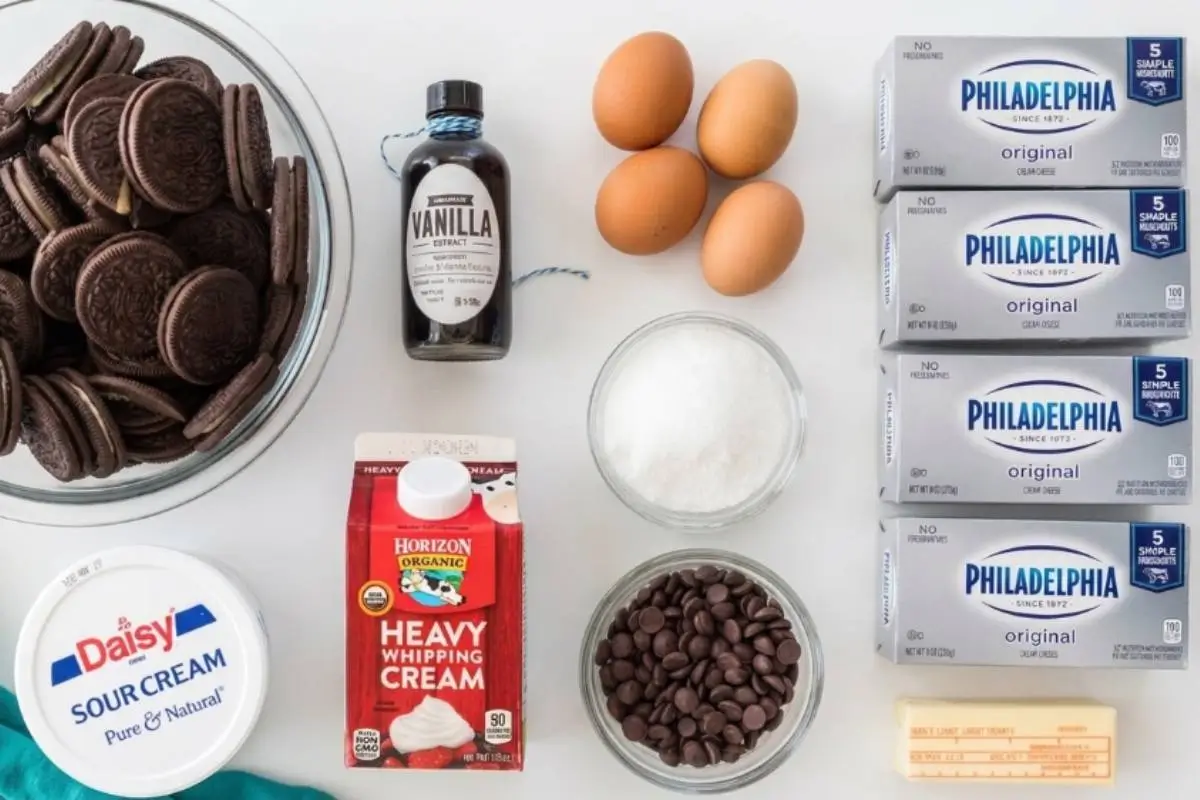
This part is simpler than it looks.
The "Double-Stuf Trap": Please only use standard chocolate sandwich cookies. Using extra-filled cookies drastically alters the fat ratio in your crust, directly causing a "muddy crust" where liquid butter pools at the bottom of the pan.
The Tub Spread Disaster: Full-fat, brick-style cream cheese is an absolute non-negotiable requirement. Tub spreads contain excess water designed for bagels, and using them will cause complete structural collapse in your beautiful dessert.
Cold Cheese Lumps: All of your dairy—the cream cheese, sour cream, and eggs—must be completely softened to room temperature. Most people miss this step, but it makes all the difference in guaranteeing a silky, lump-free batter.
Inclusivity & Modifications: If you are hosting loved ones with dietary needs, you can easily adapt this base! Simply swap in gluten-free chocolate sandwich cookies or use high-quality dairy-free brick cream cheese to ensure everyone feels welcome at your table.
"Assembly-Core" Hosting Hack: If you want zero stress but maximum aesthetic appeal, this exact flavor profile can be layered into clear glass "deconstructed dessert jars."
See? You’re already doing beautifully.
The Golden Rule Step-by-Step Instructions
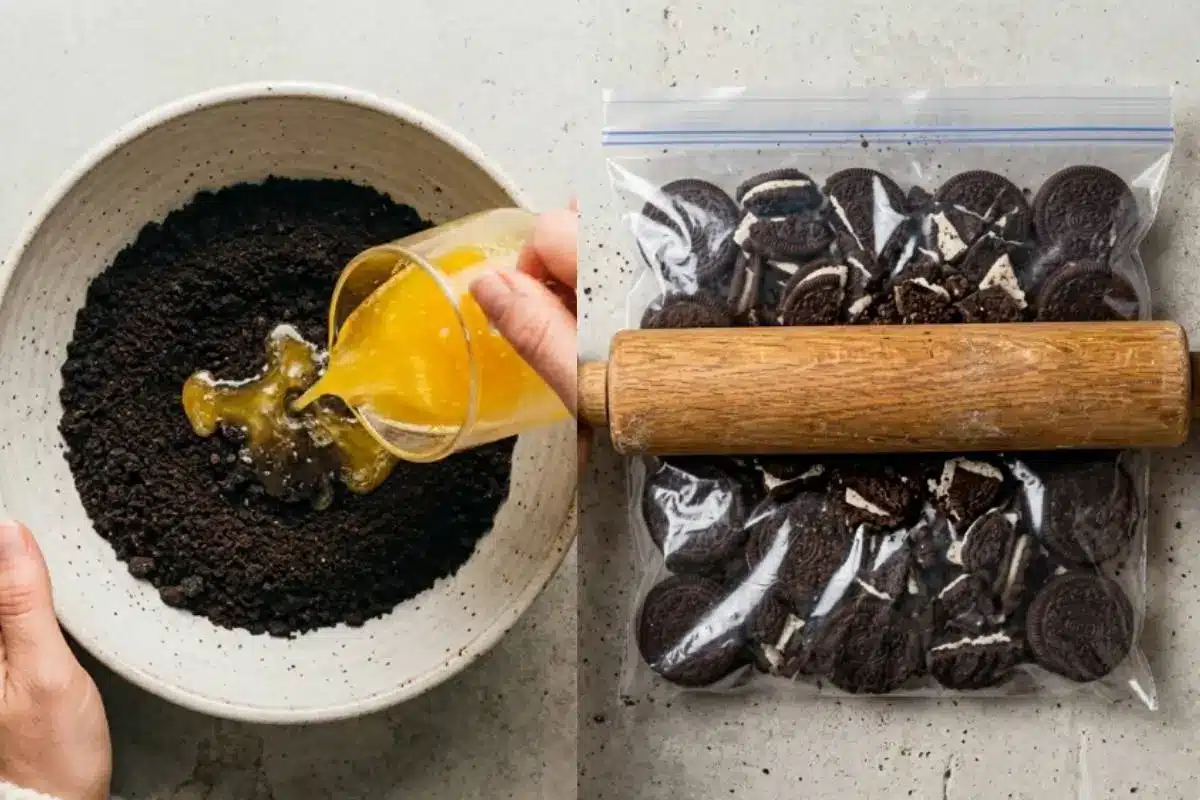
Take a breath; you’re doing great so far. To guarantee a perfect Oreo Cheesecake, prep your crust by scraping out the cookie cream, mix your room-temperature dairy ingredients until smooth, gently fold in coarse cookie chunks, and bake at 325°F without a water bath. Chill for at least 6 hours for a perfect set.
The Crust
Preheat: Preheat your oven to 325°F (160°C).
Twist and scrape: Twist apart 35 chocolate sandwich cookies. Use a butter knife to scrape out the filling, and discard it. This is the ultimate secret to preventing a muddy crust!
Crush the cookies: Toss the scraped cookies into a food processor and pulse until ground into fine crumbs.
Mix and press: Combine the cookie crumbs and 5 Tablespoons of melted unsalted butter in a large bowl, tossing together. Press the crumbs evenly into the bottom and up the sides of a 9-inch springform pan.
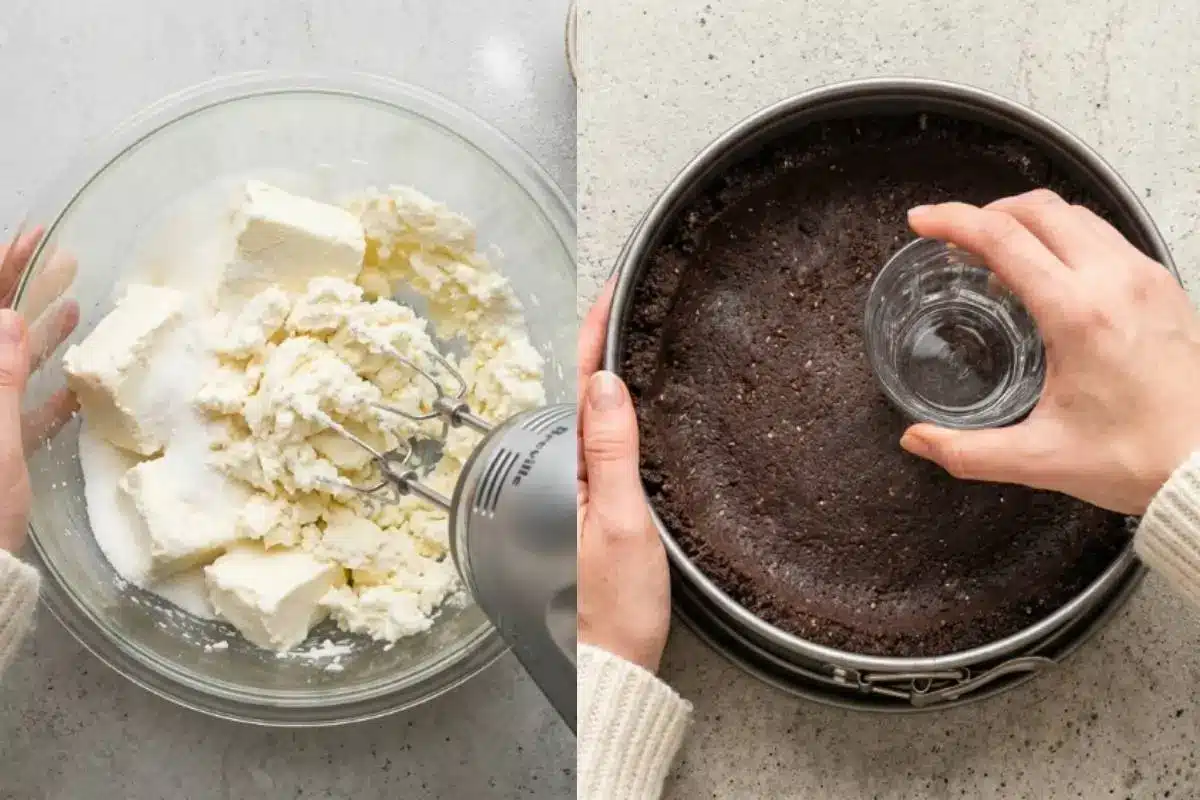
Go as high up as you can to prevent cracks. Elena's Tip: Use the flat bottom of a drinking glass to press the crumbs in firmly! Set aside.
The Filling
Crush the mix-ins: Place 15 whole chocolate sandwich cookies in a large plastic bag. Use a rolling pin to smack them repeatedly into coarse pieces. (This is exactly what I used to do at Nonna's worn table!) Set aside.
Beat the cream cheese: In a large bowl, combine 32 oz of softened brick cream cheese and 1 cup of granulated sugar. Beat on medium-low speed until completely combined, scraping the bowl to ensure no lumps remain.
Add sour cream and vanilla: Stir in 3/4 cup sour cream and 1 teaspoon vanilla extract on low speed until smooth.
Add the eggs: Add 4 room-temperature large eggs one at a time, stirring until just combined. Be careful not to overbeat. If your batter looks slightly thick but smooth here, that’s completely normal! You’ll know it’s right when it looks rich and velvety.
Fold gently: Use a spatula to gently fold in the coarse chocolate cookie chunks. Keep the chunks jagged—this creates that high-contrast, bakery-level cross-section!
Bake without fear: Pour the batter into your pan and smooth the top. Place the pan on a foil-lined baking sheet and bake on the center rack for 50 to 60 minutes. The center should slightly jiggle like set gelatin, but not be liquidy.
Cool and chill: Remove from the oven. Run a knife around the edge if any filling is touching the pan. Cool for an hour at room temperature, then chill in the refrigerator for at least 6 hours (preferably overnight).
The Ganache
Heat the cream: Place 3 oz of semisweet chocolate chips in a heatproof bowl. Heat 1/2 cup heavy cream in a small saucepan until it just simmers.
Melt and drizzle: Pour the hot cream over the chocolate, cover with foil for 5 minutes, then gently whisk until completely smooth. Drizzle evenly over the chilled cheesecake and let set in the fridge for 20 minutes before serving.
This is where the magic starts to happen.
Why This Oreo Cheesecake Works
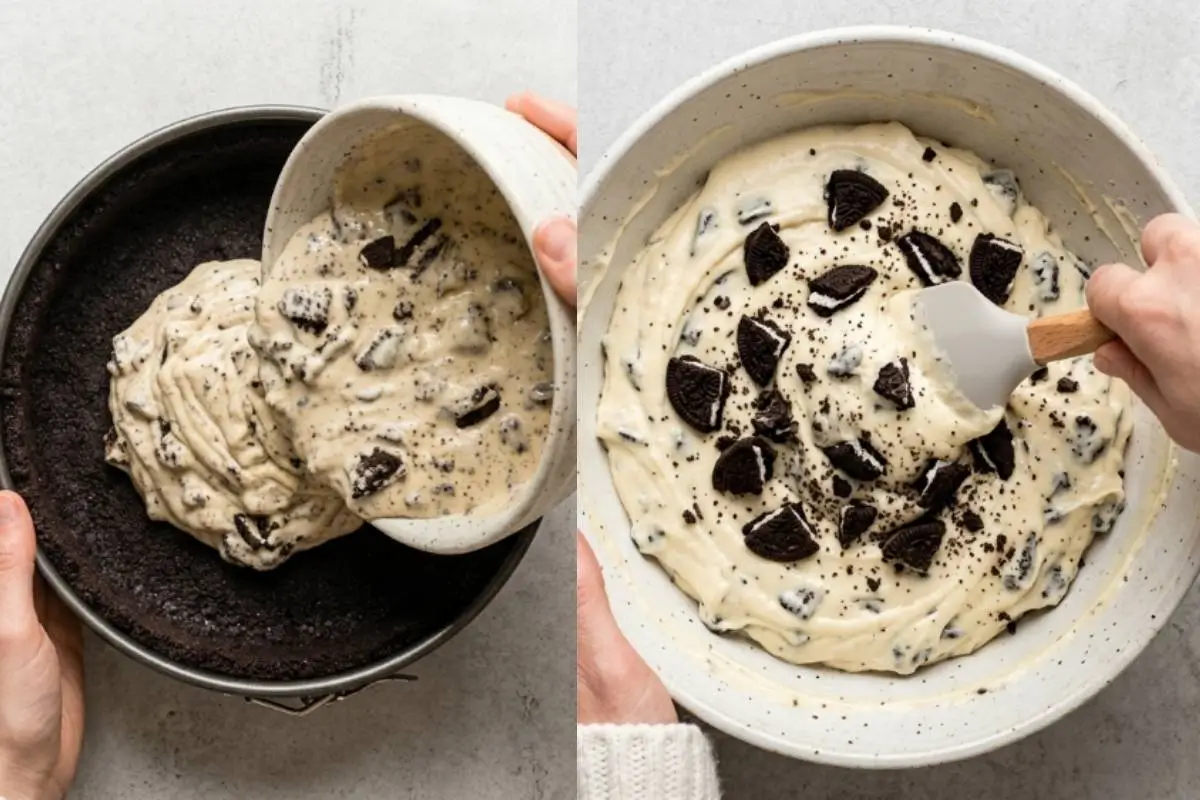
Here’s the part everyone overthinks—but you won’t.
I know the sheer terror of baking a cheesecake from scratch. This is what I make when I want a showstopper but need it to be completely stress-free. It is designed to be the ultimate confidence-builder for your kitchen:
Zero Water Bath Trauma: By baking at a gentle 325°F and relying on the stabilizing power of sour cream, we completely bypass the need for a leaking, stressful water bath.
The Perfect Crust Ratio: Removing the cookie cream and utilizing our exact 5-tablespoon melted butter ratio entirely eliminates the risk of a soggy, crumbly base.
High-Impact Visuals: The stark white, cloud-like filling contrasting against the dark chocolate cookie chunks and glossy ganache delivers the absolute show-stopping aesthetic your guests crave.
Foolproof Texture: As long as you stick to brick cream cheese and room-temperature ingredients, "cheesecake soup" is practically impossible.
If you love creamy textures, you’ll also love my easy ricotta-based desserts, which follow these same forgiving rules. You’re closer than you think—keep going.
Elena’s No-Fail Tips For Your Oreo Cheesecake
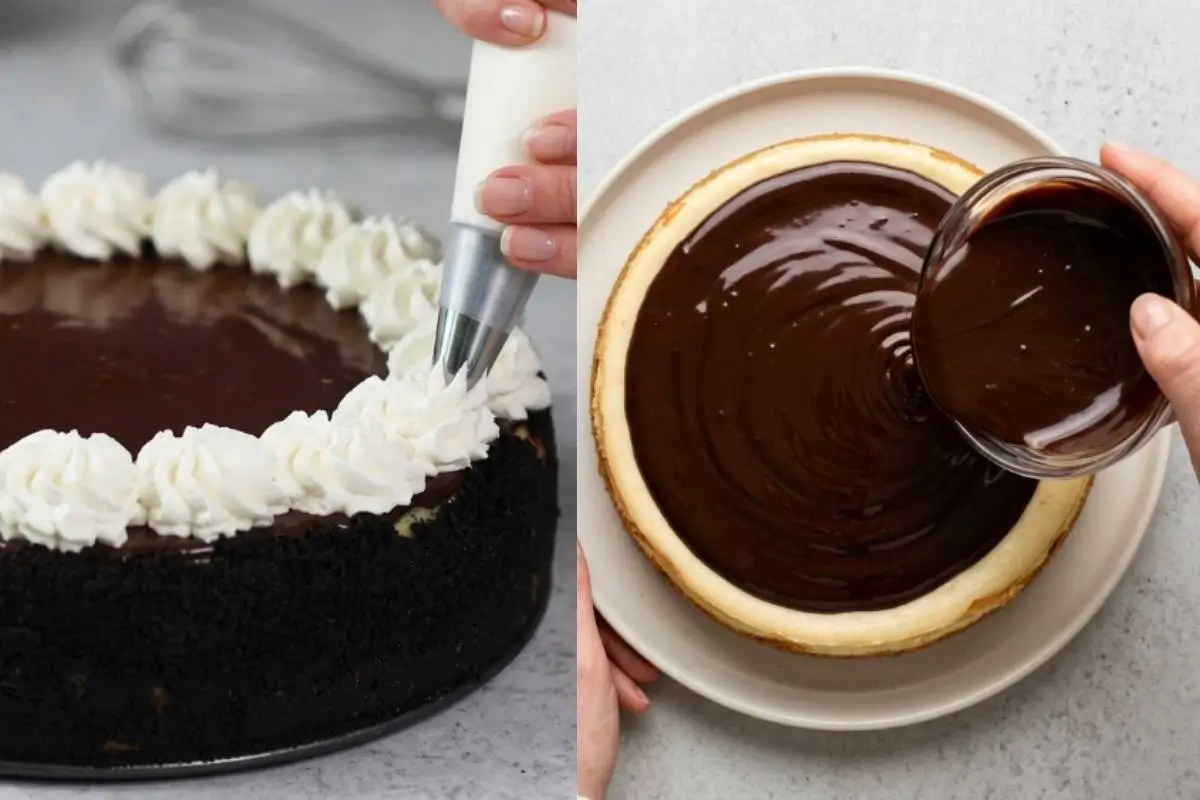
I know stepping into the unknown can feel daunting, but I’ve got you. I ruined this recipe twice before I figured this out, so let my trial and error be your guide.
Do I really need to remove the cream from the cookies for the crust?
Yes, you absolutely do. Leaving the sweet filling inside the cookies adds too much uncontrolled fat when combined with the melted butter. This leads to a rock-hard, muddy disaster at the bottom of your pan instead of a crisp, buttery crust.
Why did my filling turn out lumpy or runny?
This is almost always due to cold ingredients. You must use room-temperature cream cheese and eggs to ensure smooth blending. If the cheese is cold, you will overmix trying to get the lumps out, which breaks down the structure and causes a runny filling.
How do I prevent my springform pan from leaking butter in the oven?
Because we use the correct crumb-to-butter ratio and skip the water bath entirely, pan leaks are incredibly rare! Just to be safe, baking the pan on a foil-lined baking sheet completely protects your oven from any stray butter droplets.
How do I achieve clean, sharp slices without the crust crumbling?
Patience is your best tool. You must respect the full chilling time—a minimum of 6 hours, though overnight is best. When serving, dip a sharp knife into warm water and wipe it completely clean between every single cut.
You have all the secrets now, and you are doing wonderfully.
Saving a Little Joy for Tomorrow: Storage Tips, Freezing & Make-Ahead Notes
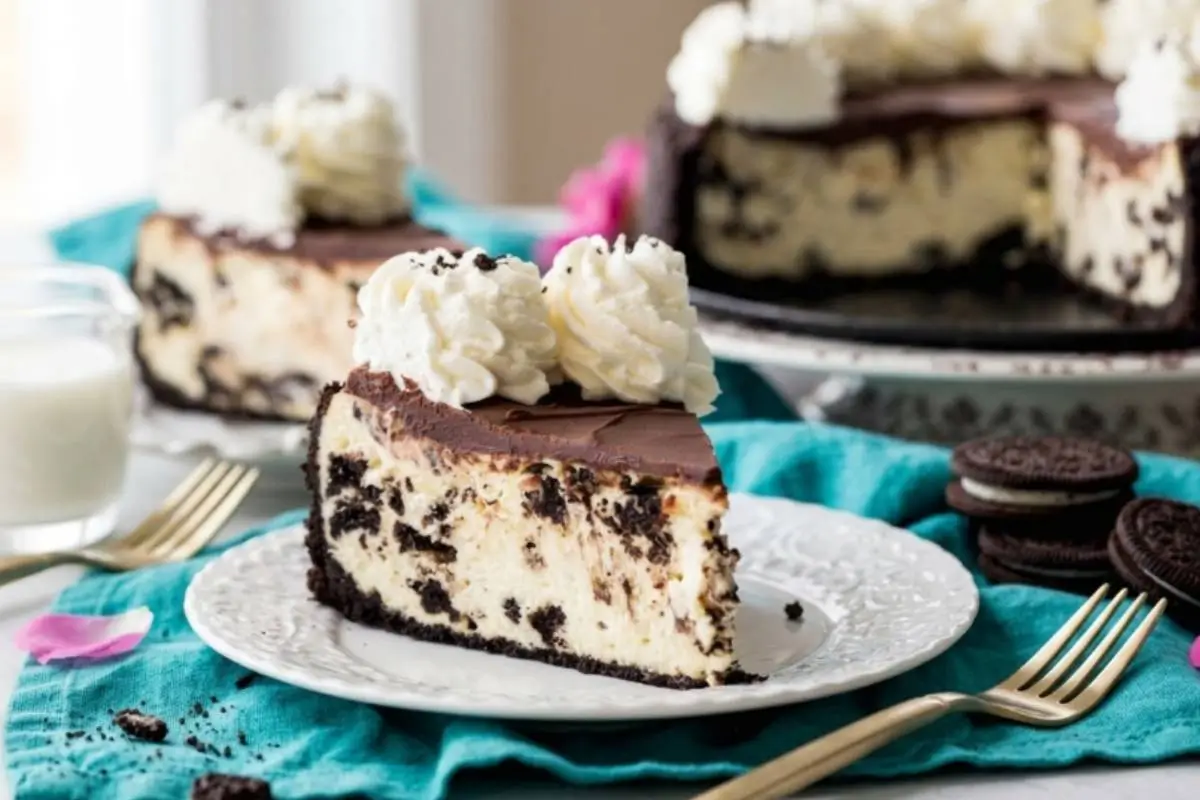
The best part of this recipe is that it actually wants you to rest before your guests arrive. Because this dessert requires a 6-hour chill, it is your greatest advantage as a host. You can—and should—make it the day before, leaving your kitchen clean and your mind at peace on the day of your gathering.
Refrigerator Storage: Once completely chilled, keep your cheesecake tightly covered with plastic wrap or in an airtight container in the fridge. This prevents the delicate dairy from absorbing savory fridge odors, preserving that comforting, sweet flavor for up to 5 days.
Freezing Strategy: Many people try to freeze a warm cheesecake to make it set faster—please don't do this! Rushing the initial set will ruin the silky texture. However, once the cheesecake has already baked, cooled, and chilled properly, it freezes beautifully. Wrap individual slices in plastic wrap and foil for up to 2 months of future joy.
Your future self will absolutely thank you for this.
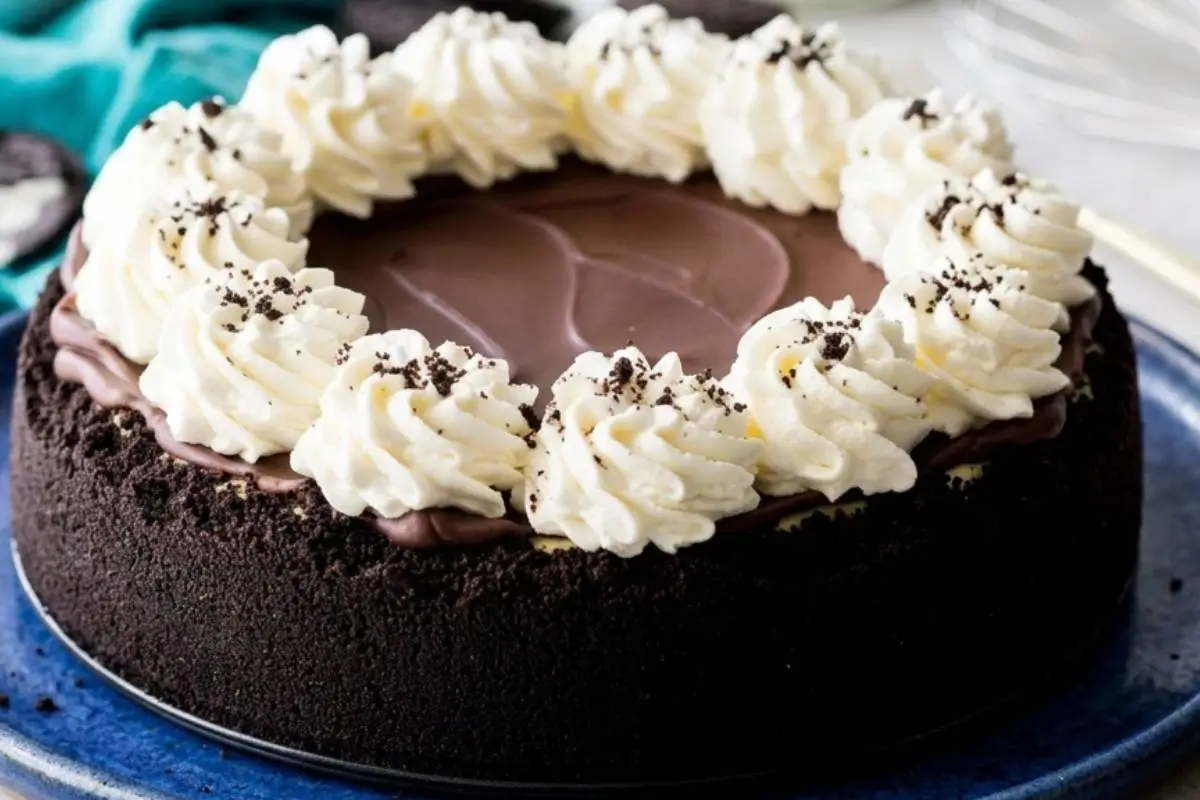
The Ultimate Oreo Cheesecake
Ingredients
Method
- Preheat your oven to 325F (160C). Twist apart the 35 chocolate sandwich cookies for the crust, use a butter knife to scrape out the filling, and discard the filling. Toss the cookies into the basin of a food processor and pulse until ground into fine crumbs.
- Combine the cookie crumbs and melted butter in a large bowl, tossing together until all crumbs are moistened. Press the crumbs evenly into the bottom and up the sides of a 9-inch springform pan. Go as high up the pan as you can, as this will help prevent cracks. Set this aside while you prepare the filling.
- Place the remaining 15 chocolate sandwich cookies in a large plastic bag and use a rolling pin to smack them repeatedly until the cookies are broken up into coarse pieces. Do not break them too small, because you want substantial cookie pieces in your final dessert. Set aside.
- In a large mixing bowl or the bowl of a stand mixer, combine the softened cream cheese and sugar. Beat on medium-low speed until completely combined. Scrape the sides and bottom of the bowl to make sure no lumps remain.
- With the mixer on low speed, stir in the sour cream and vanilla extract until completely combined and the batter is smooth.
- Add the eggs one at a time, stirring until just combined after each addition. Be careful not to overbeat, or the texture could be affected. Scrape the sides and bottom of the bowl to make sure all ingredients are well incorporated.
- Use a spatula to gently fold in the coarse chocolate cookie pieces.
- Pour the batter into your prepared springform pan and use a spatula to smooth the surface.
- Place the pan on a foil-lined baking sheet and transfer to the center rack of your oven. Bake for 50 to 60 minutes. The center should be set but spring back lightly to the touch, and if jostled, it should slightly jiggle like set gelatin but not be liquidy. The very edges might turn a faint brown or very slightly crack when finished.
- Remove from the oven. If any filling is touching the pan and is not enclosed by the crust, use a sharp knife to gently loosen it. Allow it to cool for about an hour at room temperature, then transfer to the refrigerator to chill for at least 6 hours, preferably overnight.
- Once set, prepare the ganache. Place the chocolate in a heatproof bowl. Pour the heavy cream into a small saucepan and heat over medium heat until it just begins to simmer. Immediately drizzle over the chocolate, cover the bowl with foil, and let sit for 5 minutes.
- Gently stir with a whisk until the chocolate is completely melted and smooth. Drizzle evenly over the top. Return to the refrigerator and allow the ganache to set for about 20 minutes before slicing and serving.
Notes
Making Sweet Memories
I hope that every time you pull out your rolling pin, you are reminded of that worn kitchen table and the freedom of just letting the cookie crumbs scatter. In my family, this is the moment everyone waits for, and I am so honored to share it with you.
Remember, true hospitality is about joy, not perfection. You are creating memories, not masterpieces. Even if a tiny crack appears in the center, the love baked into this dessert is the only thing your guests will remember.
Because hosting should be about making memories around the table, not stressing in the kitchen. Did you bake yours in a pan or try the assembly-core jars? Let me know below!