
Chocolate Chip Cake is, at its heart, more than just a dessert—it is an invitation to slow down. Nonna used to say that the most beautiful cakes are the ones that come with a story, not just a recipe.
She never worried about her kitchen being spotless or her icing being perfect. I still remember those afternoons in her Sanremo kitchen—the windows would be thrown wide open, letting in the scent of jasmine and the distant hum of the sea, while she stood there, flour dusting her apron like snow.
She showed me that the sweetest moments in life are found in the flour on our faces and the laughter we share while waiting for the timer to ding.
She didn't care if the cake slumped a little on one side or if the chips decided to gather in a clump; she cared that we were together, sticky-fingered and happy.
I know how much you carry on your shoulders and how you want every celebration to be perfect for your little ones. You want that warm, giant-chocolate-chip-cookie flavor in a soft, elegant cake, but the idea of layer cakes can feel a bit daunting.
Take a breath; you’re doing great so far. I promise you, what your family will really hold onto isn't a professional-looking drip, but the memory of you baking by their side. This recipe is a wonderful way to bring that magic into your home today.
The Key Ingredients For Your Chocolate Chip Cake And Why They Matter
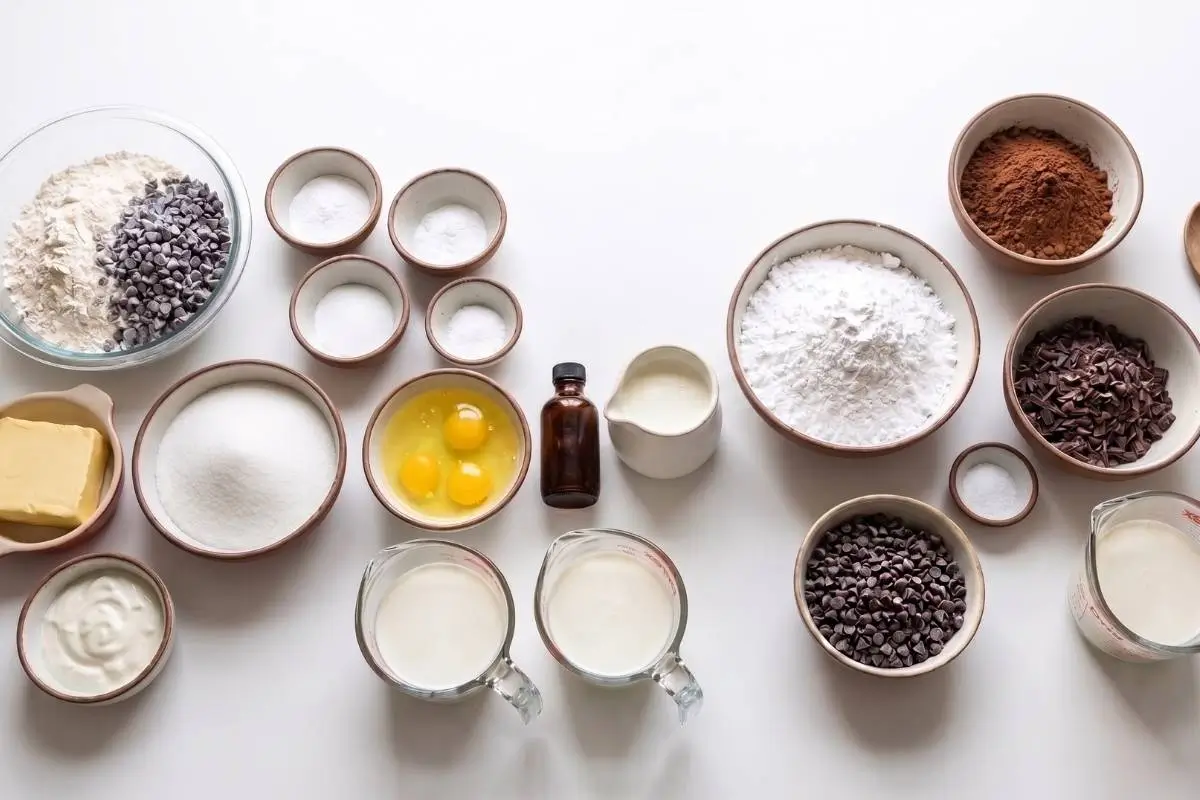
This part is simpler than it looks, and every ingredient has a little job to do to keep things stress-free.
Room Temperature Ingredients: It’s so tempting to pull eggs and butter straight from the fridge, but please, take them out 30 minutes before. When butter, eggs, and sour cream are at room temperature, they bond together into a silky emulsion that traps air.
That air is exactly what makes your cake feel like a soft, golden cloud. If you forget, don't panic! You can place your eggs in a bowl of warm water for five minutes, and your butter can sit near a warm oven.
The "Mini" Advantage: I always use mini chocolate chips for this. Because they are smaller and lighter, they stay suspended in the batter beautifully.
I learned the hard way that regular-sized chips are like little anchors—they love to sink to the bottom! Using mini chips ensures that you get that tiny burst of sweetness in every single bite, rather than a heavy, sugary layer at the bottom of the pan.
Sour Cream (Your Secret Weapon): This is my favorite trick for a tender crumb. The acidity in the sour cream keeps the cake moist for days.
If you’re in a pinch, you can absolutely swap this for full-fat Greek yogurt with the same lovely results. It’s the difference between a dry, crumbly cake and one that stays soft long after the party is over.
The Golden Rule Step-by-Step Instructions
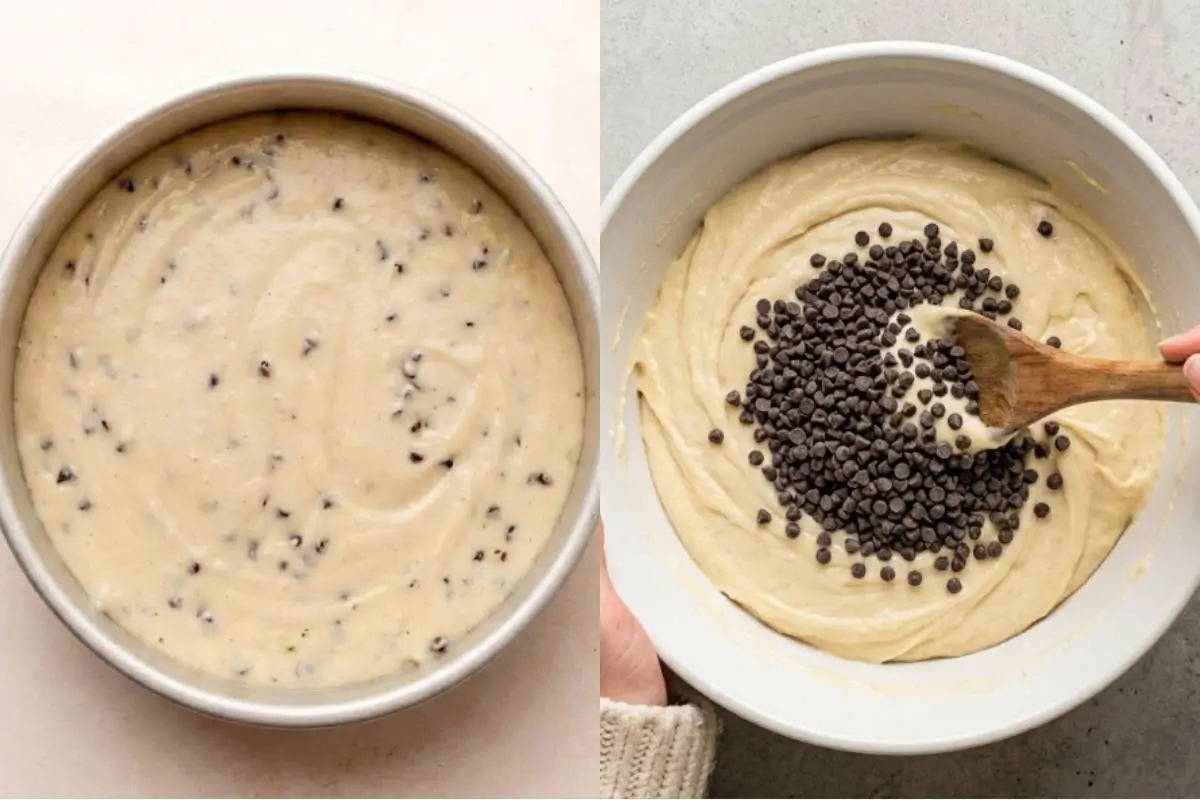
Don't let the steps intimidate you; we are just going one small, gentle movement at a time.
Prep: Preheat your oven to 350°F. Grease your three 8-inch pans well—don't skip the parchment paper circles on the bottom! It’s the best insurance policy against a cake that sticks.
If you are feeling extra cautious, a light dusting of flour over the buttered sides of the pan acts like a little barrier.
The Creaming: Beat your butter and sugar until the mixture looks like pale, fluffy clouds—usually about 3 minutes. This builds the structure.
Then, add the eggs one by one and beat for another 2 minutes. You’re looking for a light, airy texture here. Take your time; this is the base of your comfort.
The Gentle Mix: Add your dry ingredients and mix on the lowest speed. While the mixer is running, slowly pour in your milk. Here’s the trick I learned: Stop mixing the moment you see the last streak of flour disappear.
Over-mixing is the enemy of a tender cake! If you see a few small lumps, leave them be. They will bake out into pockets of pure, soft goodness.
The Chips: Gently fold in your flour-tossed chocolate chips. Tossing them in a tablespoon of flour is a little extra step that helps them stay put, but honestly, our thick, creamy batter does most of the heavy lifting.
Bake: Pour the batter into your pans and bake for 24–26 minutes. You’ll know they are done when the edges just start to pull away from the pan and a toothpick comes out clean.
Why This Chocolate Chip Cake Works
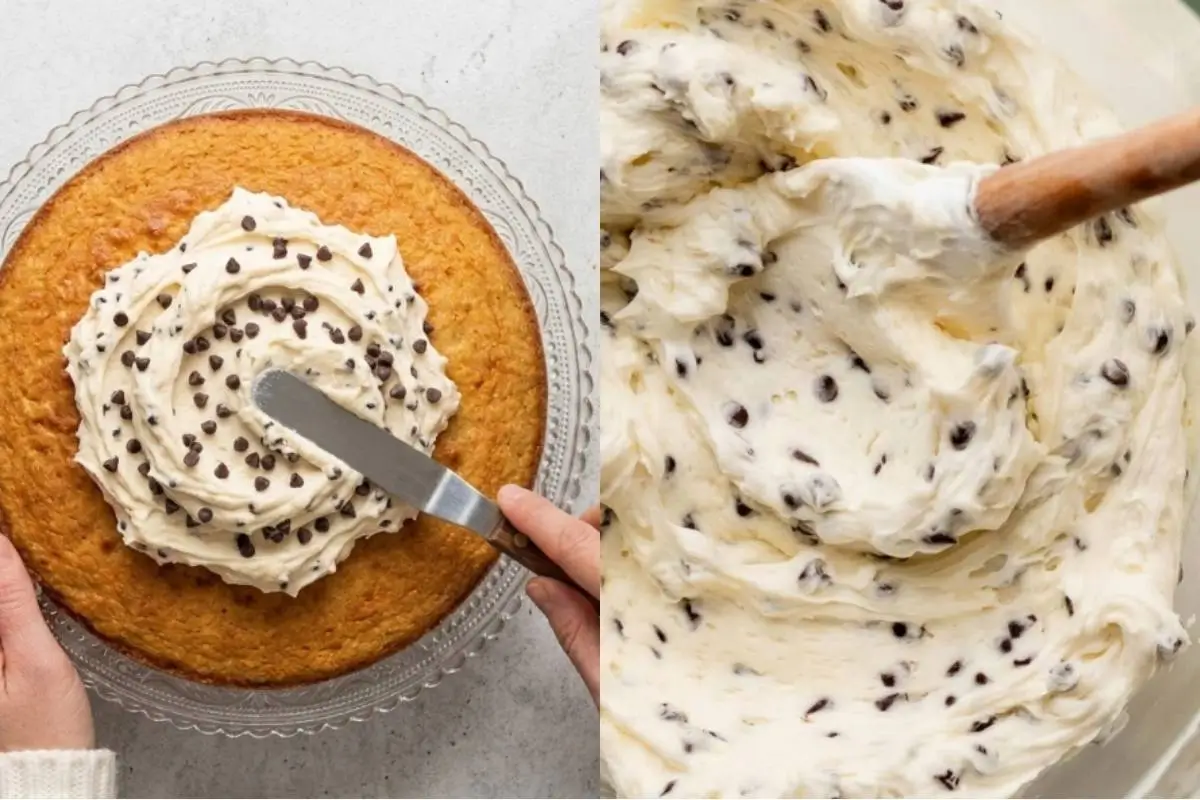
If you’ve ever worried about a cake turning out dense or rubbery, you can let that fear go right now. This recipe is designed to be a soft, forgiving friend.
The Power of Batter Viscosity: Because our batter is thick and luscious, it doesn't just hold the chocolate chips in place; it creates a structural integrity that ensures a perfect, airy rise. It supports itself, meaning you don't need to be a professional to get a beautiful result.
Emulsion = Airiness: By carefully creaming the butter and eggs, we are essentially building tiny air pockets. When the cake hits the heat of the oven, those pockets expand, giving you that beautiful, light texture.
The Mini Chip Advantage: As mentioned, the smaller surface area of mini chips means they integrate perfectly into every single bite, rather than gathering at the base of your pan.
Elena’s No-Fail Tips For Your Chocolate Chip Cake
Why do my chocolate chips always sink to the bottom?
Gravity is a real thing! If your batter is too thin, the chips will slide right to the bottom.
My batter is designed to be thick enough to hold them, but tossing the chips in a little flour before folding them in creates a bit of friction that keeps them suspended where they belong—all throughout the cake.
How do I know when the cake is actually done?
Most people rely only on a toothpick, but I like to look for visual cues. The edges of the cake will look dry and just barely start to pull away from the sides of the pan.
It’s a sign that the structure is set and ready to be cooled. If you touch the top lightly, it should spring back gently.
My cake feels a bit dense; did I overmix?
It’s so easy to do! If you overwork the batter after adding the flour, you develop gluten, which makes the cake chewy rather than soft.
Always mix on low, and stop as soon as the batter looks uniform. If it looks a little "messy" with a few tiny lumps, don't worry—that’s actually perfect!
Saving a Little Joy for Tomorrow: Storage, Freezing & Make-Ahead Notes
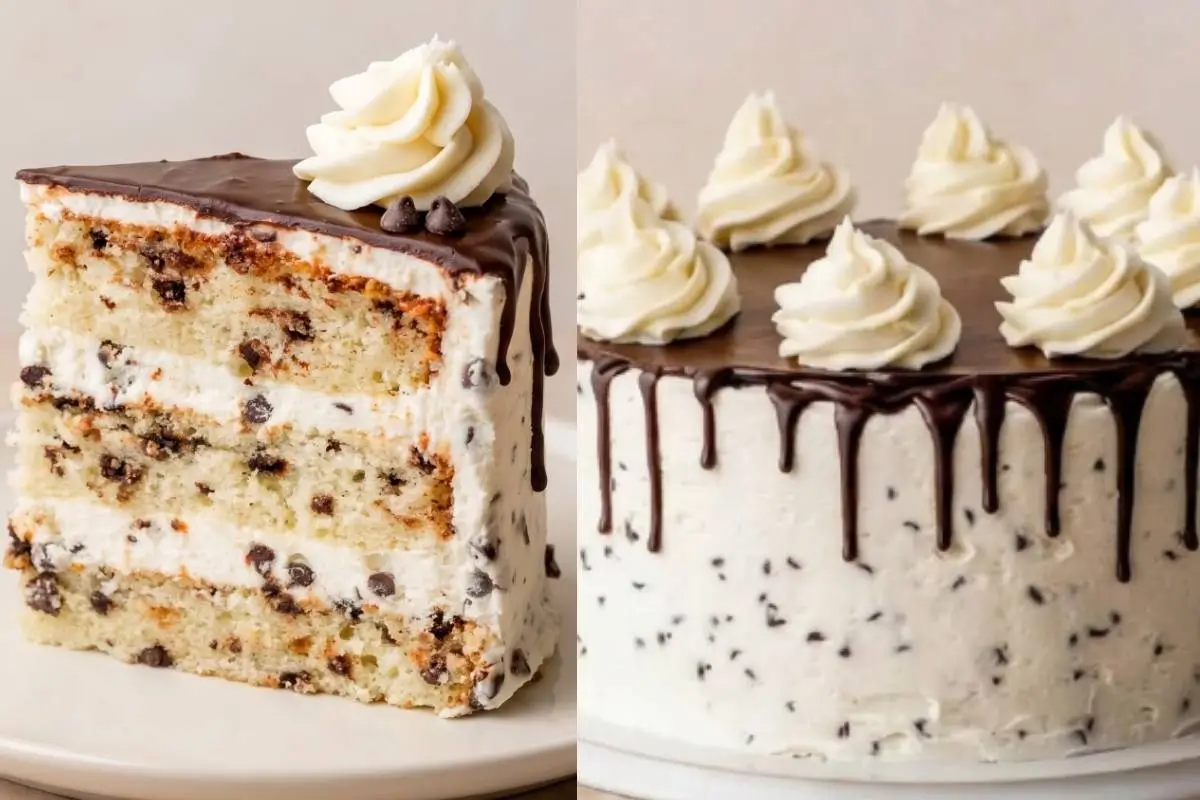
Life is busy, and I love that you can break this into two days. You can bake the layers, wrap them tightly in plastic wrap once completely cooled, and freeze them for up to a month.
Just thaw them on the counter before you whip up your buttercream. If you have leftovers, store the frosted cake in an airtight container at room temperature for two days, or in the fridge if it’s very warm in your kitchen.
If you love creamy textures, you’ll also love my other ricotta-based desserts—they’re just as comforting. Remember, baking is about the people, not the performance. If you have flour on your nose and a smile on your face, you have already succeeded.
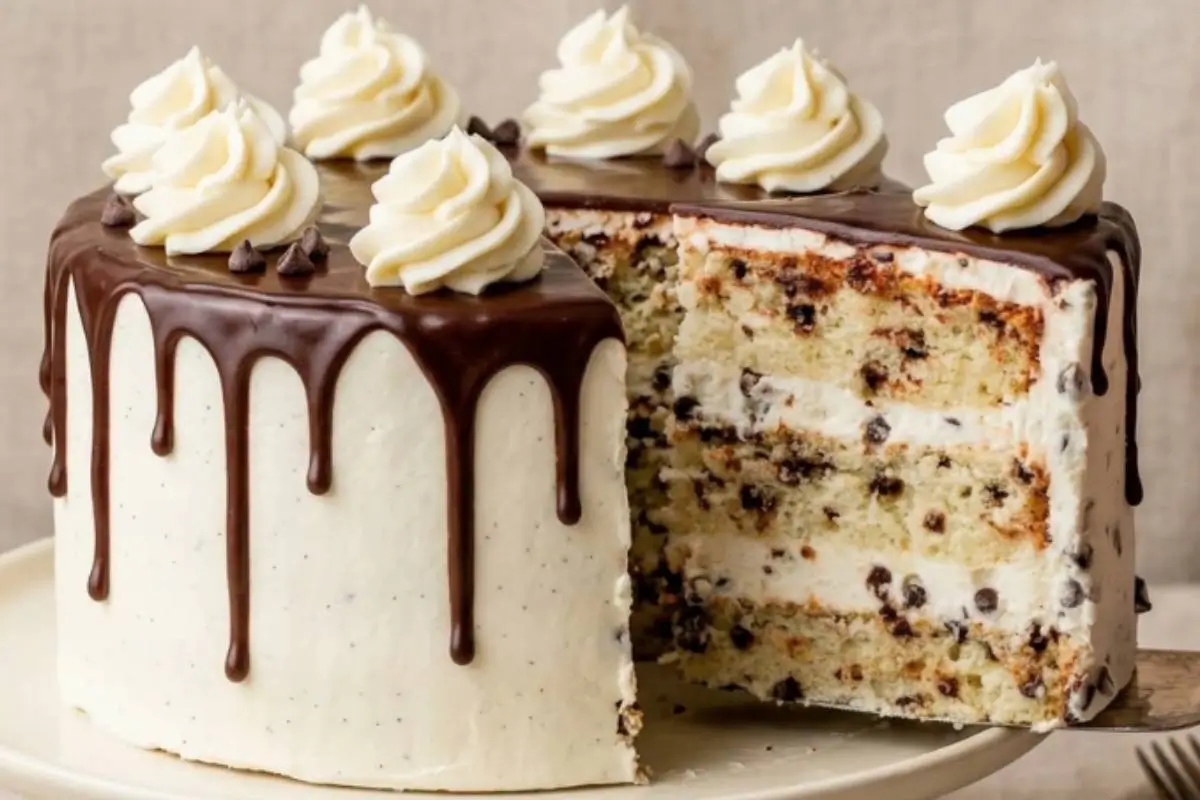
The Most Heavenly Chocolate Chip Cake
Ingredients
Method
- Preheat oven to 350 degrees F. Grease three 8-inch round cake pans, line with parchment paper rounds, then grease the parchment paper.
- Whisk the cake flour, baking powder, baking soda, and salt together in a bowl and set aside.
- Beat the butter and sugar on high speed until creamy, about 3 minutes. Add egg whites and beat for 2 minutes. Stir in sour cream and vanilla extract.
- Add the dry ingredients and mix on low speed. While mixing, slowly pour in the milk. Fold in the mini chocolate chips.
- Pour batter into cake pans and bake for 24 to 26 minutes, or until a toothpick comes out clean.
- Let cakes cool in the pans for 1 hour, then move to a wire rack to cool completely.
- To make the buttercream, beat the butter until smooth. Add confectioners sugar, heavy cream, vanilla, and salt. Beat until fluffy, then fold in the mini chocolate chips.
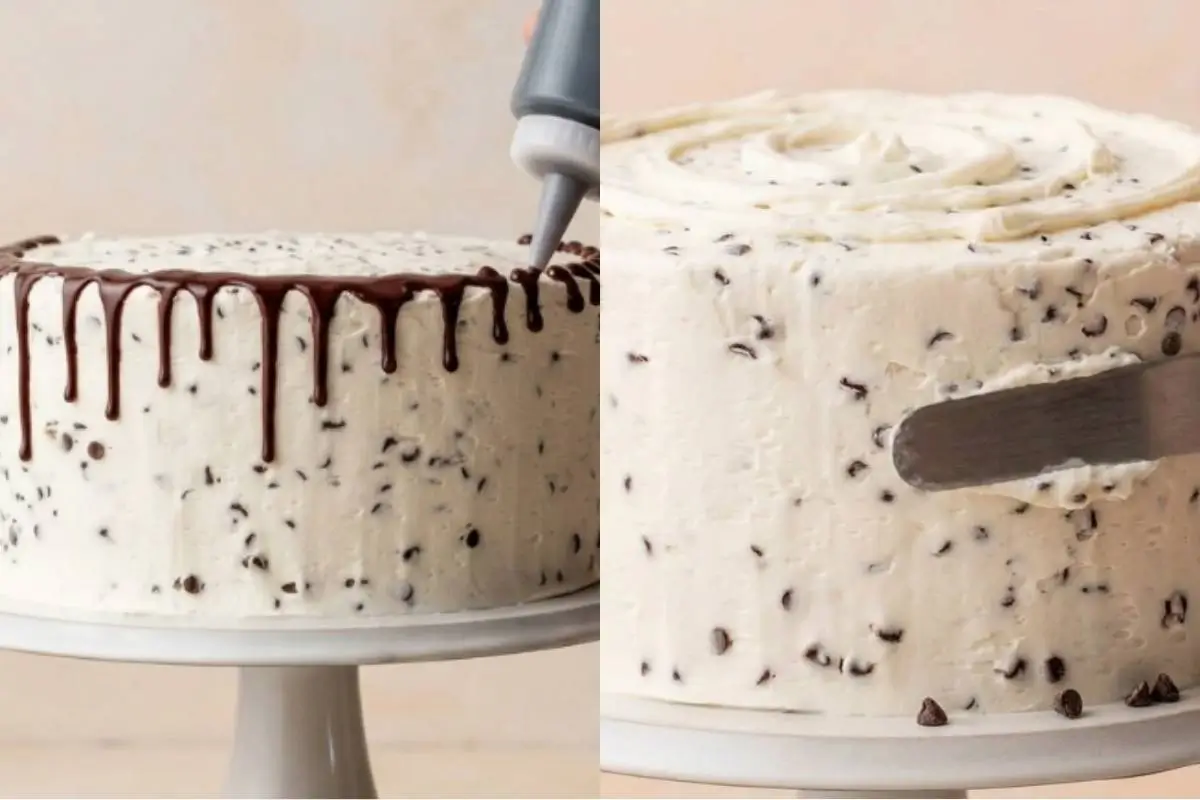
- For the ganache, heat cream until it gently simmers. Pour over chopped chocolate, let sit for 2 to 3 minutes, then stir until smooth. Transfer to a squeeze bottle.
- Once cooled, level the cakes with a serrated knife. Stack with layers of frosting in between, then frost the top and sides. Refrigerate for 20 minutes so the frosting is cold before adding the drip.
- Working in a zigzag motion, squeeze the warm ganache around the edge of the cake so it drips down the sides, just as seen in image_182c84.png.
Notes
Making Sweet Memories
Before you go, remember: a slightly uneven drip or a messy slice is just a badge of a well-loved home. Perfection is not the recipe for a happy home; the messiness of baking together is where the real memories are made. Take a deep breath, tie on your apron, and enjoy the process.
What is a dish from your childhood that you still love to make for your family? I would love to hear your stories in the comments below!