
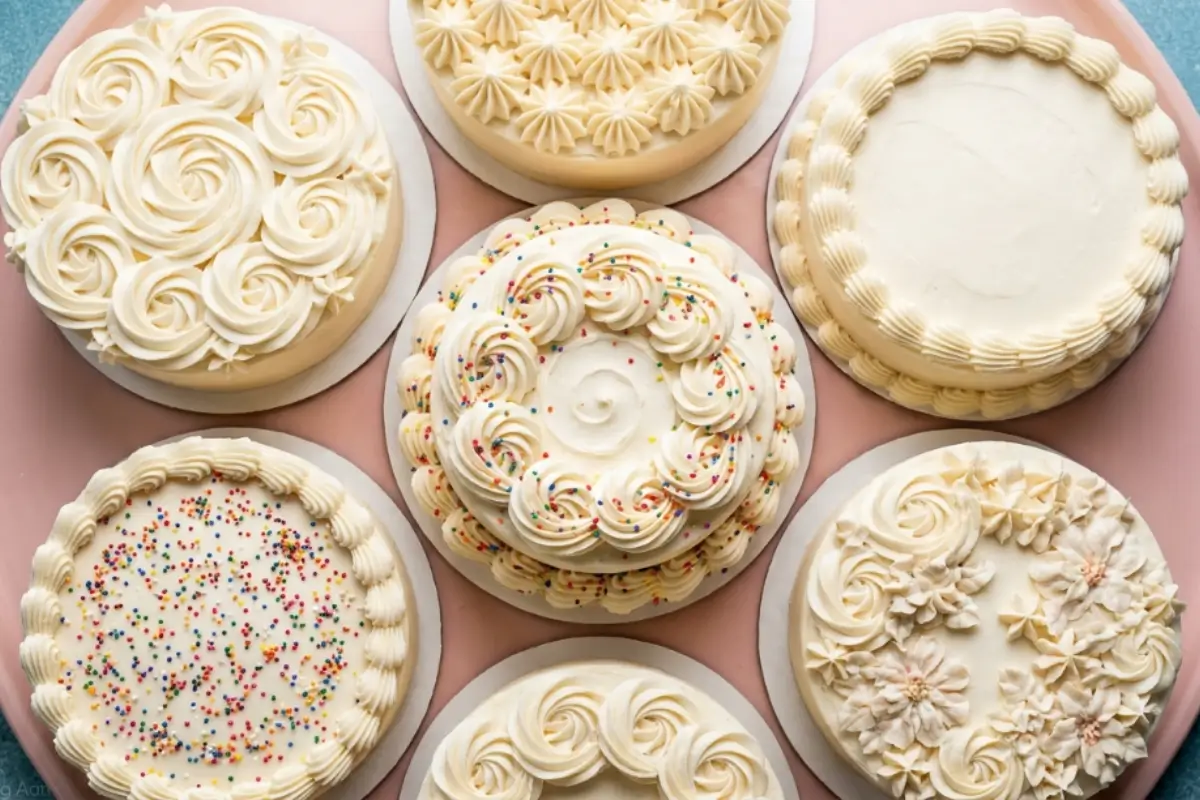
If you’re frantically searching for how to fix common frosting mistakes, let me wrap you in a warm hug right now. I know exactly how you feel.
I remember sitting at the worn wooden table in Nonna’s kitchen, the afternoon sunlight catching the dust of powdered sugar in the air, watching her slowly stir a bowl of frosting.
She always told me that baking is just love made visible, and love isn't supposed to be stressful. But right now, you might be staring at a bowl of buttercream that looks exactly like cottage cheese after you’ve just spent 7 hours baking a special cake. Your heart sinks. I’ve been there.
Please don't throw it away. A broken emulsion doesn't mean ruined ingredients. Baking is about joyful memories, not clinical perfection, and these little bumps are just a cherished part of learning. We bake to share our hearts, and your cake is going to be beautiful.
I know the panic and guilt that rush in when you think you might serve a sloppy, melted centerpiece to your loved ones. But let's normalize this right now: even professional pastry chefs struggle with kitchen temperatures it is the number one reason frosting fails.
So, we are skipping the dense chemistry textbook lectures today. Instead, I’m giving you simple, heartwarming, and no-fail rescue hacks to restore your confidence and your cake.
The Key Ingredients for Perfect Buttercream and Why They Matter
Take a breath; this part is simpler than it looks.
Before we can fix our frosting, we need to understand what’s going into the bowl. When you're making an American buttercream, the quality of your ingredients is your foundation.
Butter vs. Fat Content: Let's talk about the butter debate. Cheap, low-fat store-brand butter has a higher water content, which makes it behave very differently from high-fat European butter.
High-fat butter gives you that silky, luxurious texture we all crave and handles heavy cream additions beautifully. I love the rich, sweet smell of high-quality butter warming up on the counter it always reminds me of baking with my family on Sunday mornings.
The "Indent Test": Most recipes call for "room temperature butter," but what does that actually mean?
Here’s the trick I learned the hard way: it’s about touch. When you press your finger into the butter, it should yield to firm pressure and leave a clean indent. It should never look greasy, melty, or lose its rectangular shape.
A Quick Note for My Vegan Bakers: If you are using plant-based butter and milks, please know they have much lower melting points (often due to palm oil). This can cause the frosting to melt rapidly during mixing.
To stabilize it, try substituting half of the vegan butter with high-ratio vegan shortening!
Sugar Realities: If you skip sifting your high-quality 10x powdered sugar, you are on a guaranteed path to gritty textures. Sifting takes an extra minute, but it is an act of care that pays off in a velvety, smooth finish.
If you love creamy textures, you’ll also love my ricotta-based desserts, which rely on the same smooth consistency.
See? You’re already doing beautifully.
The Golden Rule: Step-by-Step to Fix Common Frosting Mistakes
Here’s the part everyone overthinks, but you won’t.
When you hit a bump in the road, identifying the problem is half the battle. Let's figure out exactly what we're looking at: does your frosting look perfectly smooth, does it look like cottage cheese (curdled), or does it look melted and shiny (soupy)?
Mistake 1: Curdled or Split (The "Cottage Cheese" Look)
Mistake 2: Soupy or Runny (The "Melted" Look)
Mistake 3: Grainy or Air-Filled (The "Spongy" Look)
The 5-Second Microwave Trick
If your frosting is curdled, the butter is too cold, and the emulsion has broken. Scoop out exactly 1/4 cup of the broken frosting and microwave it for exactly 5 seconds until it's just melted.
Turn your mixer on low, and slowly stream this melted liquid back into the bowl. The gentle heat will raise the overall temperature of the bowl and magically bind everything back together. If yours looks messy or extra soupy right here, that’s completely normal. Keep mixing!
The Manual Spa Treatment
If your frosting is riddled with giant air bubbles, step away from the whisk attachment. Whiskers trap air. Instead, we are going to do the universally praised "arm workout" method.
Grab a rubber spatula and aggressively hand-stir the frosting against the side of the bowl for two minutes. Pushing the frosting against the metal bowl forces the trapped air out, leaving you with a silky finish.
This is where the magic starts to happen.
Why These Frosting Rescues Work
I promise, even the trickiest moments have a simple fix.
The biggest fear when a recipe fails is the thought of wasting expensive ingredients. But I promise, you don't need to throw anything in the trash. Butter is roughly 80% fat and 20% water.
When temperatures clash, like cold butter meeting a warm kitchen, or warm milk hitting cold butter, the fat and water divorce. They separate.
To bring them back together, we just need to manage the environment:
Temperature is everything: Butter has a melting point of about 90-95°F. If your kitchen is too warm, the structure collapses. If it's too cold, it refuses to blend. Controlling the temperature is your secret weapon.
Friction matters: The paddle attachment on your mixer's lowest speed is the only way to gently push out trapped air without beating in more bubbles. The rhythmic thwap-thwap of the paddle against the metal bowl is the sweetest sound in the kitchen.
Moisture limits: American buttercream has a very low water content. Because of this, coarse sugar will never fully dissolve, no matter how long you mix it. Sifting is non-negotiable!
Elena’s No-Fail Tips For Your Buttercream
I’m right here with you through every step.
Why is my frosting grainy?
While adding a tiny splash of heavy cream can sometimes help loosen a stiff frosting, sifting your 10x powdered sugar before you begin is the only true way to prevent a grainy texture. Most people miss this step, but it makes all the difference.
How do I smooth out giant air bubbles?
We all hate those giant air pockets (sometimes called "cake farts") that ruin a beautiful, smooth cake presentation. The fix is mandatory: switch from the whisk to the paddle attachment, turn the speed to low, and let it run for 10 minutes.
Then, use the manual spa treatment with your spatula. You'll know it's right when it looks like a soft, perfectly smooth cloud.
Can I whip it on high speed to fix it faster?
Please don't do this! Whipping separated buttercream on high speed is a misleading shortcut. High-speed whisking traps massive amounts of air and guarantees a weak, wobbly frosting. Slow and steady always wins.
Why did it curdle when I added fresh fruit?
Fresh fruit purées are full of water and acid. When you add too much liquid to an unstable fat emulsion (your butter), it splits instantly.
I ruined this recipe twice before I figured this out! Always reduce your fruit purées on the stove until they are thick like jam before adding them to your buttercream.
You’ve got this handled like a pro.
Saving a Little Joy for Tomorrow: Storage Tips, Freezing & Make-Ahead Notes
Let’s wrap things up so you can finally relax.
This is what I make when I want something comforting but simple to top off a weekend family cake. But if you have leftovers, don't throw them out!
Leftover frosting will always separate and become rock hard in the fridge because the butterfat solidifies. When you are ready to use it again, let the container sit on the counter until it comes to room temperature naturally.
Once it passes the "indent test," put it back in your mixer with the paddle attachment on low speed. Give it a gentle re-whip to revive its tender texture without incorporating air.
Your future self is going to thank you for this.
Making Sweet Memories
Baking for your loved ones is the ultimate act of love, and a slightly imperfect cake tastes just as sweet, sometimes even sweeter.
Remember, we bake for joy, not perfection, and to create beautiful, tender memories, not flawless masterpieces. Your kitchen is a place of warmth, and you did an amazing job today.
At Addcakes, we believe in memories, not masterpieces. Simply add cake and a little joy.
What is the most stubborn frosting mistake you've ever had to battle in your kitchen? Let me know in the comments below!
[…] This is the single trick that changed my frosting mistakes. […]