
Finding the perfect Italian cheesecake recipe is about so much more than just measuring ingredients; it is about capturing a feeling. I can still close my eyes and smell the sweet citrus and rich vanilla drifting through my Nonna’s kitchen on Easter Sunday.
After a long, beautiful family lunch, we didn't want a heavy dessert that ended the meal with a thud. We wanted something that felt like a cooling breeze, a dessert that kept the conversation flowing and the laughter echoing.
I know how stressful holiday hosting can be. You want to recreate those beautiful memories, but there is always that quiet pressure for the dessert to look bakery-window perfect.
You want a texture that is melt-in-your-mouth creamy, a sweet bite that brings back great memories of what your aunt used to make, without spending the entire day anxiously hovering by the oven door.
I completely understand the fear of ruining expensive ingredients, the dread of a catastrophic springform pan leak, or the heartbreak of pulling out a dense dessert that sank and flattened out like a pancake. This recipe is your ultimate no-fail solution.
We are focusing on joyful baking today. Whether you use our dreamy mascarpone blend or fold in traditional ricotta, I am going to hold your hand through every single step to ensure you never have to worry about those Grand Canyon-sized cracks.
The Key Ingredients For The Dreamiest Italian Cheesecake And Why They Matter
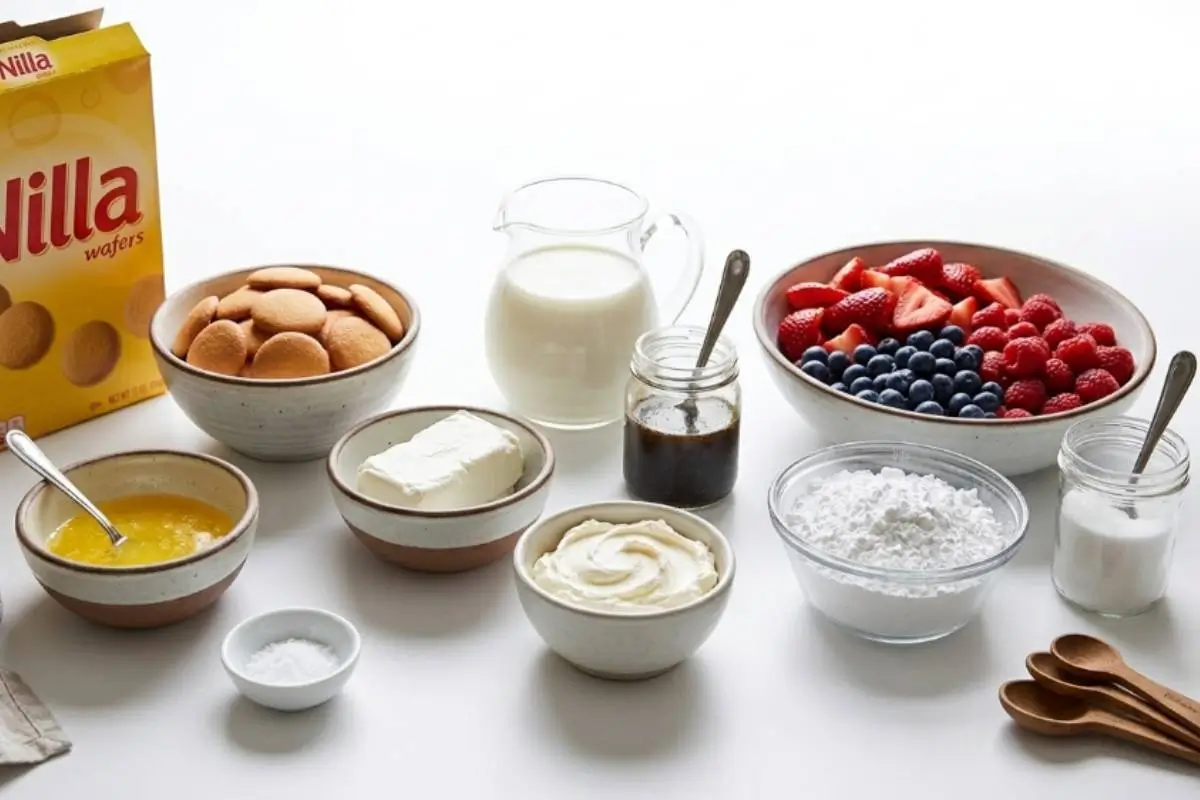
Gathering your ingredients is the first step, and I promise, this part is simpler than it looks.
When it comes to Italian cheesecake, there is always the Great Debate: Ricotta versus Mascarpone or Cream Cheese. Our featured recipe below uses a soulful, rich mascarpone and creamy spread blend for a perfectly light, modern texture that feels like a cloud on your tongue.
However, if you are a traditionalist wanting the best of both worlds, you can absolutely fold in traditional ricotta—just ensure it is strictly whole milk ricotta, never part-skim, so you don't lose that luxurious mouthfeel.
This dessert is also wonderfully adaptable. If you need a naturally gluten-free option, you can opt for a crustless version—which is actually historically accurate to its pastiera Napoletana roots—or use a simple almond-flour base.
If you are hosting an elegant dinner party, you can make the flavor even more special with trending additions like an intense lemon zest and fresh lemon juice infusion, high-end pistachio and rosewater pairings, or by swapping the classic vanilla wafers for a deeply caramelized Speculoos (Biscoff) crust.
A Crucial Warning: Please, whatever you do, never substitute the heavy cream with acidic dairy like yogurt to cut calories. The acid tightens the dairy proteins, completely ruining the mouthfeel and leaving you with a chalky texture.
Here’s a trick I learned the hard way: investing in a high-quality vanilla bean paste rather than standard extract will give you those beautiful little black flecks and a floral, buttery aroma that makes the kitchen smell like an authentic Southern Italian pasticceria.
You’ll know the ingredients are perfectly balanced when the batter smells rich and sweet before it even hits the pan. If you love creamy textures, you’ll also love my ricotta-based desserts that rely on these same high-quality dairy principles.
See? You’re already doing beautifully.
The Golden Rule Step-by-Step Instructions
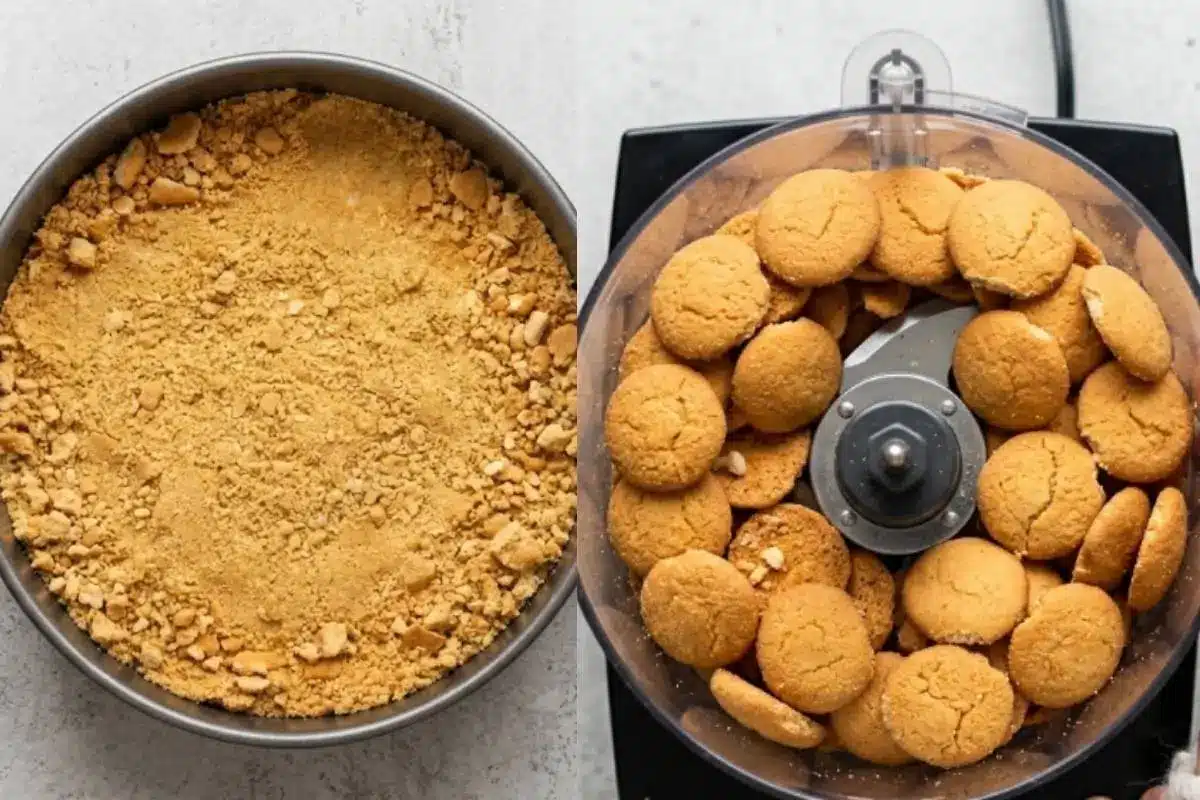
Take a breath; you’re doing great so far, and I am going to walk you through every single step.
Whether you are baking a classic version or setting a chilled variation, the architecture of a great cheesecake remains the same. Here are the foundational phases you need to know for absolute perfection:
Crust Preparation: Pulse your cookies into fine crumbs. Add the melted butter and a pinch of kosher salt. Press this firmly into the bottom and up the sides of a 9-inch springform pan.
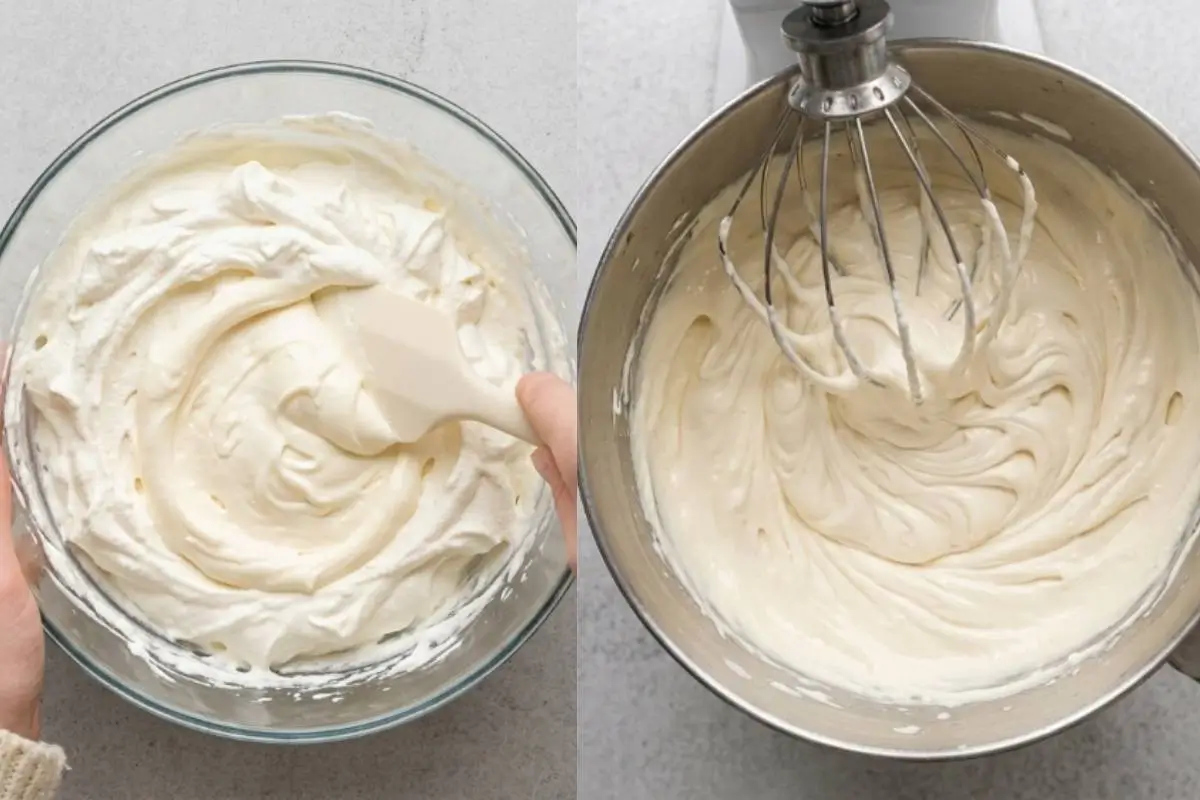
Batter Mixing: Whip your room-temperature cheeses and vanilla until completely smooth. In a separate bowl, whip your heavy cream and powdered sugar to stiff peaks, then gently fold the two together.
Baking/Setting: If you are baking a traditional ricotta version, this is where the water bath comes in. (If making our no-bake dreamy version below, simply smooth it into the chilled crust and refrigerate!)
Extended Cooling Phase: For baked cheesecakes, the slow cool-down is the ultimate secret to a flawless finish.
The "Ricotta Rescue" Micro-Guide: If you are modifying this to include ricotta, you must drain it. Place the ricotta in a cheesecloth over a sieve, weigh it down, and let it drain in the fridge overnight. You want zero excess moisture remaining.
The "Foolproof Foil" Technique: For baked cheesecakes requiring a water bath, lay out two large, overlapping sheets of heavy-duty aluminum foil. Set your springform pan in the center and wrap the foil tightly up the sides. This completely eliminates the fear of water bath leaks.
Temperature Rules: All dairy and eggs must be at room temperature before mixing. Cold ingredients simply will not emulsify, resulting in unfixable, stubborn lumps.
The Cooling Phase (For Baked Variations): The ultimate baker's secret to a crack-free surface is the slow, gradual cooling method. Leave the baked cheesecake in a turned-off oven with the door cracked open for a full hour before moving it to the counter.
Most people miss this step, but it makes all the difference. You want to look for a rustic, slightly browned top edge paired with an immaculately smooth, creamy white interior.
Don't worry if it sounds like a lot of steps; hearing the gentle tap-tap of your whisk against the bowl will get you into a relaxing rhythm.
If yours looks messy here, that’s completely normal—batter is supposed to be a little messy! A quick test to ensure your heavy cream is whipped properly is to lift the whisk; the peak should stand straight up with just a tiny curl at the tip.
This is where the magic starts to happen.
Why This Italian Cheesecake Recipe Works
Here’s the part everyone overthinks—but you won’t, because you are equipped with the right knowledge.
The number one failure point in cheesecake is a watery, gritty, or grainy texture. This is caused almost exclusively by un-drained ricotta and cold ingredients shocking the batter.
This recipe completely eliminates that risk by using a smooth mascarpone blend and strictly enforcing room-temperature mixing.
The biggest emotional blocker for home bakers is the water bath ruining the crust. The gentle, even heat of the bain-marie is exactly what creates that luxurious, silky texture, and our double-foil trick makes it completely risk-free.
My family always asks for this on special occasions because this recipe is designed to slice beautifully clean without crumbling, ensuring a flawless, awe-inspiring presentation for your dinner party guests.
Pro Insights for the Perfect Finish:
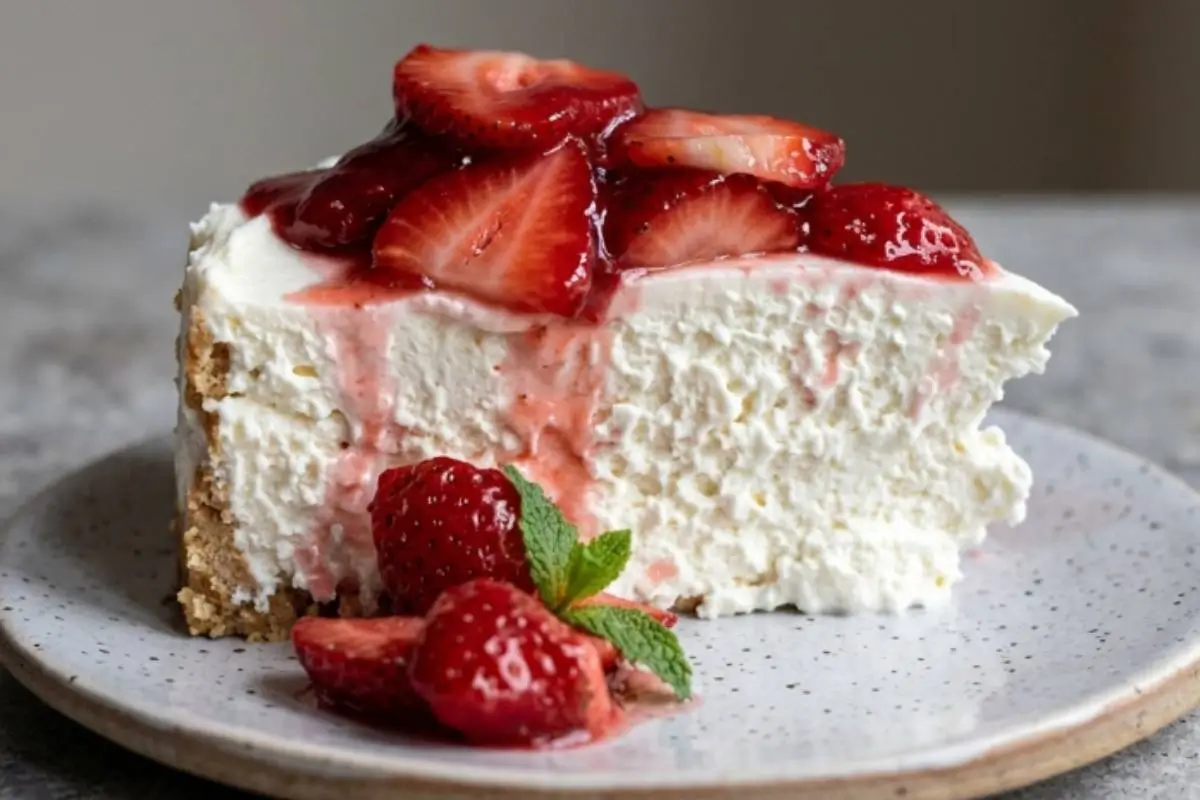
Maceration Magic: Letting your sliced strawberries and blueberries sit in a few tablespoons of sugar for 10-15 minutes creates a bright, syrupy, high-contrast topping that perfectly balances the rich, creamy cheese.
The Gentle Fold: When combining your whipped cream and mascarpone, fold gently. You want to retain all that airy, cloud-like volume so the texture stays dreamy.
The "Jiggle" Test (For Baked Versions): If you bake your cheesecake, the edges should be set, but the center two inches should still wobble slightly like gelatin when gently shaken. Do not panic and overbake it into a dry brick!
You will know your texture is spot-on when the filling feels as soft as silk against your spatula. You’re closer than you think—keep going.
Elena’s No-Fail Tips For Your Italian Cheesecake
Even the best bakers need a little guidance, and these are the tricks I always keep in my apron pocket to keep you feeling confident.
Why does my cheesecake turn out grainy or watery?
A grainy or watery texture happens when the dairy proteins seize and separate. The most common reason for this is skipping the ricotta draining process, adding cold ingredients, or using acidic dairy like yogurt.
Always ensure your mascarpone, creamy spread, and any other dairy are at true room temperature before you begin mixing.
Do I absolutely need a water bath?
While a water bath is highly recommended for baked cheesecakes to achieve that pristine, bakery-quality texture, you don't have to put your pan directly in the water if you are terrified of leaks! Nervous bakers can place a roasting pan of boiling water on the oven rack directly beneath the cheesecake.
This is a perfectly wonderful, stress-free alternative that still provides the necessary steam.
How do I cut clean slices without the filling crumbling?
To get that flawless, aesthetic presentation for your guests, use a sharp chef's knife dipped in hot water. Wipe the blade completely clean with a warm, damp towel between every single slice. It takes an extra minute, but the results are breathtaking.
See? You are perfectly capable of handling anything this recipe throws at you.
Saving a Little Joy for Tomorrow: Storage Tips, Freezing & Make-Ahead Notes
You have done the beautiful work of creating this dessert, and now you get to enjoy the reward—even days later.
If you are prepping for a dinner party, this is your ultimate stress-reliever: Italian cheesecake actually tastes better when made a day in advance. The flavors meld, and the texture firms up perfectly in the fridge overnight.
Simply wrap the springform pan tightly in plastic wrap to protect it from absorbing any other fridge odors.
If you want to save a little joy for tomorrow, you can absolutely freeze this! Freeze the cheesecake slices individually (without the fresh fruit topping) wrapped securely in plastic wrap and foil.
This way, you can pull out a tender, sweet memory from the freezer on a rainy Tuesday afternoon when you just need a little comfort.
You're at the finish line, and you should be so proud.
The Light and Dreamy Italian Cheesecake
Ingredients
Method
- Pulse the cookies in a food processor until you have fine crumbs.
- Add the melted butter and salt to the crumbs. Start with ½ cup of butter and add more if you need it so the crumbs hold together when you squeeze them.
- Press this mixture into the bottom and up the sides of a 9-inch springform pan. Put it in the fridge for one hour to firm up.
- In a stand mixer, whip together the mascarpone, creamy spread, and vanilla until smooth. Move this to a separate bowl.
- Wipe out your mixer bowl and whip the heavy cream and powdered sugar until you see stiff peaks.
- Gently fold the mascarpone mixture into the whipped cream until it is all combined.
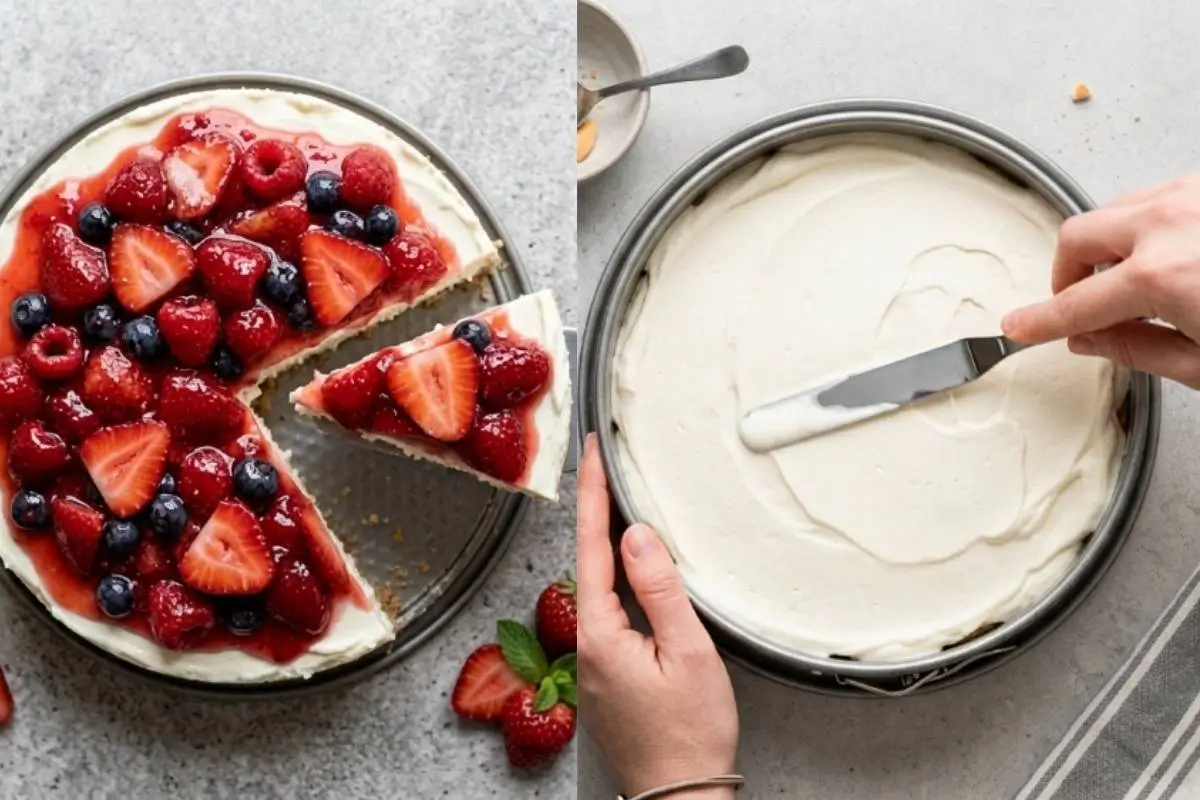
- Spoon the filling into your chilled crust and use an offset spatula to smooth the top.
- Let it set in the fridge for at least an hour, or overnight if you have the time.
- Before serving, mix your fruit with sugar and let it sit for 10 to 15 minutes so the juices release.
- Slice the cold cheesecake and spoon the berries and their juices over the top before serving.
Notes
Making Sweet Memories
I hope this recipe brings as much light into your kitchen as it has into mine. I still think back to those Sunday afternoons in my Nonna's house, where the dessert was never about showing off—it was about sharing love.
Even if your cheesecake develops a tiny crack, or if the powdered sugar dusting isn't perfectly symmetrical, please remember that it will still taste incredible because it was made by your hands, for the people you care about.
We are in the business of creating heartwarming memories around the kitchen table, not baking masterpieces for a museum. Pour yourself a cup of coffee, serve up a slice of this cherished recipe, and let it feel like a warm hug. Memories, not masterpieces.