
Christmas cupcakes always bring me right back to the quiet hours in Nonna's kitchen, right before the guests arrived, when the flour would settle like light snow on the wooden table.
We would spend hours baking and decorating, and even though my frosting never looked quite as perfect as hers, the kitchen was always filled with so much laughter that the shapes didn't matter at all.
Those moments were never about creating a sterile masterpiece, but about building a nostalgic, heartwarming tradition that my heart still holds onto today.
I know that holiday baking can feel overwhelming. The intense anxiety of wasting expensive ingredients and precious holiday time is incredibly real. But I promise you, this recipe takes all that worry away.
We are going to eliminate the fear of baking dense bricks, and you will never again open the oven to find cupcakes that look like they are trying to escape the pan.
Together, we are going to create bakery-beautiful, kid-approved treats in a way that is simple, stress-free, and full of joyful connection.
The Key Ingredients For The Most Magical Christmas Cupcakes And Why They Matter
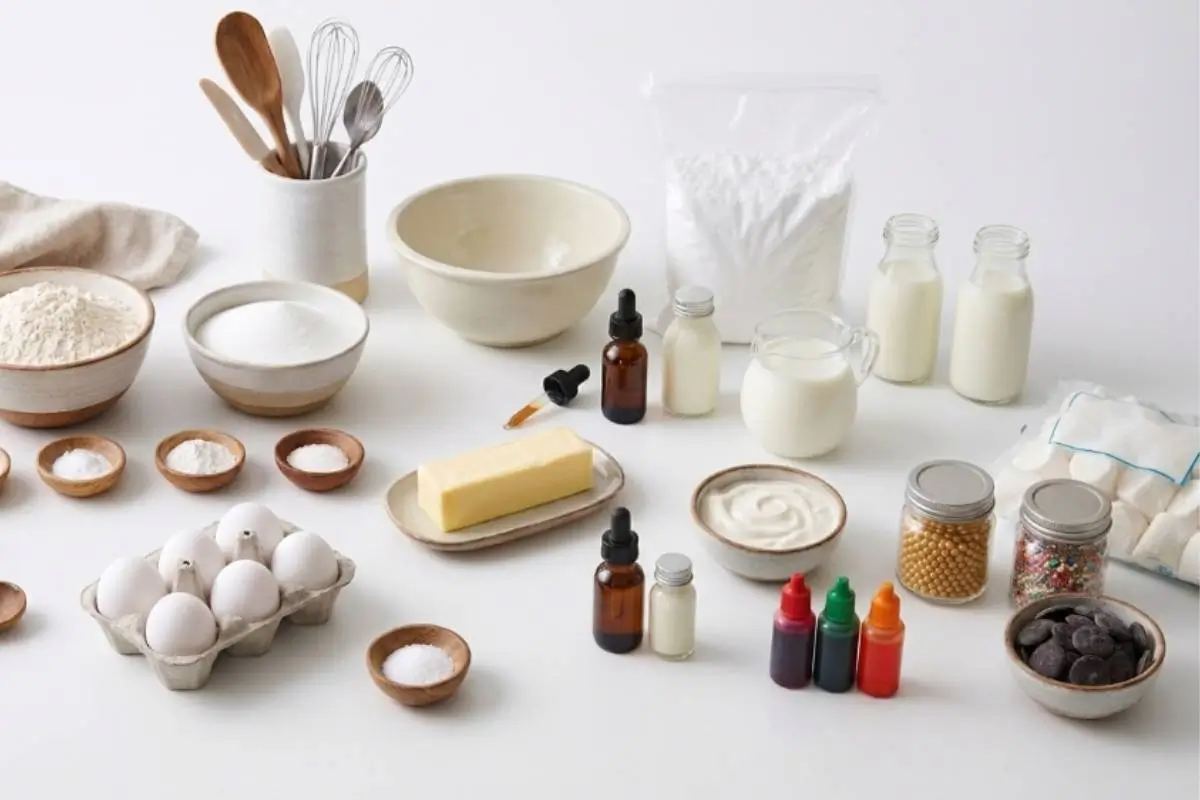
Before we even turn on the oven, let the rich, buttery smell of room-temperature butter waiting on the counter remind you that baking is just about bringing simple things together.
Here’s the trick I learned the hard way: you must use room-temperature eggs, butter, and dairy (like our sour cream and whole milk). This is the secret to ensuring proper emulsion so your batter doesn't split.
When you look online, there is a heavy debate between using butter for flavor or oil for moisture. In my family, this is the moment everyone waits for—that soulful, nostalgic flavor that only comes from real butter.
However, to guarantee superior moisture retention without losing that taste, we rely on the magic of sour cream.
For my vegan bakers: You can easily adapt this! Just explicitly use a block-style vegan margarine instead of tub margarine to maintain the correct fat-to-water ratio for stable, fluffy results.
For an adult gathering: Try a sophisticated, heritage-rich Moroccan-inspired variation by adding a pinch of Ras el Hanout, ground cardamom, and a splash of orange blossom water to the batter.
You’ll know your ingredients are perfectly prepped when everything blends into a silky, cloud-like batter. See? You’re already doing beautifully.
The Golden Rule Step-by-Step Instructions
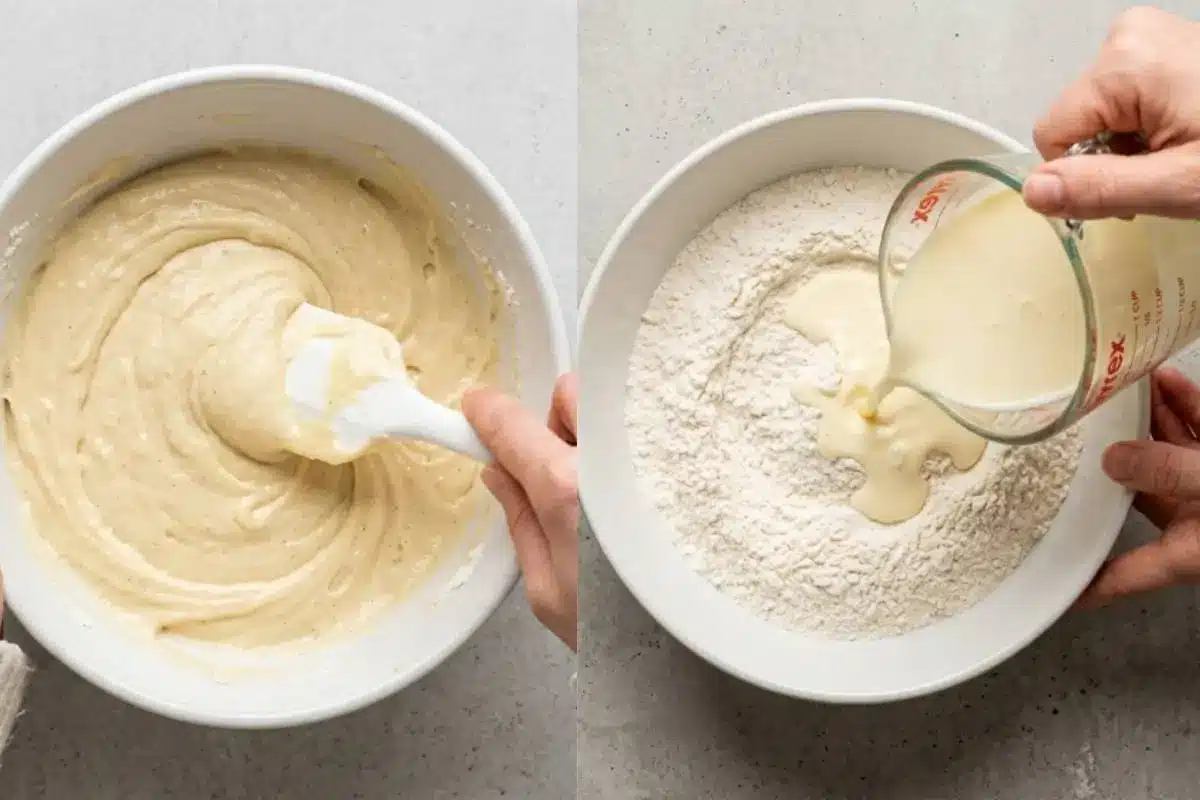
Here’s the part everyone overthinks — but you won’t. Listen for the gentle, rhythmic tapping of the whisk against the bowl; it’s the heartbeat of holiday baking.
If you love creamy textures and hands-on mixing, you’ll also love my ricotta-based desserts, but today, it's all about this classic vanilla crumb.
Prep the Oven: Preheat your oven to 350°F (175°C) and place cupcake papers in your pan. Warning: Disable your oven's convection fan (or plan to rotate your pans halfway through). High airflow will blow the batter sideways and create lopsided tops!
Whisk the Dry: In a large bowl, sift the dry ingredients together (flour, baking soda, baking powder, salt, and granulated sugar). Sifting is a consensus rule to prevent clumps and guarantee a tender crumb.
Combine the Wet: In another bowl, whisk together the room-temperature wet ingredients (butter, egg whites, vanilla, sour cream, and whole milk).
Mix it Together: Add the wet ingredients to the dry and mix just until combined. If your batter looks a bit clumpy at first, that’s completely normal. It always looks like this at first—do not overmix!
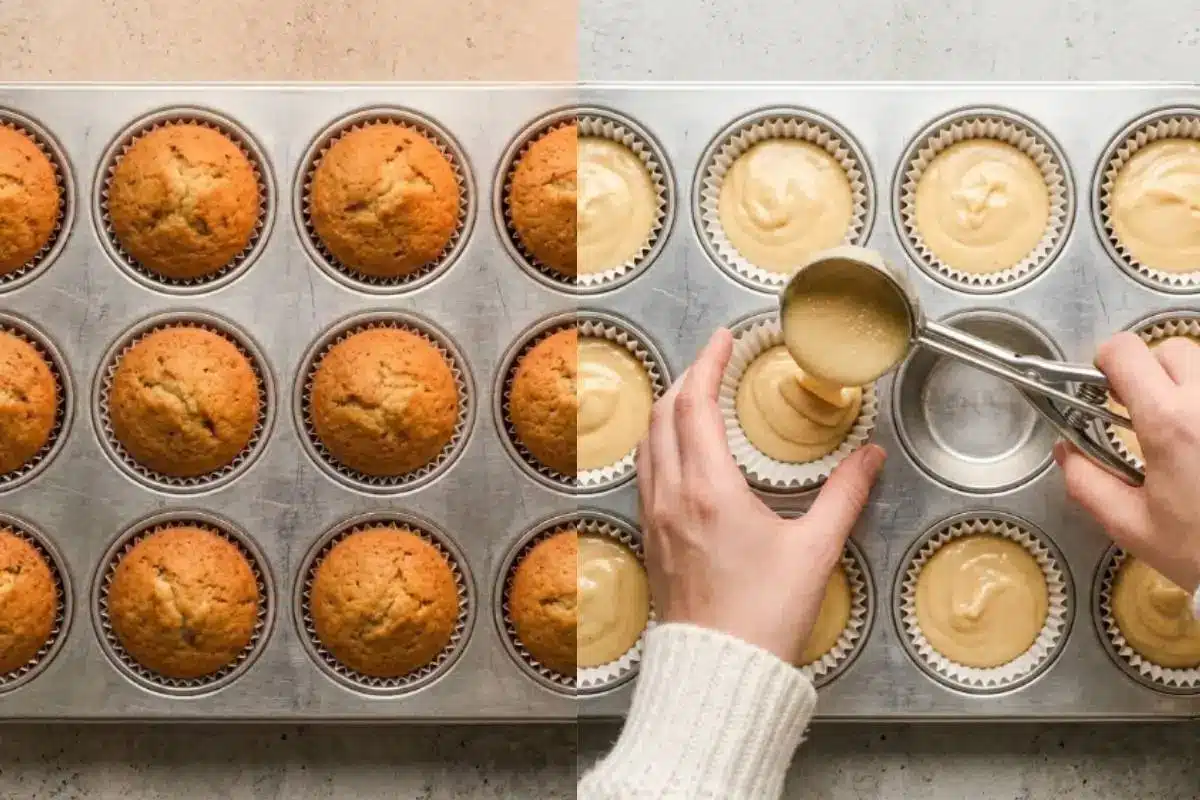
Fill the Liners: Distribute the batter evenly. Fill the cupcake liners exactly halfway or two-thirds full. This manages the science of batter expansion, preventing messy, overflowing edges and sunken centers.
Bake: Bake for 15-20 minutes. A quick test is to gently press the top. Look for this cue: you'll know they are done when they are golden and springy to the touch.
Make the Buttercream: Cream the room-temperature butter in a stand mixer, then add the confectioners' sugar in two batches.
Add the salt, milk, heavy cream, and vanilla, mixing until light and fluffy.
Elena's Tip: If you want a less sweet frosting, try using an Italian or Swiss meringue buttercream base instead.
Piping the Wreath
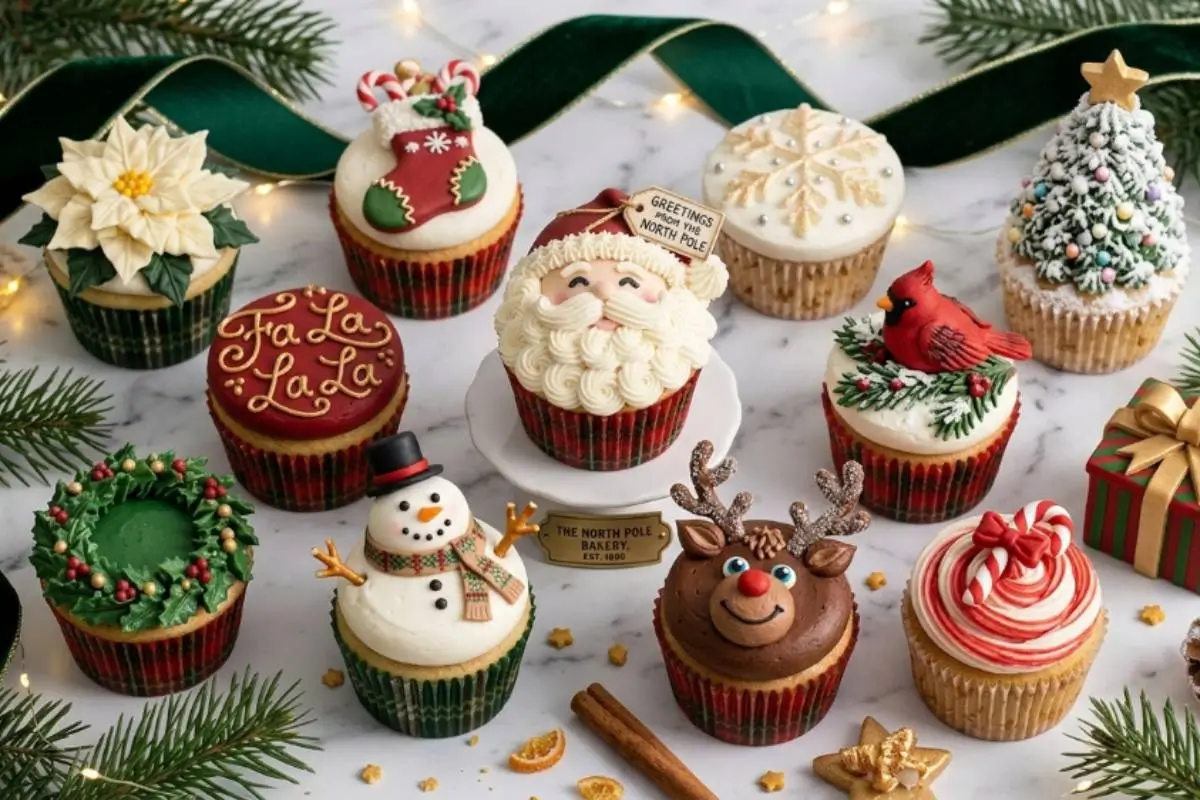
Divide a portion of frosting and tint it green. Using a star tip, pipe a continuous circle around the edge of the cupcake.
Decorate with rainbow sugar pearls to look like little ornaments! If yours looks messy here, that’s completely normal—just add more sprinkles.
Inverted Sugar Cone Trees
Place an inverted sugar cone in the center of a frosted cupcake. Use a small star tip to pipe green frosting all over the cone, pulling away quickly to create "pine needles." Dust with a little powdered sugar for snow!
Marshmallow Snowmen
Use a dollop of white buttercream to attach a large marshmallow to the top of your cupcake. Use 3 tablespoons of melted black candy melts and a toothpick to dot on eyes and a coal smile.
This is where the magic starts to happen.
Why The Most Magical Christmas Cupcakes Work
If you’re worried about ruining the bake, let me ease your mind right now.
When you pull these out of the oven and see those perfect, golden edges bubbling slightly against the wrappers, you'll know you've succeeded. This recipe is carefully tested to prioritize your joy and confidence over clinical perfection.
Mastering Oven Mechanics: By strictly controlling the batter volume and avoiding convection fan disasters, we completely prevent exploding, sloped-top cupcakes.
Guaranteed Tender Texture: We eliminate the risk of baking a "dense brick" by relying on the perfect ratio of sour cream and strictly avoiding overmixing.
The No-Bitter Color Mastery: We solve the dreaded bitter frosting dilemma by mandating concentrated gel colors—or natural alternatives like matcha and raspberry powder—entirely avoiding excessive, watery liquid food coloring.
Structural Stability: This ensures the rich buttercream holds its shape perfectly for your 3D trees and wreaths by maintaining optimal temperature and fat ratios.
You’re closer than you think — keep going.
Elena's No-Fail Tips For These Magical Christmas Cupcakes
Even the best bakers need a little guidance, and I am right here with you. As the warm, sweet smell of vanilla extract fills your kitchen, keep these micro-adjustments in mind. Most people miss these steps, but they make all the difference in the world!
Why did my cupcakes sink in the middle?
Usually, this happens because of overfilled liners. When there is too much batter, the edges bake and set faster than the heavy center, causing it to collapse.
Always check the expiration dates on your baking soda and baking powder, too! Dead leavening agents will cause a flat, dense cake.
How do I color frosting without it tasting bitter?
Never use standard liquid food coloring for deep colors. Use concentrated gel colors to get a vibrant hue with just a drop. For a beautiful forest green without any chemical aftertaste, try using natural matcha powder!
How do I safely transport my decorated cupcakes to a party?
Here is a logistical hack to eliminate travel anxiety: secure each cupcake to your transport board or box using a small, stabilizing dab of buttercream underneath the liner. They won't slide an inch!
How do I stop my cupcake liners from peeling away?
This is caused by trapped moisture. To prevent this, remove the cupcakes from the hot pan immediately after they finish resting for two minutes.
Let them cool completely on a wire rack so the steam can escape rather than collecting inside the liner.
With these secrets, you are completely unstoppable.
Saving a Little Joy for Tomorrow: Storage Tips, Freezing & Make-Ahead Notes
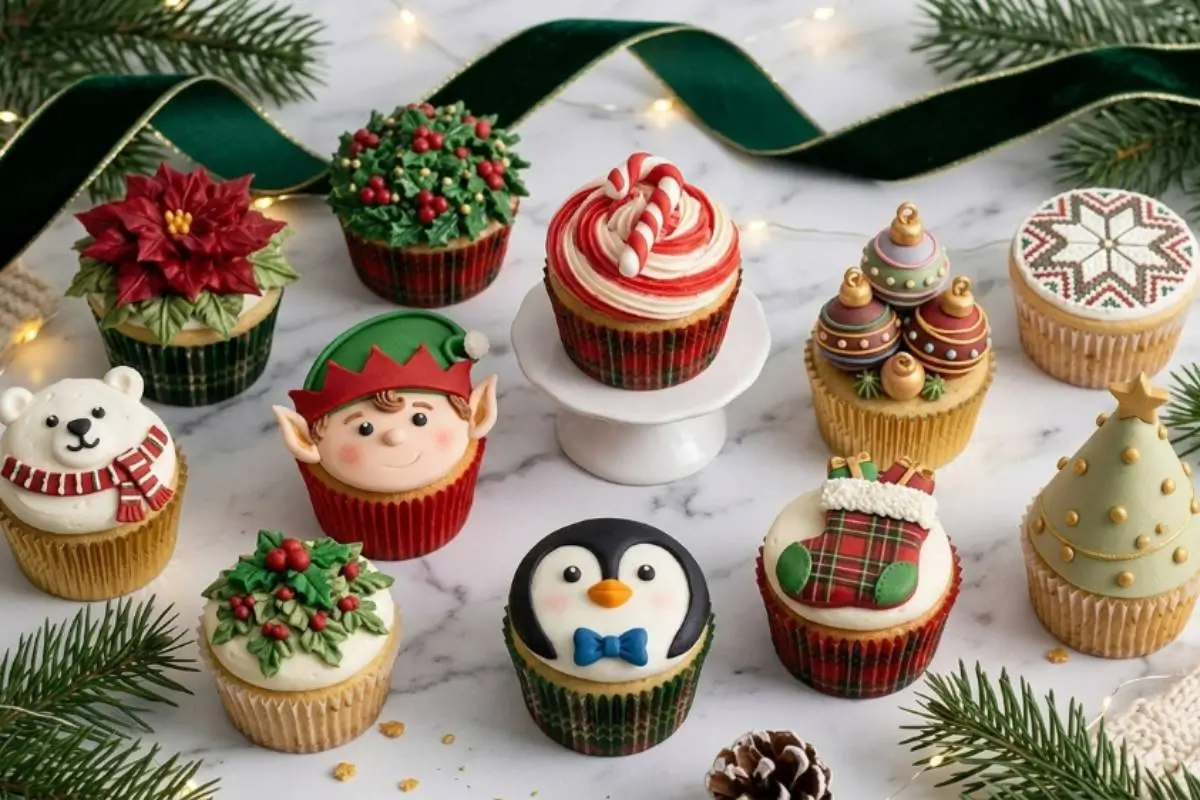
Holiday baking shouldn't steal your peace, so let's plan ahead.
There is nothing quite like the cozy warmth of the kitchen wrapping around you after a long, successful baking day.
This is what I make when I want something comforting but simple, perfect for slow Sunday afternoons before the holiday rush begins.
Freezing Sponges: To reduce day-of holiday stress, you can bake the sponges ahead of time! Let the unfrosted cupcakes cool completely, then wrap them tightly in plastic wrap and freeze them in an airtight container for up to 3 months.
Storing Frosted Cupcakes: Store them in an airtight container at room temperature if serving the same day.
If your kitchen is very warm, place them in the fridge so the buttercream doesn't become too soft and melty.
Just be sure to bring them back to room temperature for an hour before serving so the frosting is delightfully creamy, not stiff.
Now you can actually relax and enjoy the holidays!
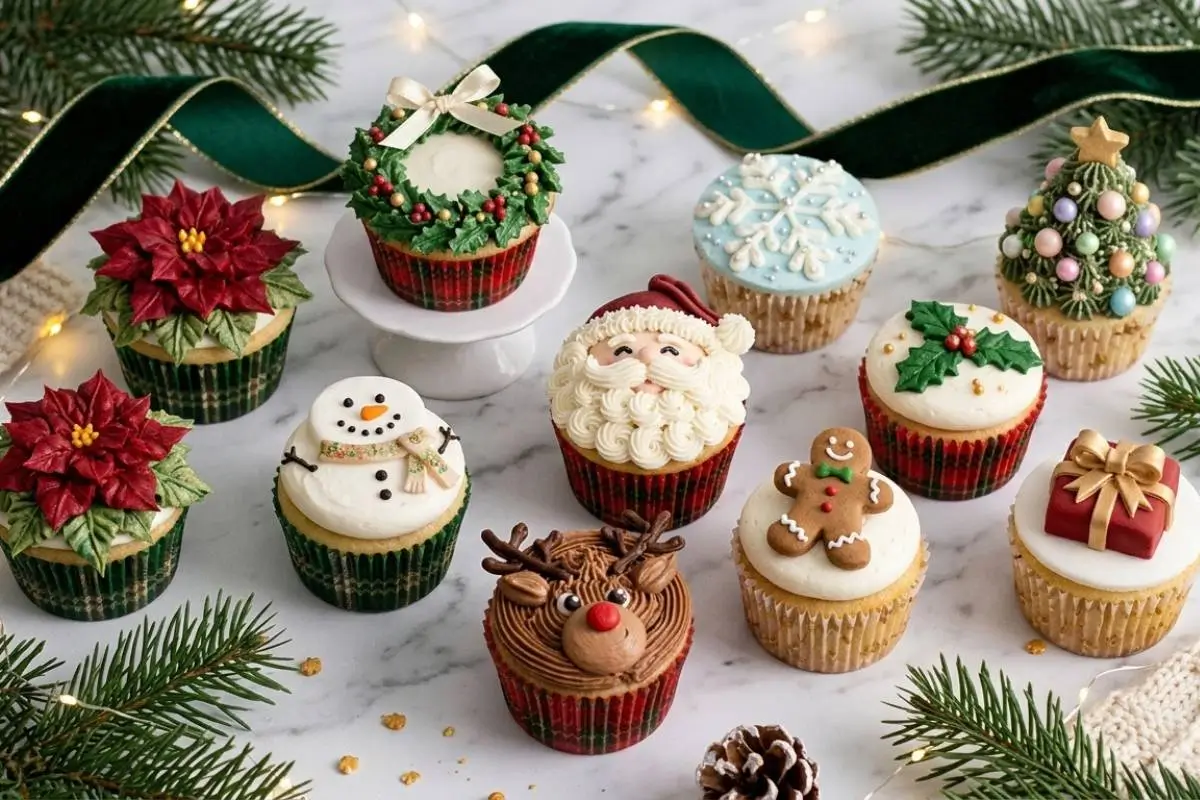
The Most Magical Christmas Cupcakes
Ingredients
Method
- Preheat oven to 350 degrees F. Place cupcake papers in a cupcake pan.
- In a large bowl, sift the dry ingredients together until incorporated, including the sugar.
- In another bowl, whisk together the wet ingredients until combined. It is okay if the batter looks a bit clumpy!
- Add the wet ingredients to the dry ingredients and mix until combined.
- Distribute the batter evenly into the cupcake papers.
- Bake for 15 to 20 minutes or until golden and springy to the touch.
- For the buttercream, cream the room temperature butter in a stand mixer, then add the confectioners sugar in two batches.
- Add the salt, milk, cream, and vanilla, mixing until the frosting is light and fluffy.
- Divide the frosting into bowls and tint with food coloring to create your festive colors.
- Once cooled, have fun decorating! You can pipe wreaths, poinsettias, trees, or snowmen.
Notes
Making Sweet Memories
When I step back and look at my kitchen covered in powdered sugar, my mind always goes right back to Nonna's wooden table. The flour still settles like light snow, and the air still hums with the same comforting energy.
Even if your frosting wreath isn't perfectly symmetrical, or your little marshmallow snowman leans a little to the left, I want you to remember that the true magic lies in the laughter and connection shared around your table.
Those tiny imperfections are the thumbprints of a family making memories. Remember, we are baking memories, not masterpieces.
When you look back at your own holidays, what is the one sweet treat that always makes you feel right at home? I would love to hear your stories below!