
When I think of Mini Cupcakes , I immediately smell the warm, buttery aroma that always seemed to float through my Nonna's kitchen.
I remember standing on a wobbly wooden stool, my chin barely reaching the counter, watching her carefully fill a tiny tin. She always said that when things are made small, they hold twice the amount of love.
Today, as a parent, I know that baking for a crowd—especially for a child's birthday or a bustling classroom party—can bring a wave of anxiety.
You want the kids to be thrilled, but you also fear the dreaded public failure of sunken, crumbly, or peeling treats. Will they look good? Will they survive the car ride?
Please, take a deep breath. By combining the magic of Nonna’s gentle patience with a truly foolproof approach, you get the best of both worlds.
Perfect for slow Sunday afternoons or frantic school-eve baking, this recipe embraces our family philosophy: we are making joy, not perfection. I ruined this recipe twice before I figured out the exact science of baking tiny cakes, so I have done all the guesswork for you.
The Key Ingredients For Mini Cupcakes And Why They Matter
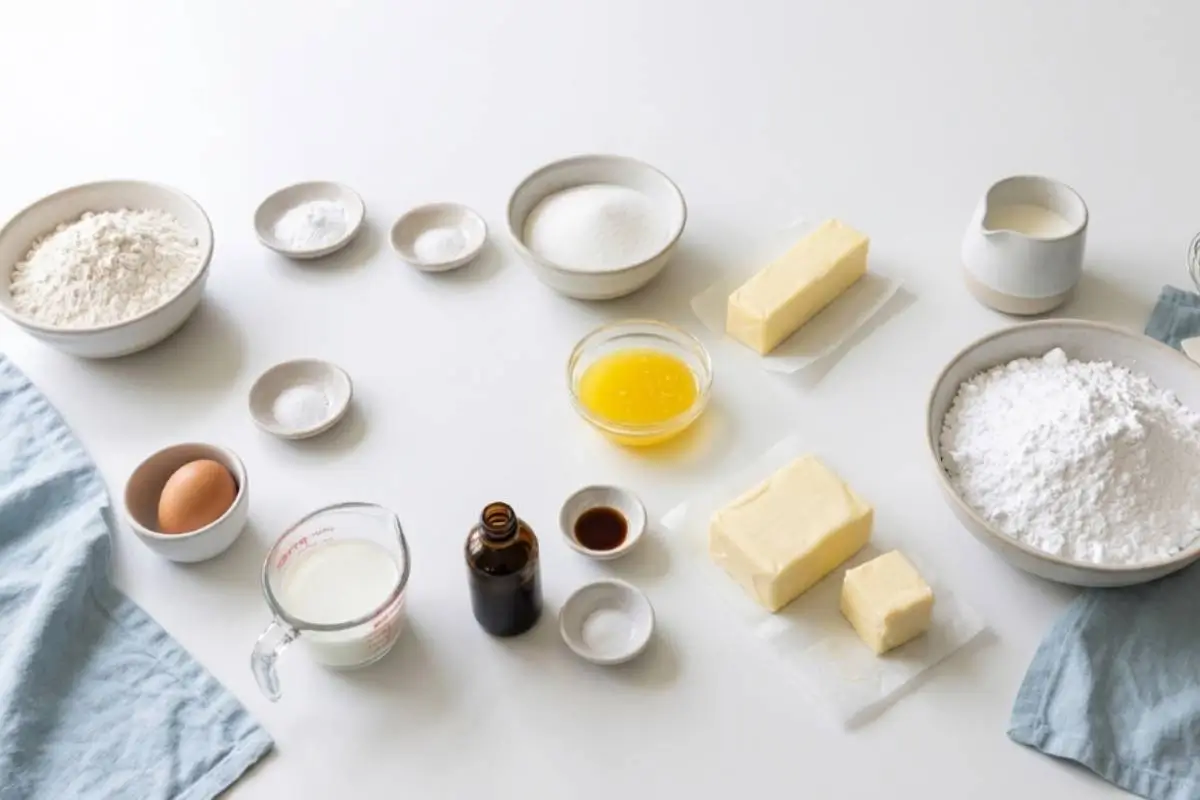
Don't worry if your pantry feels bare right now; this part is simpler than it looks.
To get that incredibly soft, bakery-style texture, the secret is in how the ingredients come together. When I gather my supplies, I love the comforting clink of my measuring cups and the sweet scent of vanilla wafting up from the bottle.
Room Temperature Dairy & Eggs: Using room temperature butter, eggs, and milk makes the batter much smoother and easier to mix. Cold ingredients will seize, but warm, relaxed ingredients trap air, giving you a cloud-like rise.
Cake Flour: This is non-negotiable for a delicate crumb. It has less protein than all-purpose flour, keeping your cakes incredibly tender.
School-Safe & Allergy-Friendly Substitutions
If you are baking for a preschool with strict mandates, you can easily adapt this:
Dairy-Free: Swap the butter for a high-quality plant-based stick butter and use oat milk.
Nut-Free & Dye-Free: This recipe is naturally nut-free! Just ensure your vanilla extract and any sprinkles you use are certified dye-free and processed in a safe facility.
A Mediterranean Twist
Most people miss this step, but it makes all the difference: to honor my Southern Italian roots, sometimes I swap the melted butter for a light extra virgin olive oil, or add a tiny splash of orange blossom water. It yields an ultra-moist crumb and a subtle, floral warmth that is truly unforgettable.
See? You’re already doing beautifully.
Our Step-by-Step Guide to Miniature Magic
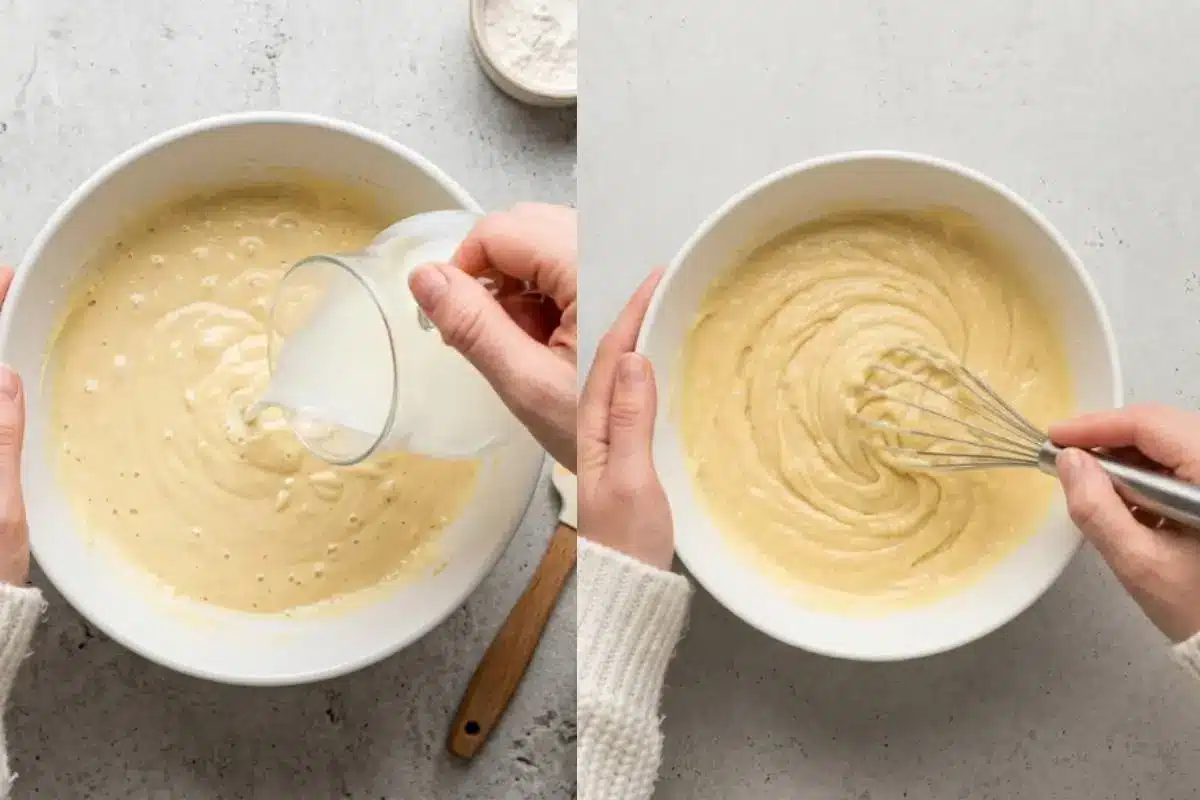
Take a breath; you’re doing great so far, and the actual baking goes much faster than you think.
Baking in miniature requires a slight shift in how we handle our tools and our timing. When you hear the familiar tapping of your whisk against the bowl, you'll know you're right on track.
Standard vs. Miniature Baking Times
Cake Size | Oven Temperature | Estimated Bake Time |
|---|---|---|
Standard Cupcakes | 350°F (175°C) | 18 to 22 minutes |
Mini Cupcakes | 350°F (175°C) | 10 to 15 minutes |
Prep Your Station: Preheat your oven to 350 degrees F. Whisk the flour, baking powder, and salt in a small bowl.
Mix the Wet Ingredients: In a medium bowl, combine the sugar, cooled butter, egg, and vanilla. Whisk for 1 minute until thickened, then whisk in the milk.
Combine: Add the flour mixture and whisk until the batter is smooth.
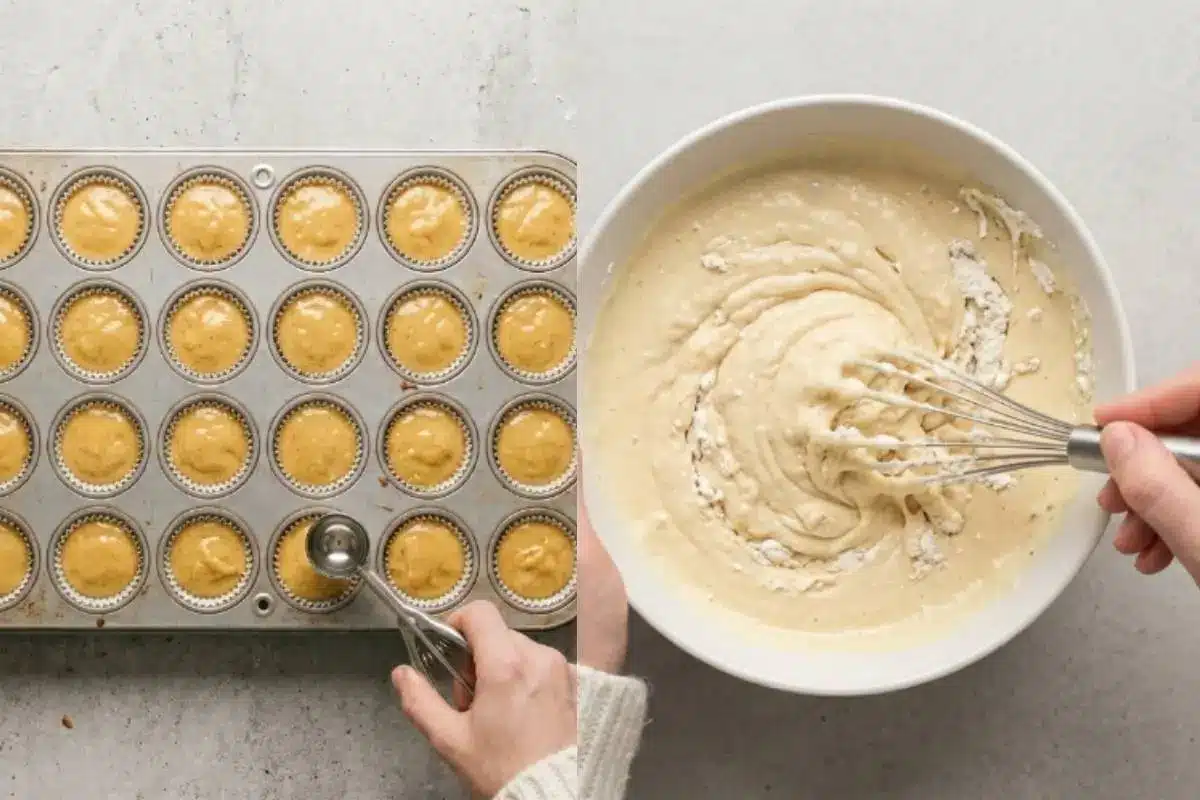
The Perfect Scoop: Use a small cookie scoop to portion exactly 1 scant tablespoon of batter per paper liner.
Fill Carefully: Fill your 24-cup mini muffin tin strictly 1/2 to 2/3 of the way full. This prevents the dreaded "mushroom top" overflow that ruins those pretty little tops.
If your batter looks a little messy or uneven in the tin here, that’s completely normal! It smooths out in the oven.
Bake: Bake for 12 minutes. You'll know it's right when the golden edges bubble slightly and the tops spring back when gently pressed.
This is where the magic starts to happen.
Why This Mini Cupcakes Recipe Works
Here’s the part everyone overthinks—but I promise, you won’t.
The reason my family always asks for this recipe is because of the perfect harmony between the cake and the frosting.
Mini treats often become a crumbly mess in toddler hands, but our perfect frosting-to-cake ratio ensures a neat, delightful bite every single time.
Here is the "why" behind your success:
Cooling Science: You must cool the cakes in the pan for exactly 5 minutes, then move them immediately to a wire rack. Leaving them in the hot tin traps steam, which is the number one cause of paper liners peeling away from the cake.
Bake Time Math: Because miniature formats bake so rapidly, pulling them out at the 12-minute mark (rather than waiting for a dark brown color) avoids a dry, overbaked crumb. They continue to cook slightly as they rest.
The Viral "Dot Cake" Save: Did a few cakes bake up looking a little lopsided? Don't throw them away! Layer visually imperfect or leftover mini cakes in clear plastic dessert cups with dollops of frosting and nonpareils to create a trendy, scoopable "Dot Cake."
Biting into that silky, soft, cloud-like texture will make your kitchen feel like an old-world bakery.
You’re closer than you think—keep going.
Elena’s No-Fail Tips For Your Mini Cupcakes
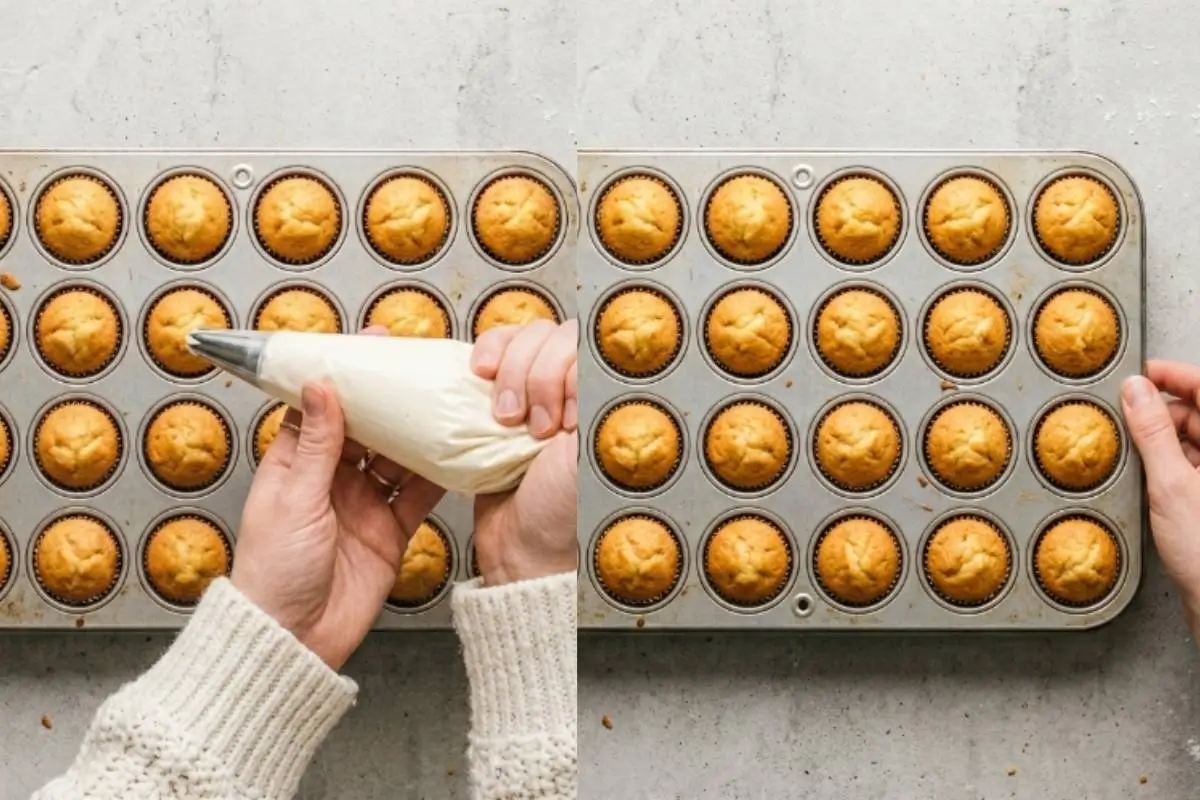
If you've ever felt frustrated baking tiny treats, I promise these simple tweaks will save the day.
In my family, decorating is the moment everyone waits for. But before we get to the frosting, let's troubleshoot the most common mini-baking headaches.
Why are my cupcake liners peeling away?
This all comes down to the science of moisture control. Leaving your cakes in a hot tin, or putting them into plastic storage containers before they are 100% cool, traps steam. That steam softens and warps the paper, causing it to pull away from the edges.
How much batter goes in a mini cupcake liner?
Always use 1 scant tablespoon. As a rule of thumb: fill the liner only 1/2 full for highly liquid, high-hydration batters, and 2/3 full for standard batters like this beautiful vanilla one.
Should I grease my paper liners?
No. Despite the great internet debates, you should never grease your paper liners. Greasing causes oil to pool at the bottom of the paper, leading to structural failure and a greasy bottom crust.
Are there easy decorating ideas for classroom treats?
For a busy mom wanting maximum joy with zero sticky mess, keep it simple! Use the "high-hat" technique: pipe a simple, tall swirl of buttercream and immediately dip the top into a bowl of vibrant, mess-free nonpareils.
With these secrets in your apron pocket, you cannot fail.
Saving a Little Joy for Tomorrow: Storage Tips, Freezing & Make-Ahead Notes
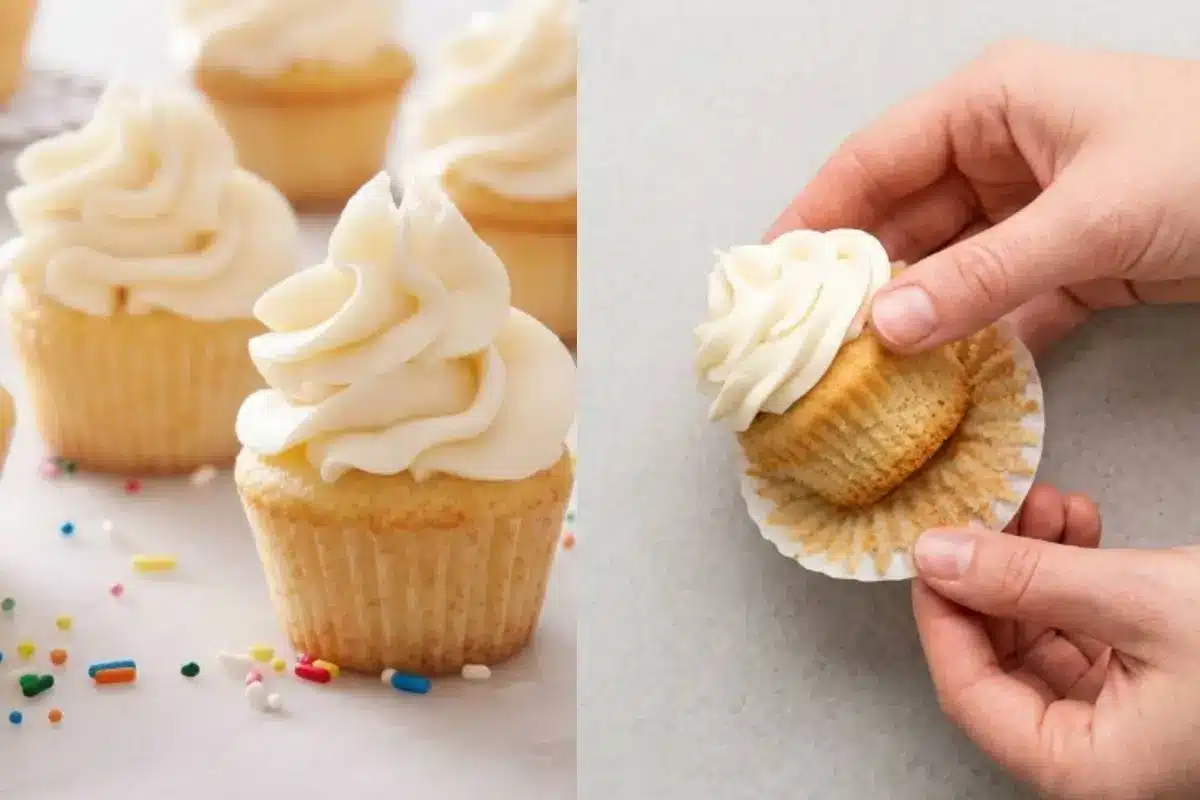
Preparing ahead of time is the best gift you can give your future self, and these little gems store beautifully.
If you are baking for a weekend party, you can freeze the unfrosted cakes for up to 2 to 3 months. Just pop them into a freezer-safe bag once they are completely cool.
Elena's Gentle Reminder: Never store warm baked goods in airtight plastic containers. The condensation guarantees peeled wrappers and soggy tops!
When you are ready to serve, let them thaw overnight in the refrigerator, then bring them to room temperature before piping on that tender vanilla buttercream.
If you love creamy textures, you’ll also love my ricotta-based desserts, but there is something truly special about this classic frosting.
See? You are fully prepared to create something wonderful.
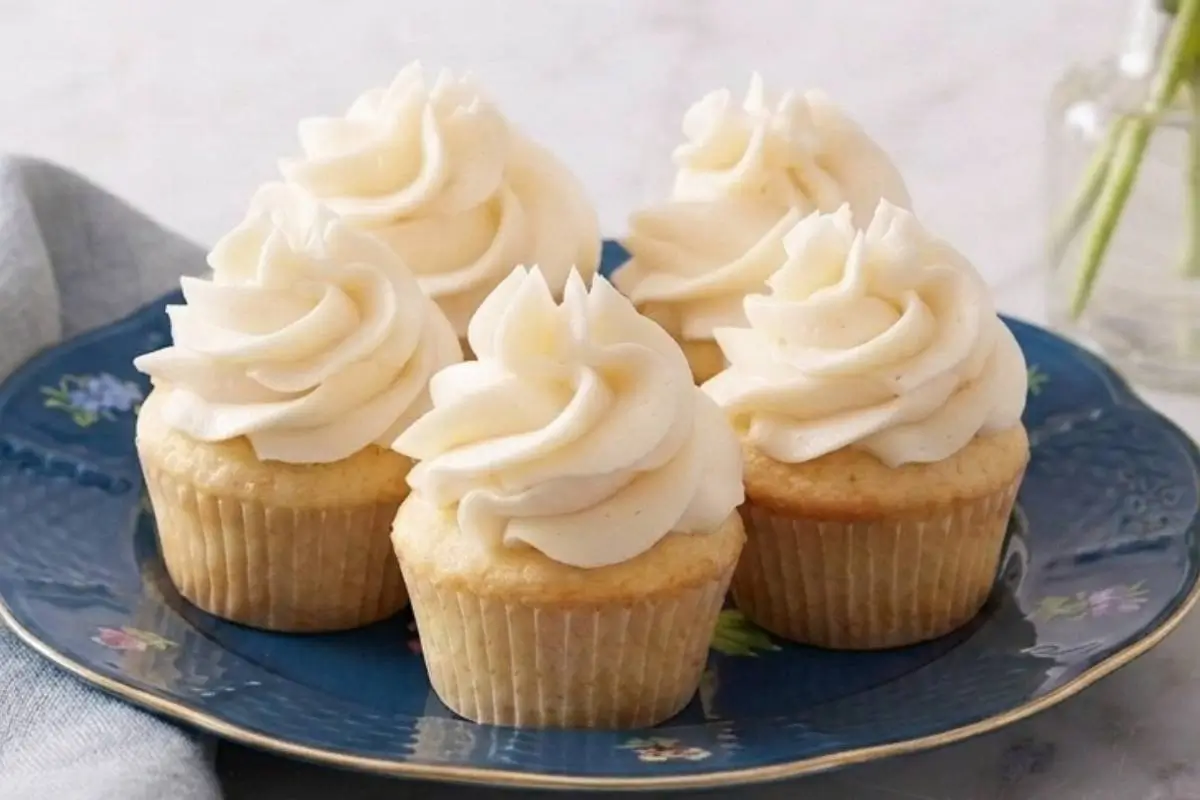
The Most Delightful Mini Cupcakes
Ingredients
Method
- Preheat your oven to 350 degrees F.
- Whisk the flour, baking powder, and salt together in a small bowl.
- In a medium bowl, combine the sugar, cooled butter, egg, and vanilla. Whisk for 1 minute until thickened, then whisk in the milk.
- Add the flour mixture to the wet ingredients and whisk until the batter is completely smooth.
- Fill a 24-cup mini muffin tin lined with paper liners about two-thirds of the way full.
- Bake for 12 minutes, or until the tops spring back when gently pressed. Cool in the pan for 5 minutes, then move to a wire rack to cool completely.
- To make the frosting, cream the room temperature butter and salt together for 2 minutes.
- Sift in the confectioner’s sugar, add 1 tablespoon of the heavy cream and the vanilla, then beat on low speed until combined.
- Increase the mixer to medium speed and beat for 2 minutes until light and fluffy.
- Pipe about 1 1/2 tablespoons of frosting onto each cooled cupcake.
Notes
Making Sweet Memories
Baking these brings me right back to the warmth of Nonna's kitchen, standing on that wooden stool and learning that the best things in life are the ones we share.
Whether you are baking for a noisy classroom or a quiet Sunday afternoon, remember our golden rule: we are making memories, not masterpieces.
Did these survive the toddler taste test? Show me your messy, joyful kitchen moments below, or drop a comment if you need help with a specific allergy substitution for a classroom party!