
Easy vanilla cupcakes from scratch have a way of making any afternoon feel like something worth remembering.
I learned that from Nonna, not from a recipe card, but from watching her. She didn't make them for birthdays or parties or any reason she ever explained. She made them on Tuesdays.
Ordinary Tuesdays when the light came through the kitchen window in that particular golden way, and she'd decide, with no fanfare at all, that today called for something sweet.
The kitchen would fill with the smell of warm butter and vanilla real vanilla, the kind that blooms the moment it hits heat and by the time we sat down, there they were. Small, pale, perfect. Not decorated. Not impressive. Just deeply, quietly good.
For years I assumed that kind of cupcake soft, genuinely flavorful, the kind that holds together when you peel the liner back required something I didn't have. A technique. A secret.
A pastry school diploma I'd somehow missed. I tried box mixes, and they were fine. Fine, the way a greeting card is fine. Perfectly adequate, and nothing like a Tuesday in Nonna's kitchen.
This recipe is what I eventually found my way to. And I want to say this plainly: if you have ever pulled a dry, bland cupcake from the oven and felt like you'd failed, this is for you. You didn't fail. You just needed a better recipe and a few secrets the other recipes left out.
The Key Ingredients for Easy vanilla cupcakes from scratch
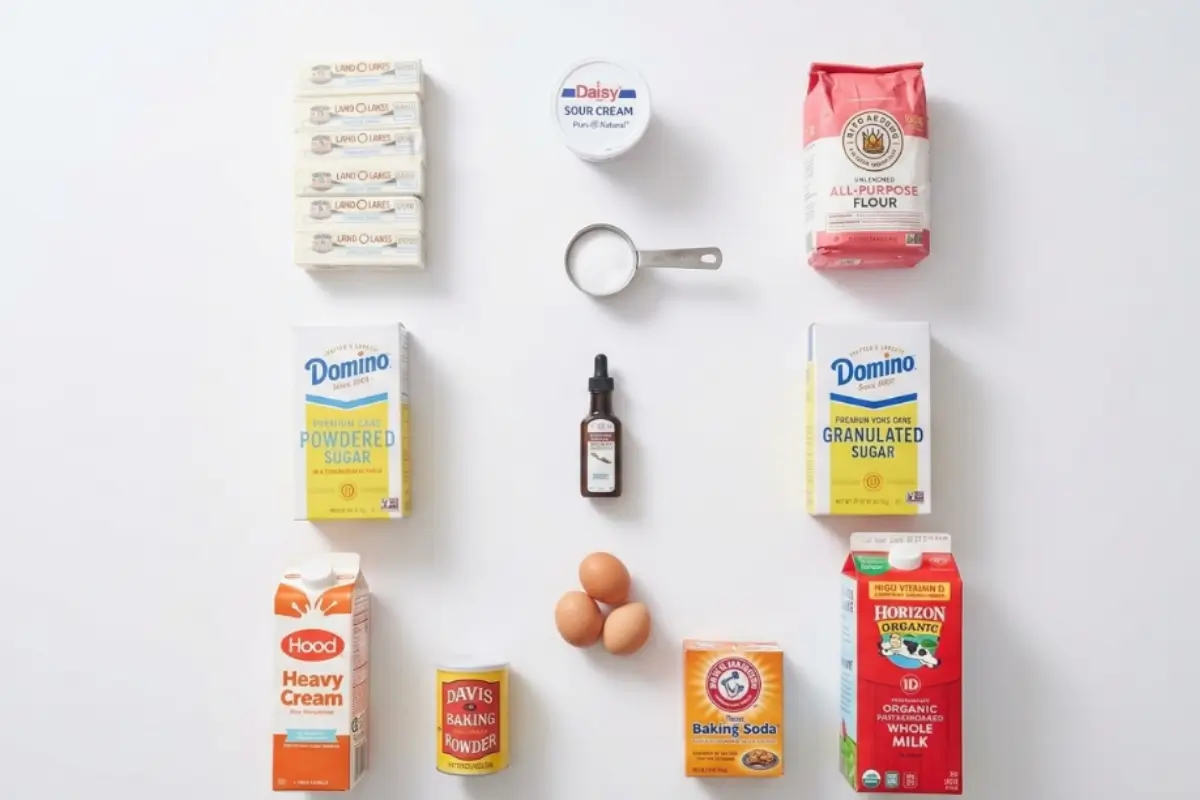
Everything you need is almost certainly already in your kitchen, and the one or two things that aren't are worth getting, because they make all the difference.
Here's what goes into these cupcakes and why each ingredient earns its place:
All-purpose flour: You'll see a lot of recipes calling for cake flour, and it does produce a slightly more delicate crumb. But all-purpose flour works beautifully here. I've made these both ways, and you will not be disappointed with what you already have.
The key is how you measure it: spoon the flour into your measuring cup and level it off with a straight edge. Scooping directly from the bag packs in up to 20% more flour than you want, and that's what makes cupcakes dry and heavy before they've even hit the oven.
Baking powder. This is your lift. Make sure yours isn't expired old baking powder is the silent reason many cupcakes don't rise properly. To test it, drop a teaspoon into hot water. If it bubbles vigorously, it's good.
Salt. Don't skip it and don't reduce it. Salt is what makes vanilla taste like vanilla. It amplifies every other flavor in the batter.
Unsalted butter, room temperature. This is not a suggestion it's the step that determines whether your batter comes together or fights you the entire way. Cold butter won't cream properly.
It'll stay lumpy, won't incorporate air, and your cupcakes will be dense. Set your butter out at least an hour before you start, or cut it into small cubes and let it sit for 30 minutes.
You want it soft enough to leave an indent when you press it with your finger, but not so warm that it's greasy.
Granulated sugar. Classic, reliable. No substitutions needed here.
Eggs, room temperature. Same rule as the butter. Cold eggs added to creamed butter can cause the mixture to curdle and separate. Set them out with the butter. If you forgot, a 5-minute soak in warm (not hot) water does the trick.
Sour cream or full-fat Greek yogurt. This is the ingredient that separates a good vanilla cupcake from a great one. Both add moisture and a very subtle tang that deepens the flavor without being detectable as sour cream or yogurt at all.
Greek yogurt produces a slightly lighter texture; sour cream gives a tiny bit more richness. I've made these with both and loved them both use whichever you have.
If you need a dairy-free option, a thick plant-based yogurt (coconut- or oat-based) works well in the same quantity.
Whole milk. Full-fat for the richest crumb. If you only have oat milk, it works the cupcakes will be slightly lighter in color and may bake a minute or two faster, so keep an eye on them.
Pure vanilla extract, and please, be generous. Here's the thing most recipes get wrong: they call for one teaspoon of vanilla extract, and then readers wonder why their cupcakes taste like nothing. Two teaspoons minimum. More if your bottle allows.
And please use pure vanilla extract, not imitation. Imitation vanilla smells artificial once it's baked into something, and the difference is clear. Real vanilla blooms with heat. It's worth every penny.
How to Make Easy Vanilla Cupcakes From Scratch Step by Step
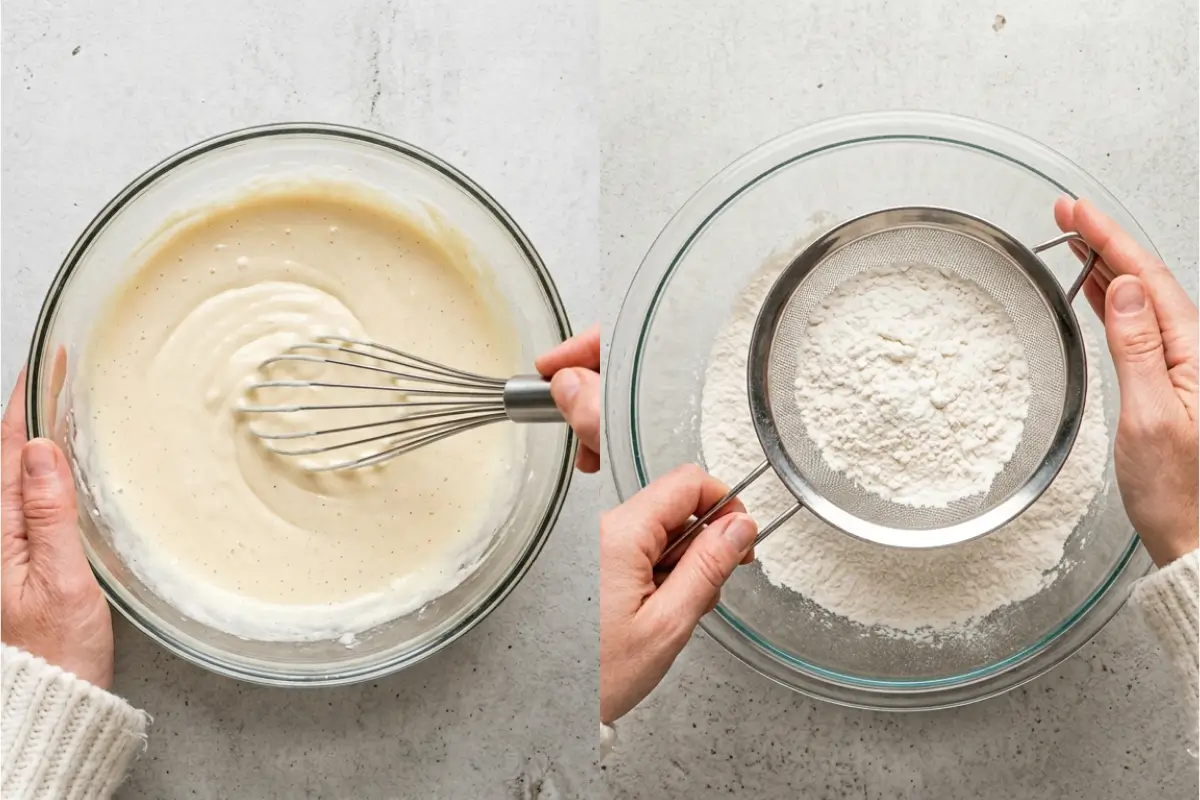
Here's the part that feels harder than it is take a breath. These come together in about 20 minutes of hands-on time, and the oven does the rest.
1. Get everything ready.
Preheat your oven to 350°F (175°C). Line a standard 12-cup muffin pan with paper liners. Pull your butter, eggs, sour cream, and milk out of the fridge now if you haven't already. Room temperature isn't negotiable here, and I want you set up for success.
2. Mix your dry ingredients.
In a medium bowl, whisk together the flour, baking powder, and salt. Whisk for a full 30 seconds so everything is evenly distributed. Set aside. You'll know it's right when the mixture looks uniform, and there are no white pockets of baking powder.
3. Cream the butter and sugar.
In a large bowl with a hand mixer, or in the bowl of a stand mixer, beat the softened butter and sugar together on medium-high speed for about 3 minutes. Don't rush this step.
The mixture should turn noticeably pale, almost white, and look fluffy, like frosting. This is where the air goes into your cupcakes. Give it the full 3 minutes. This is not the step where overmixing is a danger. Cream fully.
4. Add the eggs, one at a time.
Add each egg individually, beating well after each addition. Adding them one at a time helps the mixture stay smooth and emulsified. If the batter looks slightly curdled after an egg, don't panic. It's perfectly normal, and the flour will bring it all back together beautifully. Add your vanilla extract with the final egg.
Here's the moment I love: when the vanilla hits the warm batter, the kitchen changes. That smell sweet, floral, warm is exactly what Nonna's kitchen smelled like. Take a second to enjoy it.
5. Add the dry ingredients and milk this is where care matters.
With your mixer on low speed, add about a third of the flour mixture. Mix until just starting to combine. Add half the milk (or your milk-and-sour-cream mixture). Add another third of flour. The rest of the milk. The last of the flour.
Mix until just combined a few wisps of flour are completely fine. Stop here. This is the step where overmixing activates the gluten in the flour and turns your cupcakes tough and dense.
You are looking for a smooth, thick batter with no visible dry pockets. It should fall off the spatula in a slow, heavy ribbon.
If it looks slightly lumpy, that's okay. Lumpy batter is infinitely better than overmixed batter.
6. Fill the liners.
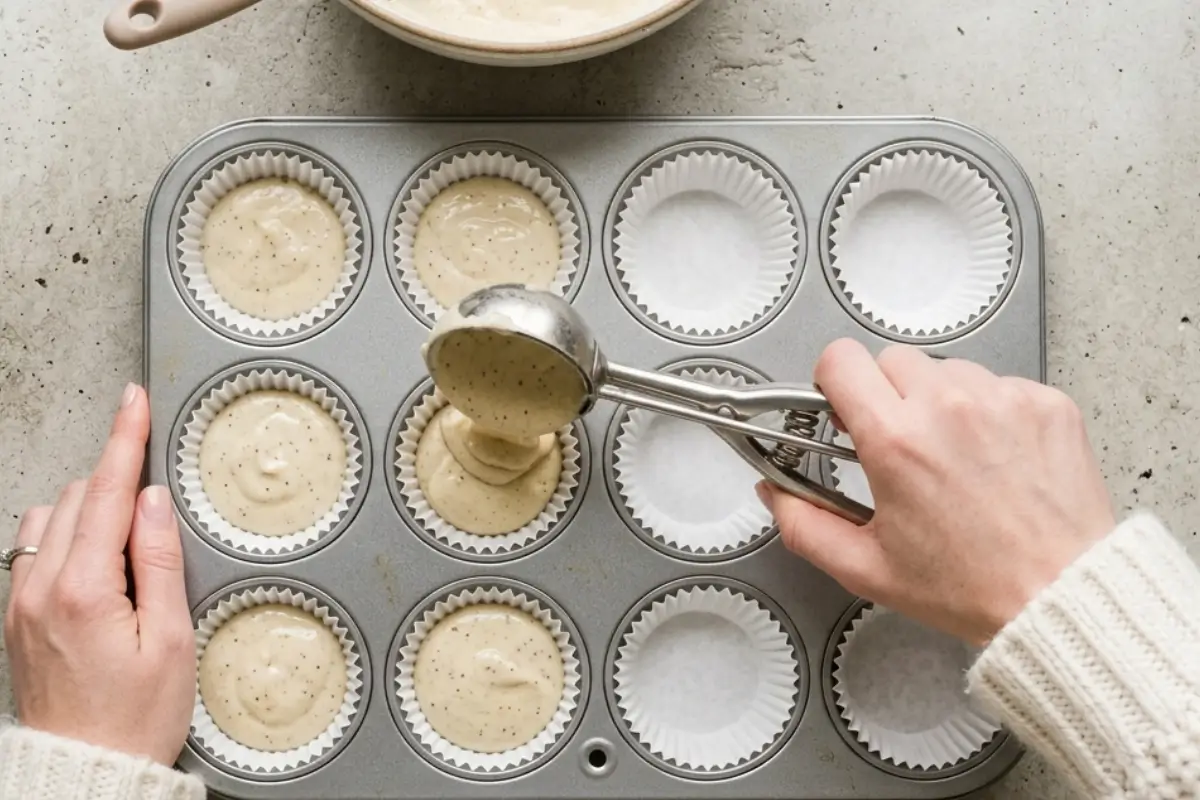
Use a large cookie scoop or two spoons to divide the batter evenly. Fill each liner about ¾ full picture the batter coming just below the top edge of the liner, not sitting on top of it or touching the rim.
Overfilled liners spread sideways and don't dome. Underfilled liners give you squat little pucks.
7. Bake and forget the toothpick.
Bake for 18–22 minutes on the center rack. Here's what I want you to do instead of the toothpick test: at 18 minutes, gently press the center of one cupcake with your fingertip.
If it springs back immediately and completely, they're done. If your finger leaves a small indent, give them 2 more minutes and test again.
The toothpick test is unreliable for cupcakes it can read "clean" when the cupcakes still need a couple more minutes, or it can come out clean from a dry cupcake that's already overbaked.
Trust the spring-back. It has never failed me. All ovens are different, so start checking at 18 minutes and don't walk away.
8. Cool completely this one is non-negotiable.
Let the cupcakes rest in the pan for 5 minutes, then transfer them to a wire rack. Let them cool completely for at least 45 minutes before frosting.
Warm cupcakes melt buttercream on contact, and all your beautiful swirling will slide off. I know it's tempting. I know. But this is the one step you must not rush.
See? You're already doing beautifully.
Why These Vanilla Cupcakes Work
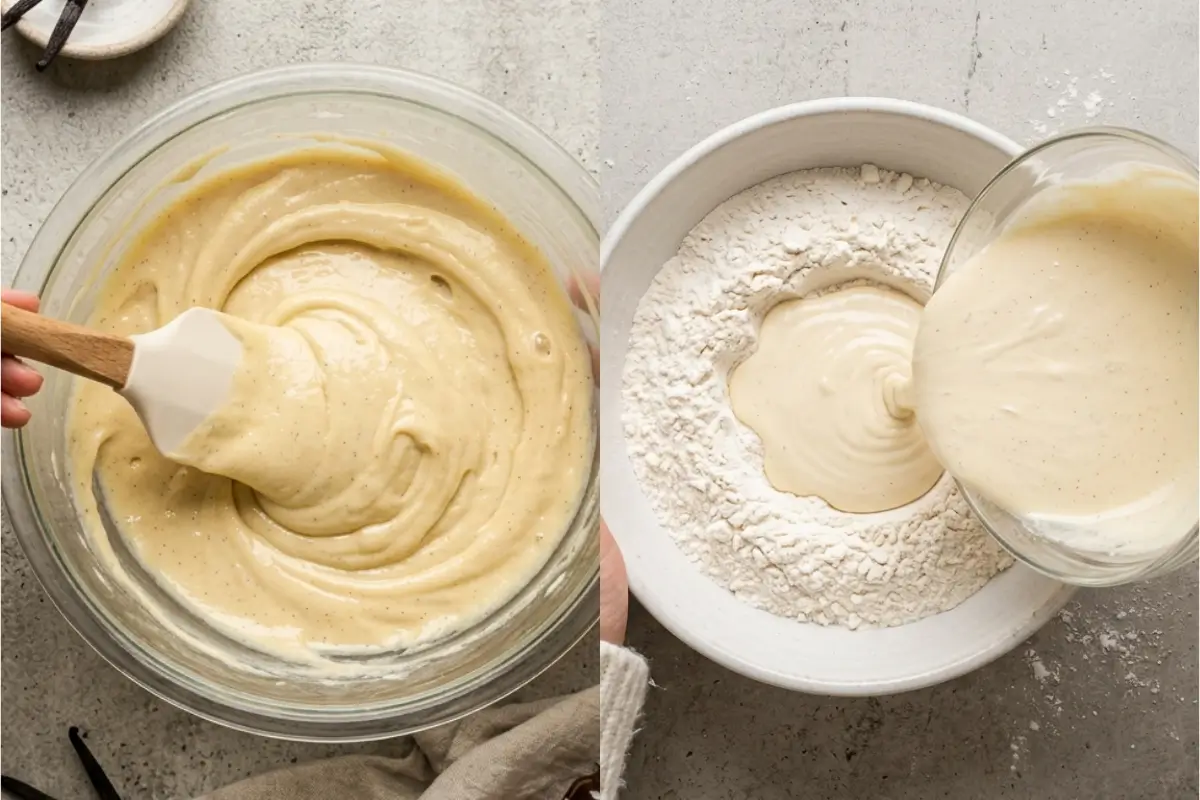
You're not just following a recipe here you're understanding it. That's what makes the difference between a good cupcake and one that people ask about.
The sour cream does more than add moisture. It introduces a mild acidity that reacts with the baking powder and tenderizes the gluten in the flour, which is why the crumb is soft rather than chewy. It also adds body, helping the cupcake hold its shape without drying out.
Room-temperature butter creams; cold butter doesn't. When butter is the right temperature, it traps air between the fat and sugar crystals during creaming. That trapped air is what expands in the oven and creates lift.
Cold butter is too rigid to hold air. This is why the texture of your cupcakes is largely decided before they ever touch the oven.
We use 2 teaspoons of real vanilla because 1 isn't enough. Most vanilla cupcake recipes are bland because they treat vanilla as a background note. It's the whole flavor.
Use enough, use the real kind, and your cupcakes will taste the way vanilla is supposed to taste: warm, floral, and gently sweet.
The springs-back-to-touch test beats the toothpick every time. A toothpick can come out clean from the center of a cupcake that has been overbaked for 4 minutes.
The springs-back test measures what actually matters whether the structure has set. When a cupcake springs back, the proteins have firmed, and the crumb is stable. That's the signal you want.
Full cooling protects the frosting and the crumb. A hot cupcake is still finishing its bake on the wire rack as residual heat dissipates through the center.
Frosting it warm traps that steam under the buttercream, which softens the top of the cupcake and makes the frosting slippery. Patience here is its own technique.
Elena's No-Fail Tips for Perfect Vanilla Cupcakes Every Time
This is the section I wish I'd had for years. Every question here comes from a real frustration I've either experienced myself or heard from someone standing in their kitchen wondering what went wrong.
Why Are My Vanilla Cupcakes Dry?
Almost always, dry cupcakes come from one of two places: overbaking or too much flour.
On the overbaking side: if you're using the toothpick test, please stop. As I mentioned above, it's not a reliable doneness signal for cupcakes. Use the spring-back test at 18 minutes and check from there.
On the flour side: scooping your measuring cup directly into the flour bag packs it down and adds far more than a cup.
Spoon the flour into your cup and level it with a knife. Here's the trick I learned the hard way I spent years wondering why my cupcakes were denser than I wanted, and this was the entire reason.
Also check your oven temperature with an inexpensive oven thermometer. Many home ovens run 25–50°F hotter than the dial says, which means your cupcakes are baking faster than you think.
Why Did My Cupcakes Sink in the Middle?
A sunken center usually means one of three things: the oven door was opened in the first 15 minutes of baking (the rush of cool air deflates the rise), the liners were overfilled (the batter spills sideways instead of rising up), or the cupcakes were slightly underbaked and the center collapsed as they cooled.
The good news: a small sink in the center is entirely invisible once frosted. I've served sunken cupcakes to thirty people, and not one person noticed. Frosting is a forgiving cover.
Why Do My Vanilla Cupcakes Taste Bland?
Vanilla has a flavor presence proportional to how much you use. One teaspoon of pure vanilla extract disappears in a dozen cupcakes. Two teaspoons gives you that warmth you're looking for. Some bakers use up to a tablespoon for an intensely vanilla-forward result.
Make sure you're using pure vanilla extract imitation vanilla contains artificial vanillin that smells fine in the bottle but turns slightly harsh when baked. And don't underestimate salt: it doesn't make things salty; it makes them taste more like themselves. Don't reduce it.
Can I Make These Ahead?
Yes, and this is actually how I recommend making them for any gathering.
Bake the cupcakes up to two days in advance. Once they're fully cool, store them unfrosted in an airtight container at room temperature. The day you plan to serve them, make the buttercream and frost them fresh.
If you need to go further ahead, unfrosted cupcakes freeze beautifully for up to three months. Wrap them individually in plastic wrap, place in a zip-lock bag, and thaw at room temperature for a couple of hours.
Never microwave frozen cupcakes it makes the crumb gummy and the texture strange.
Saving a Little Joy for Tomorrow
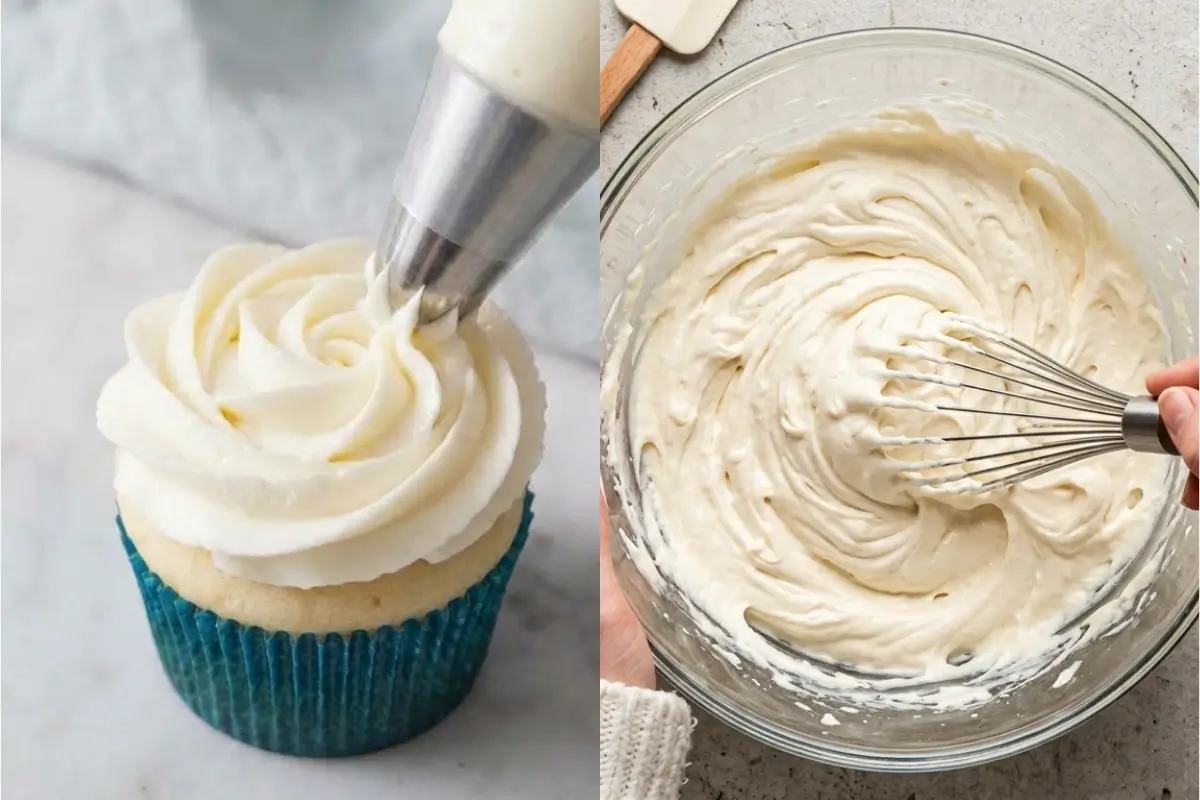
This is the make-ahead move I use for every birthday in our family: bake the cupcakes the day before, store them unfrosted, and frost them fresh the morning of.
They taste as if you just pulled them from the oven, and you've bought yourself an hour of calm on the actual day.
Room temperature: Unfrosted cupcakes keep well at room temperature for up to 2 days in an airtight container or under a cake dome. Frosted cupcakes at room temperature are best within 24 hours before the buttercream starts to change texture.
Refrigerator: Frosted cupcakes can be refrigerated in an airtight container for 3–4 days, but I always bring them to room temperature for 30–45 minutes before serving. Cold cupcakes are denser, and the frosting loses its softness. Room temperature is where they're at their best.
Freezer: Unfrosted cupcakes freeze for up to 3 months. Wrap each one individually in plastic wrap before placing in a freezer bag this prevents freezer burn. Thaw at room temperature for 1–2 hours, then frost as usual. Do not thaw in the microwave or oven.
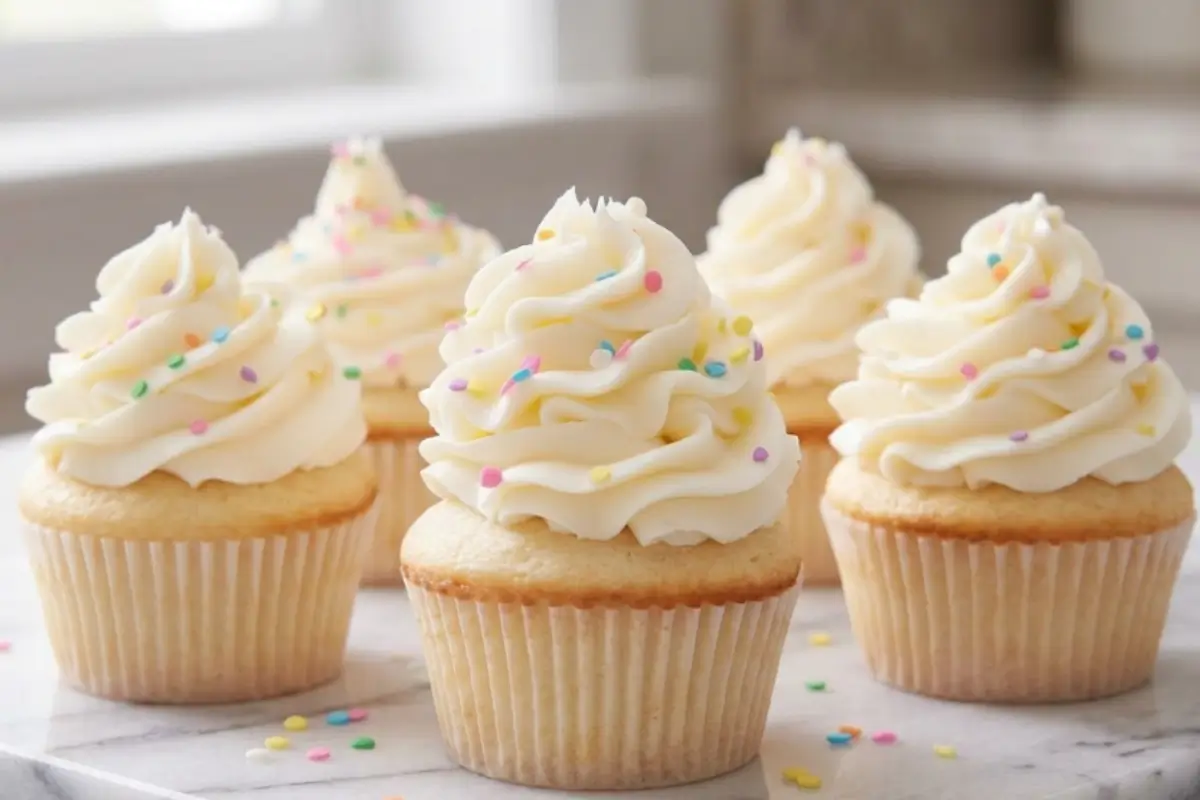
The Most Nostalgic Vanilla Cupcakes with Vanilla Buttercream
Ingredients
Method
- Preheat your oven to 350°F (175°C) and line a standard cupcake tin with paper liners.
- In a large bowl, sift together the all-purpose flour, granulated sugar, kosher salt, baking soda, and baking powder, then whisk briefly to combine.
- Separate your egg whites and set the yolks aside for another use. In a separate bowl, whisk together the melted butter, room temperature egg whites, vanilla extract, sour cream, and warm milk.
- Pour the wet ingredients directly into the dry ingredients and stir gently just until combined, being careful not to overmix.
- Divide the batter evenly among the 12 prepared liners, filling each roughly two-thirds full so they have space to rise.
- Bake for about 18 minutes, or until the centers gently spring back when lightly touched with your fingertip.
- Allow the cupcakes to cool in the pan briefly, then transfer them to a wire rack to cool completely before frosting.
- For the buttercream, beat the room temperature butter in a stand mixer fitted with the paddle attachment or with a hand mixer until smooth and creamy.
- Gradually add the sifted confectioners sugar in two batches, beating well between additions.
- Pour in the salt, whole milk, heavy cream, and vanilla extract, then whip on medium-high speed until light, fluffy, and spreadable.
- Spoon the frosting into a piping bag to swirl or spread a generous, rustic layer over each cooled cupcake with an offset spatula.
Notes
Making Sweet Memories
I think about those Tuesdays in Nonna's kitchen more often than I can explain. Not the special occasions, the ordinary ones. The afternoons that had no reason to be memorable except that she decided they should be. And a batch of vanilla cupcakes was enough.
That's what I want for you. Not a perfect batch that you stress over and judge against some imaginary standard.
Just a warm afternoon, a kitchen that smells like real vanilla, and the quiet pride of pulling something homemade from the oven and watching someone you love reach for it before it's even cooled.
Easy vanilla cupcakes from scratch will always be simpler than you feared and more meaningful than you expected. That's the thing about food made with your own hands it carries something that a box never can.
At AddCakes, we believe in memories, not masterpieces. And sometimes, a memory is just a warm cupcake on an ordinary Tuesday.
[…] structurally intact from the moment you fill it to the moment someone peels it away. For everyday vanilla cupcakes, paper is perfectly fine. For anything richer chocolate, carrot, banana, anything with oil or cream […]
[…] part is simpler than it looks, I promise. We're working with three component groups the vanilla cupcake base, the salted caramel filling, and the buttercream frosting, and every ingredient has a […]