
Red Velvet Cupcakes weren't in my grandmother's recipe box. Hers was full of things like lemon-scented ricotta cake and almond cookies dusted in sugar, all handed down the way things are in an Italian kitchen: no written measurements, just a pinch of this and a look that told you when it was right.
But somewhere along the way, red velvet found its way into our family anyway, because my mother fell for it, and once she did, it earned its place at the table right alongside the old favorites.
Every February, and honestly most birthdays too, someone would ask for them, and she'd sigh like it was a big production, then quietly go get the buttermilk out of the fridge anyway.
I remember standing on a stepstool next to her, watching the batter go from pale brown to that deep, almost velvet red, and thinking it looked like magic. It smelled like warm cocoa and vanilla, and the wooden spoon always came out stained pink no matter how many times we washed it.
But here's the part nobody talks about: more than once, those cupcakes came out of the oven looking gorgeous and then fell apart the second a fork touched them. Dry in the middle, crumbly at the edges, frosting sliding right off.
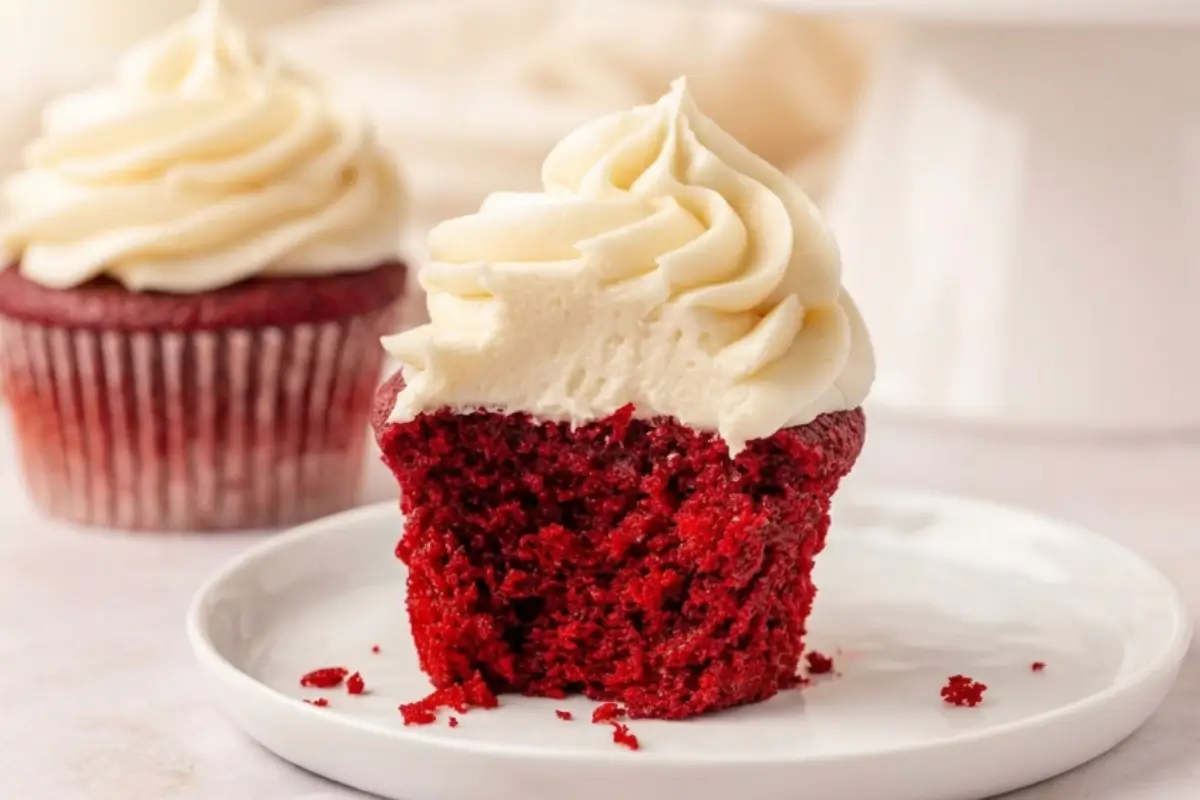
My mother would just shrug and say, "Well, it still tastes good," which is true, but it's not the same as watching something hold together the way you pictured it.
That's the whole reason I sat down and rebuilt this recipe from the ground up, not to make it fancier, just to make it reliable. So if you've ever had a red velvet cupcake crumble apart on you right when it mattered, take a breath. This one's built to hold.
The Key Ingredients For Red Velvet Cupcakes And Why They Matter
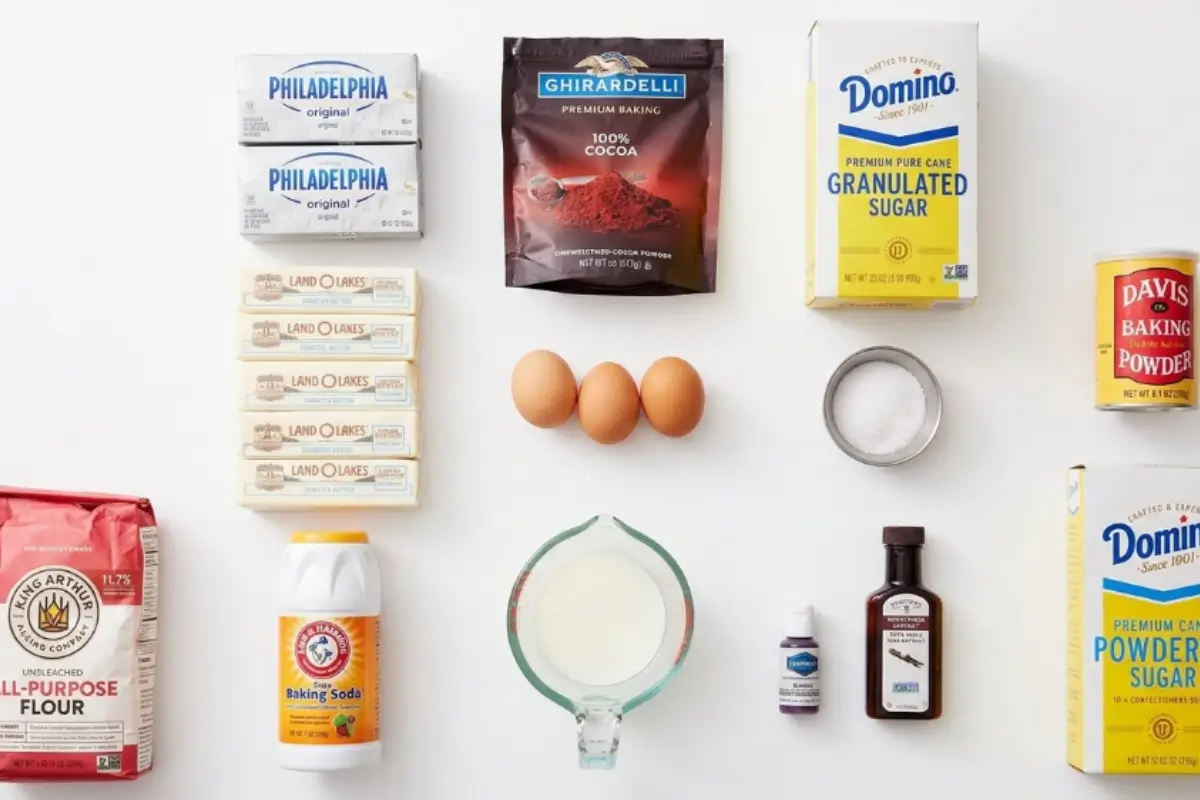
This isn't a long or complicated ingredient list, but every single item on it is doing a job. Here's what matters and why.
Buttermilk, vinegar, and baking soda this trio is the heart of a real red velvet. The acidity in the buttermilk and vinegar reacts with the baking soda to give you that soft, almost cloud-like crumb, and it's also where the signature tang comes from.
A quick honesty moment here: a lot of old recipe cards will tell you this acid reaction is also what makes red velvet red.
In truth, that reaction plays only a tiny part; the deep red you see today comes mostly from the food coloring, not the chemistry. That's not a letdown; it's just the truth, and it's one less thing to stress over.
Cocoa powder: just a small amount, which is what makes red velvet its own thing and not a chocolate cake in disguise. Natural cocoa powder (not Dutch-process) works best here, both for flavor and because it plays nicer with the acidic ingredients.
Oil, not butter: this is one of the biggest reasons these cupcakes stay soft for days instead of drying out by tomorrow. Oil stays liquid at room temperature, so the crumb stays tender even after they've cooled completely.
Food coloring: gel, not liquid, if you can help it. Liquid coloring tends to shift toward a muddier reddish-brown, while gel gives you that true, vivid red without watering down your batter.
If you'd rather skip artificial dye altogether, a natural beet-based coloring is a lovely, heritage-true alternative; it's how some of the earliest versions of this cake got their color, long before food dye existed.
A little note for anyone baking for a crowd or a special table: if you want that deep red to really show off, a good gel color is worth having on hand this is very much an occasion cake, and it should look like one.
The Golden Rule Step-by-Step Instructions
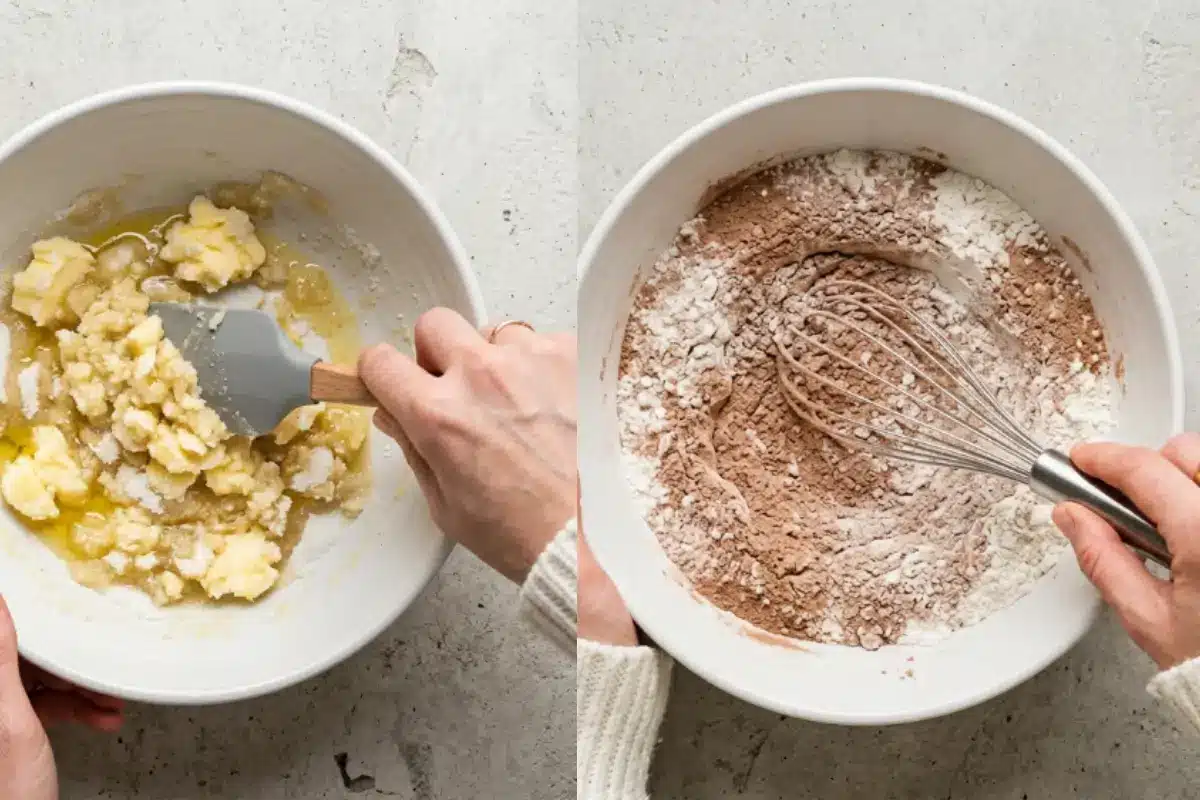
Okay, this part is simpler than it looks. Let's walk through it together.
Preheat your oven to 350°F and line a standard 12-cup muffin pan with cupcake liners (this recipe makes about 14, so keep a second liner or two handy).
Whisk your dry ingredients flour, cocoa powder, baking soda, and salt together in a medium bowl and set aside. You'll hear the whisk tap the sides of the bowl, and that's your cue that it's well combined.
Beat the sugar and oil together in a large bowl until they look smooth and slightly glossy. Add the eggs one at a time, beating well after each.
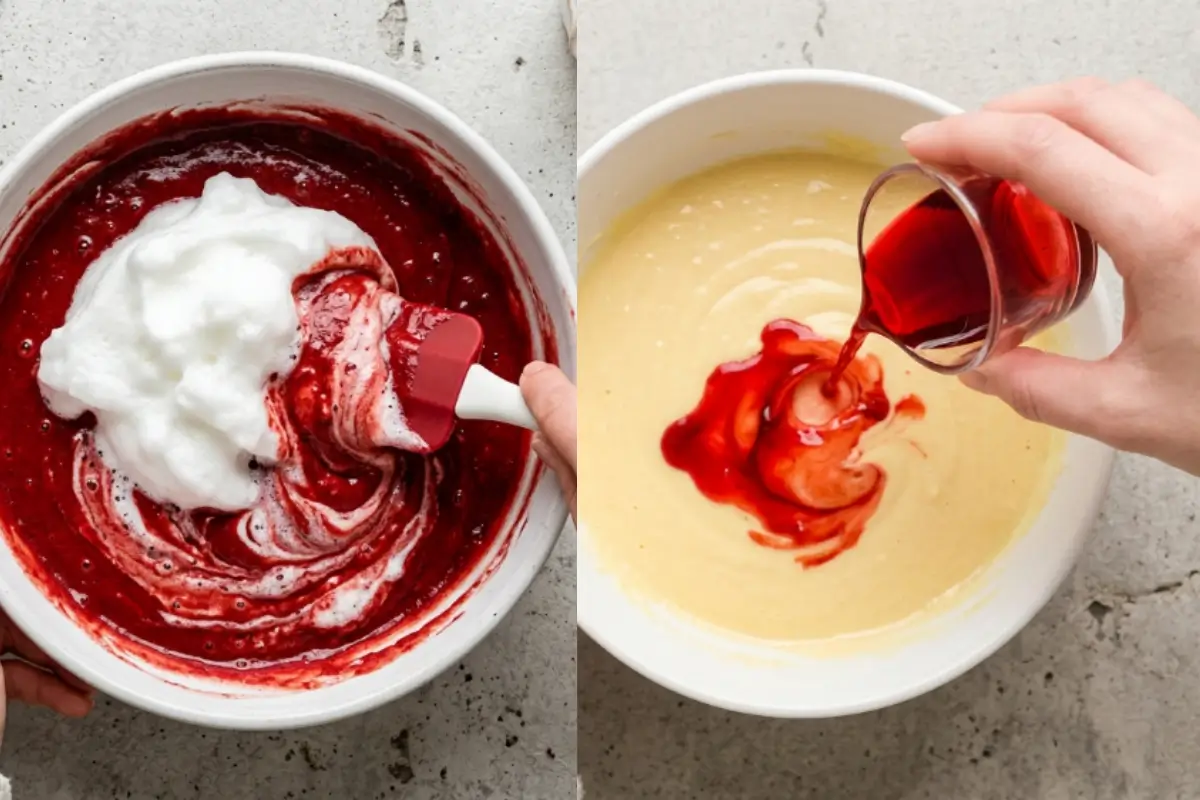
Stir in the buttermilk, vanilla, vinegar, and food coloring. The batter will start turning that deep red right in front of you. This is always a fun moment, so let yourself enjoy it.
Fold the dry ingredients into the wet ingredients just until combined.
Here's the trick I learned the hard way: the second you stop seeing streaks of flour, stop stirring. Overmixing at this stage is the single biggest reason red velvet cupcakes turn out dry or crumbly, because it overdevelops the gluten in the flour.
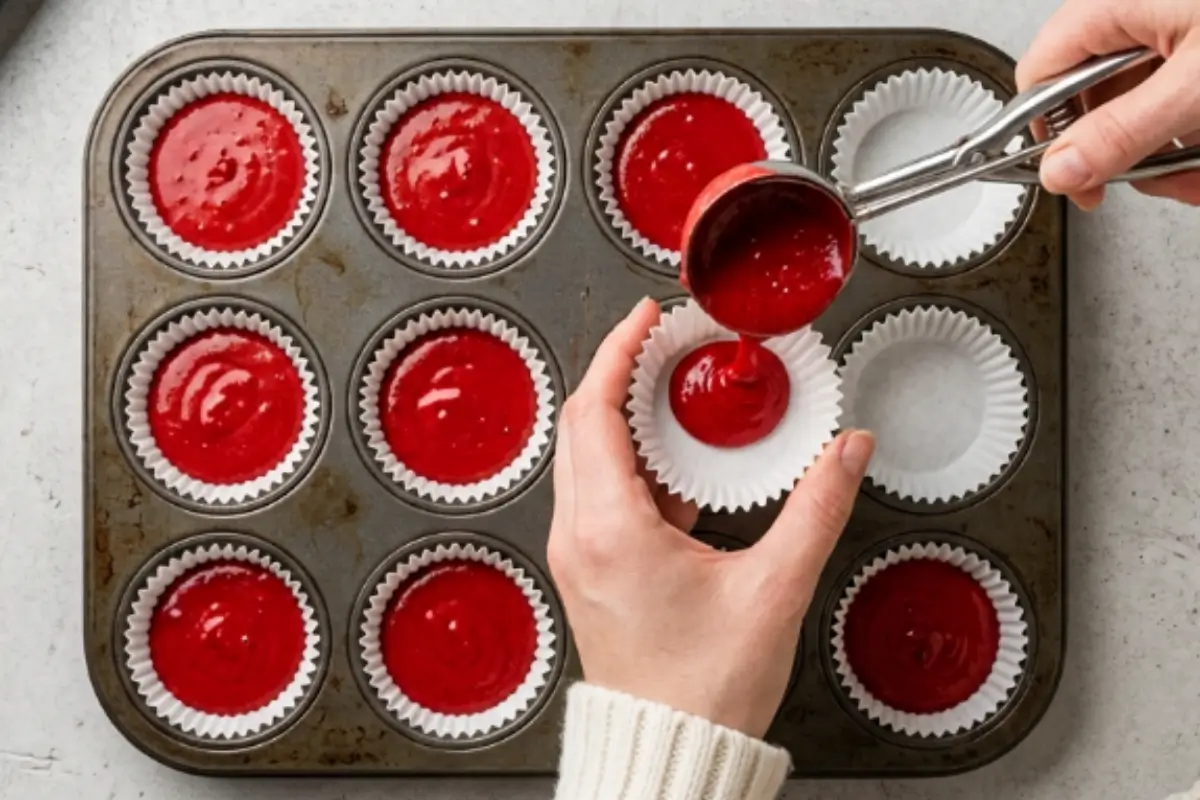
Divide the batter evenly among your liners, filling each about two-thirds full.
Bake for 18–20 minutes. Skip the "clean toothpick" rule here; a fully clean toothpick usually means you've gone a little too far. Instead, look for a few moist crumbs clinging to the toothpick, and a top that springs back gently when you touch it. That's your cupcake telling you it's done.
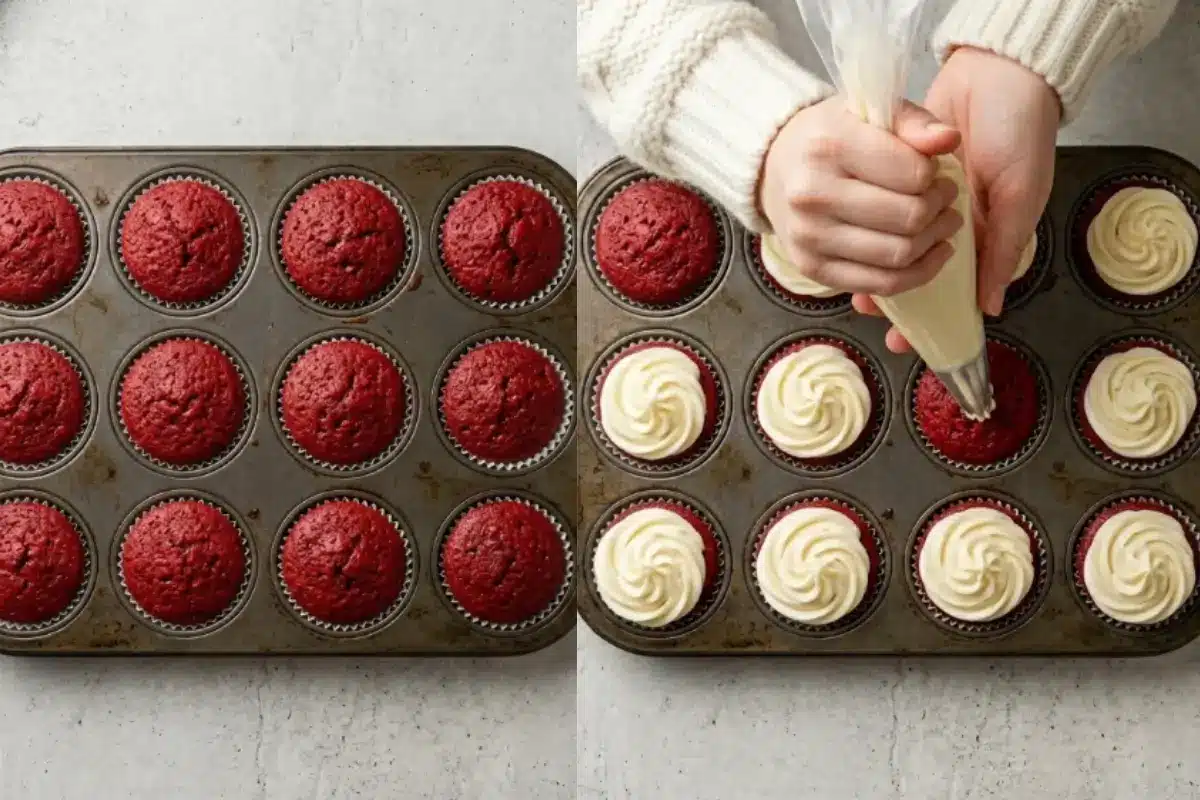
Let them cool all the way through on a wire rack before frosting no shortcuts here. Warm cupcakes and frosting are not friends.
If your baking time runs a little long or short compared to mine, that's completely normal. Ovens, humidity, and even your kitchen's altitude can nudge things by a minute or two. Trust the visual cues over the clock.
You're already doing beautifully.
Why These Red Velvet Cupcakes Work
Here's the part everyone overthinks, but you won't, because now you know exactly what's holding this recipe together.
Oil keeps the crumb tender for days, not just the day you bake it; that's why these still taste fresh even if you make them a day ahead.
Not overmixing is what keeps the texture soft instead of tough or crumbly, which is the single biggest complaint I hear about red velvet gone wrong.
The gentler doneness test protects you from invisible overbaking, which dries cupcakes out from the inside before you'd ever notice from the outside.
Buttermilk and vinegar aren't just for flavor; they're doing real structural work, giving you that soft, springy bite instead of something dense or gummy.
This batter is sturdy enough to travel and hold frosting, which matters if you're bringing these somewhere or building a pretty spread for guests.
See? You're already ahead of where most people start.
Elena's No-Fail Tips
Why did mine turn out dry or crumbly?
This almost always comes down to two things: overmixing the batter, or overbaking the cupcakes.
If yours crumbled in the past, it's not a sign you did something wrong as a baker it's just that flour and heat are unforgiving in very specific ways.
Follow the "stop stirring at the streaks" rule and the moist-crumb toothpick test above, and this problem disappears.
Why is my cream cheese frosting runny?
This one's almost always about temperature. Your butter needs to be cool, not soft and sweating, and your cupcakes need to be fully cooled before frosting touches them.
If it's a warm day in your kitchen, pop the frosting bowl in the fridge for ten minutes before you pipe. If yours looks a little loose at first, that's perfectly normal a quick chill fixes it every time.
Is red velvet just chocolate cake with food coloring?
I get asked this a lot, and the honest answer is no. There's cocoa powder in here, yes, but only a small amount, far less than a true chocolate cake.
What actually defines red velvet is the tang from the buttermilk and vinegar, and that subtle balance between vanilla and chocolate that neither flavor fully takes over. It's its own thing, not a costume.
Do I really need the food coloring?
Not if you don't want it. The cupcakes will taste exactly the same without it, just a warm brown instead of red.
If you love the tradition of that color but want to skip artificial dye, a natural beet-based coloring gives you a lovely rosy tone and is actually closer to how the earliest versions of this cake got their color, long before food dye existed.
Saving a Little Joy for Tomorrow: Storage Tips, Freezing & Make-Ahead Notes
Take a breath this part is genuinely easy, and it means you can get ahead of things instead of scrambling the morning of.
Unfrosted cupcakes keep in an airtight container at room temperature for 1–2 days.
Frosting keeps well in the fridge for up to a week just let it come back to a spreadable texture before using.
For longer storage, freeze the unfrosted cupcakes and the frosting separately, tightly wrapped, for up to 3 months. Thaw at room temperature before frosting.
Already frosted? Store them in an airtight container in the fridge for up to a week, and let them sit out for about 20–30 minutes before serving so the frosting softens back up.
This is what I make when I want something impressive on the table without a stressful morning behind it: bake a day or two ahead, frost the morning of, and you're free to actually enjoy your guests instead of your oven.
You're closer to a beautiful dessert table than you think.
Beautiful Red Velvet Cupcakes
Ingredients
Method
- Preheat your oven to 350°F (177°C) and line a 12-count muffin pan with cupcake liners. You will have enough batter to bake 2 additional cupcakes in a second batch.
- With a mixer fitted with a whisk attachment, beat the 2 egg whites on high speed in a medium bowl until soft peaks form, which should take about 2 to 3 minutes. Set this aside.
- Sift the flour and cornstarch together to make sure it is evenly combined. Whisk this flour mixture along with the baking soda, cocoa powder, and salt in a medium bowl and set aside.
- Using a mixer fitted with a paddle attachment, beat the softened butter on high speed until smooth and creamy, taking about 1 minute.
- Add the granulated sugar and beat on high speed for 2 minutes until creamed together well, scraping down the sides and bottom of the bowl with a silicone spatula as needed.
- Pour in the oil and beat on high for 2 more minutes.
- Add the 2 egg yolks and the vanilla extract. Beat on medium-high speed until combined, scraping down the bowl as needed.
- Beat in the vinegar and your red food coloring until you reach your desired vibrant shade.
- Turn the mixer to low speed and add the dry ingredients in three additions, alternating with the buttermilk. Begin and end with the dry ingredients, mixing each addition just until incorporated so you do not overmix.
- Gently fold the whipped egg whites into the cupcake batter with a rubber spatula or wooden spoon until the batter becomes silky and slightly thick.
- Spoon the batter into the prepared cupcake liners, filling each one about halfway to two-thirds of the way full.
- Bake for 20 to 21 minutes, or until the tops of the cupcakes spring back when gently touched and a toothpick inserted in the center comes out clean.
- Allow the cupcakes to cool in the pan for 5 minutes before transferring them to a wire rack to cool completely.
- Prepare your cream cheese frosting and frost the cooled cupcakes immediately before serving.
Notes
Making Sweet Memories
I think about that stained wooden spoon every time I make these now the one that never quite came clean, no matter how many times it went through the wash.
It wasn't really about the spoon, or even about the cake looking perfect. It was about someone taking the time to make something a little special, crumbs and all.
So if your first batch doesn't come out exactly like the picture, that's more than okay that's just what learning a recipe looks like.
This one's built to hold together for you, but even if it doesn't the first time, you're still making something worth sharing. That's the whole point. Joy, not perfection. Memories, not masterpieces.