
I remember standing on my tiptoes in Nonna's sun-drenched kitchen in Sanremo, trying so hard to fill her delicate pastry shells. If you have ever tried making cannoli cupcakes or traditional cannoli, you know how fragile the dough can be.
I would almost always squeeze the piping bag too hard and crack the fragile fried dough right down the middle, feeling like I had ruined dessert. Instead of getting upset, she would just laugh, hand me a spoon, and tell me that the broken ones tasted even sweeter.
We put so much pressure on ourselves to make our family traditions look absolutely flawless for our children and extended family. But the truth is, the magic isn't in the perfection; it is in the sweet, messy moments we create together in the kitchen.
If you love the taste of a classic Italian bakery treat but want to skip the stress of deep-frying and the anxiety of a ruined presentation, this recipe is a cherished, no-fail shortcut.
These cupcakes feature a tender cinnamon crumb with a "hidden surprise in the middle"—a creamy mascarpone filling that brings all that nostalgic flavor into a simple, beautiful, and highly transportable little cake.
The Key Ingredients For Cannoli Cupcakes And Why They Matter
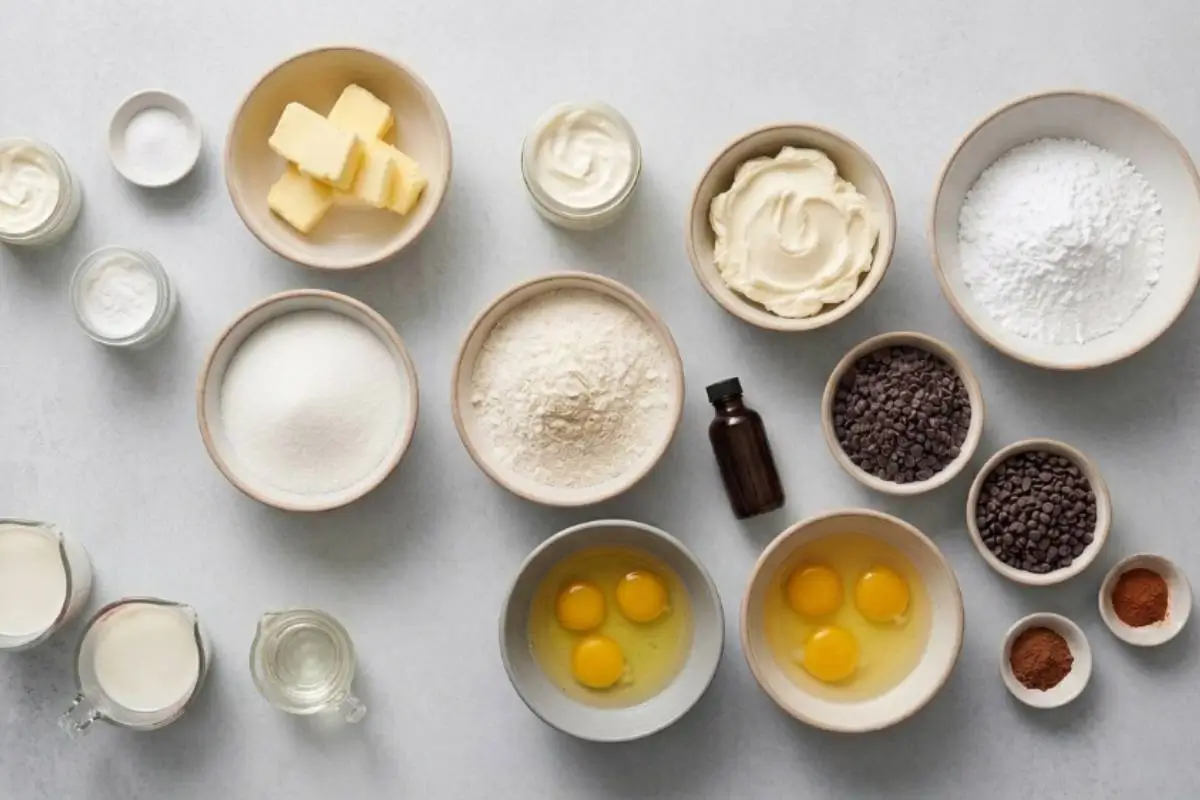
Gathering your ingredients is simpler than it looks, so take a breath; you’re doing great so far. To recreate the sensory magic of a Southern Italian bakery—that comforting, sweet smell of warm cinnamon and rich cream—we need to rely on the right foundation.
The Secret to Stable Frosting: A true cannoli flavor profile needs a stable base. Using real mascarpone cheese stabilizes the frosting, preventing the dreaded runny, soupy mess that often plagues standard whipped frostings. It gives you a thick, silky texture that holds up beautifully.
The Authenticity Debate (Cinnamon vs. Orange Zest): Our cupcake batter features warming ground cinnamon to mimic a traditional cannoli shell. However, purists often debate the inclusion of citrus. If you want an Authentic Bakery Option, add a pinch of fresh orange zest to the batter for a bright, aromatic lift!
The Non-Negotiables: Mini chocolate chips are absolutely required. Not just for that classic crunch, but because regular-sized chips will clog your piping bag! Mini chips ensure a perfectly smooth piping experience.
Dietary Opportunities (Vegan/Dairy-Free): Need a dairy-free option? Avoid standard vegan cream cheeses due to their high water content. Instead, choose a low-moisture brand and whisk in a tiny cornstarch slurry to prevent a gloopy, impossible-to-recover disaster.
You’re already doing beautifully; let's keep going.
The Golden Rule Step-by-Step Instructions
Here’s the part everyone overthinks — but you won’t.
The Cinnamon Cupcake Base
Prep: Preheat your oven to 350°F and line a standard cupcake pan with 12 paper liners.
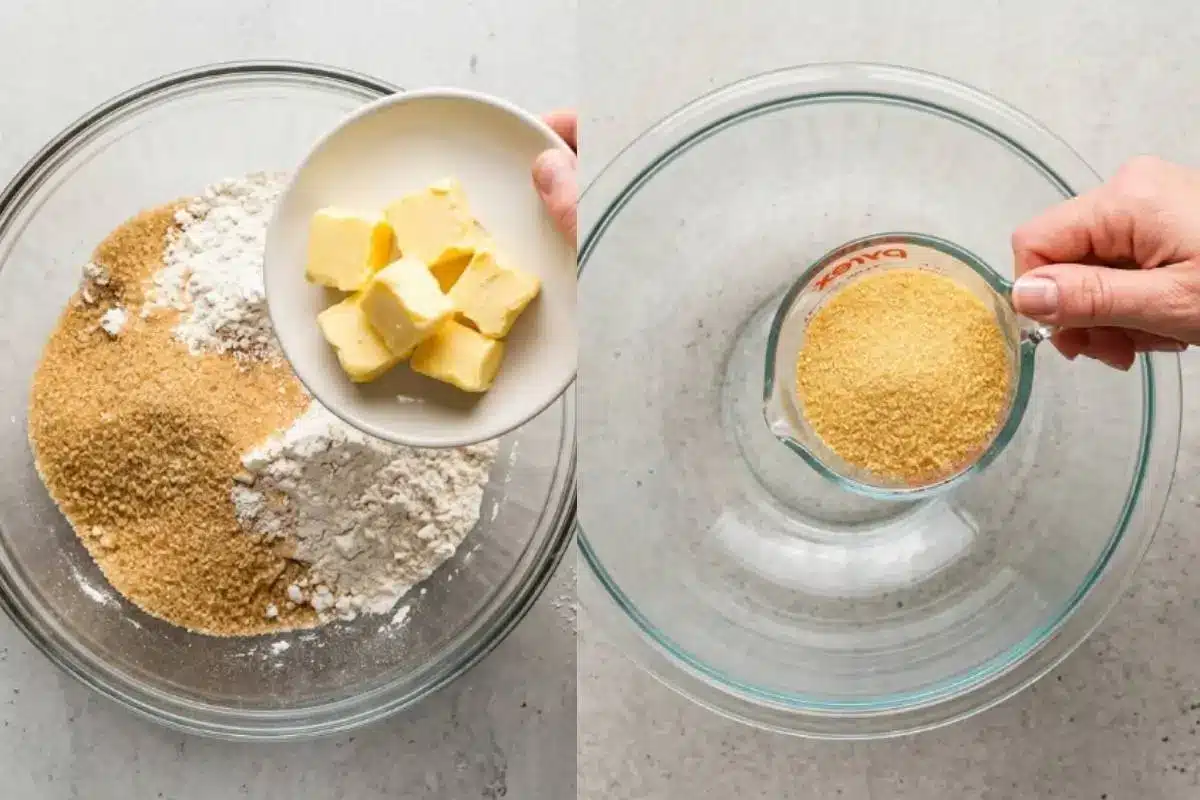
Cream: In a large mixing bowl, cream 6 tablespoons of room temperature unsalted butter, 1/2 cup sugar, and 1/4 cup loosely packed light brown sugar for 3 to 4 minutes until light and fluffy. You’ll know it’s right when the mixture looks like wet sand and holds its shape.
Mix Wets: Add 6 tablespoons room temperature sour cream and 1 1/2 teaspoons pure vanilla extract. Mix well. Add 3 large egg whites (room temp) one at a time, mixing until well combined. Listen for the comforting sound of your whisk gently tapping the side of the bowl as you scrape down the edges.
Dry & Liquid Alternation: Combine 1 1/4 cups all-purpose flour, 2 teaspoons baking powder, 1/4 teaspoon ground cinnamon, and 1/4 teaspoon salt. In a separate cup, mix 6 tablespoons milk and 2 tablespoons water. Add half the dry mixture, then the liquid, then the remaining dry. Mix until just combined.
Bake: Fill liners halfway. Bake for 15 to 17 minutes. A quick test is to insert a toothpick; if it comes out with a few soft crumbs, they are done. Cool for 2-3 minutes before transferring to a wire rack.
The Hollowing (The Hidden Surprise)
Once completely cool, use an apple corer or a small paring knife to gently scoop out the center of each cupcake, going about halfway down. If yours looks messy here, that’s completely normal—we are covering it with frosting anyway!
The Mascarpone Filling
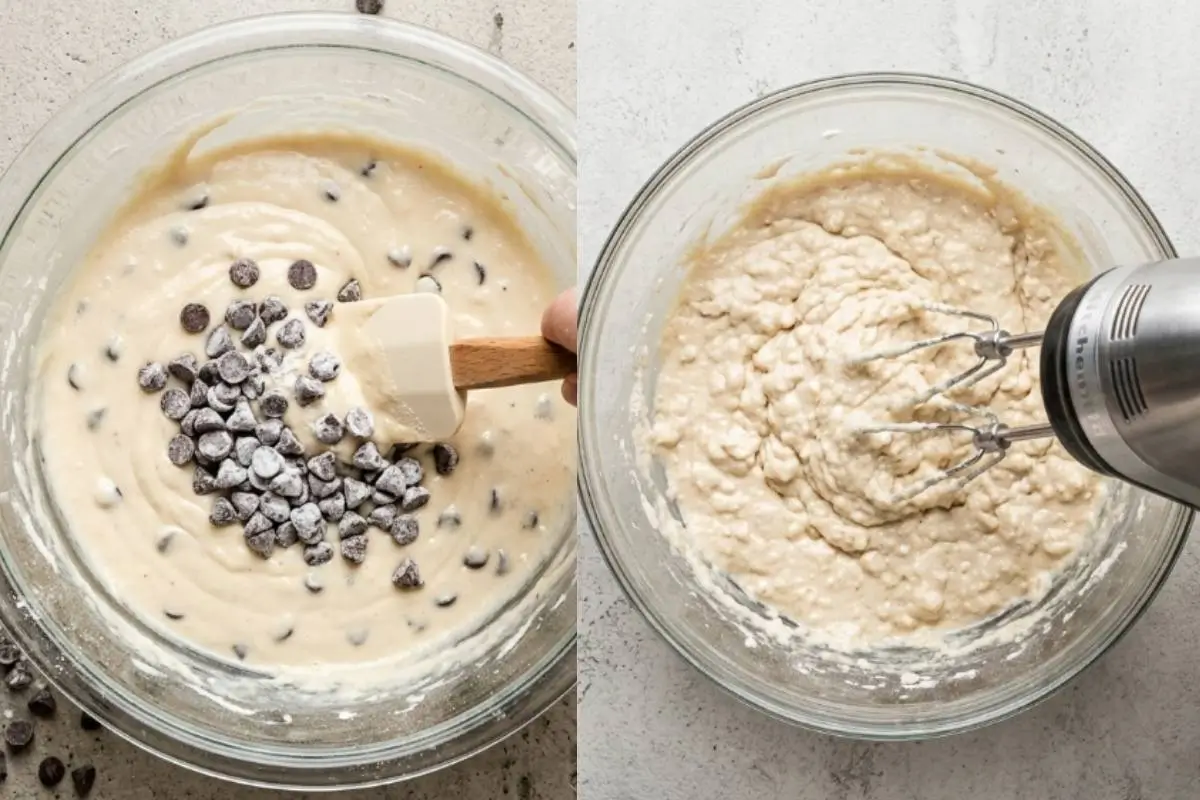
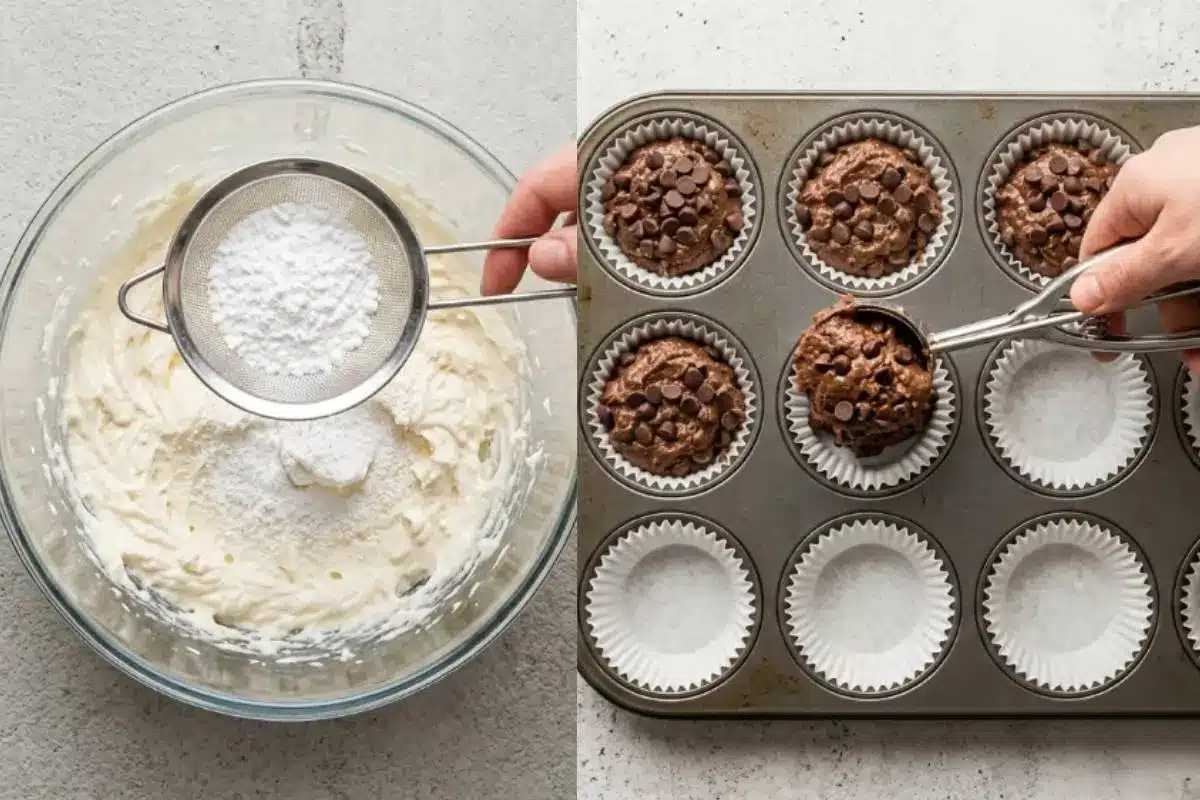
Beat 2 cups room temperature mascarpone cheese, 2 cups confectioners sugar, and 1 teaspoon vanilla extract on medium-low speed until smooth. Elena’s Tip: Treat it gently, just like Nonna would! Over-mixing causes separation.
The Garnish
The Hidden Frosting Trick: Fill a piping bag and pipe the frosting directly into the hollowed center, creating a small, elegant swirl on top. This avoids the "metric ton of frosting" issue, giving you a perfectly balanced bite.
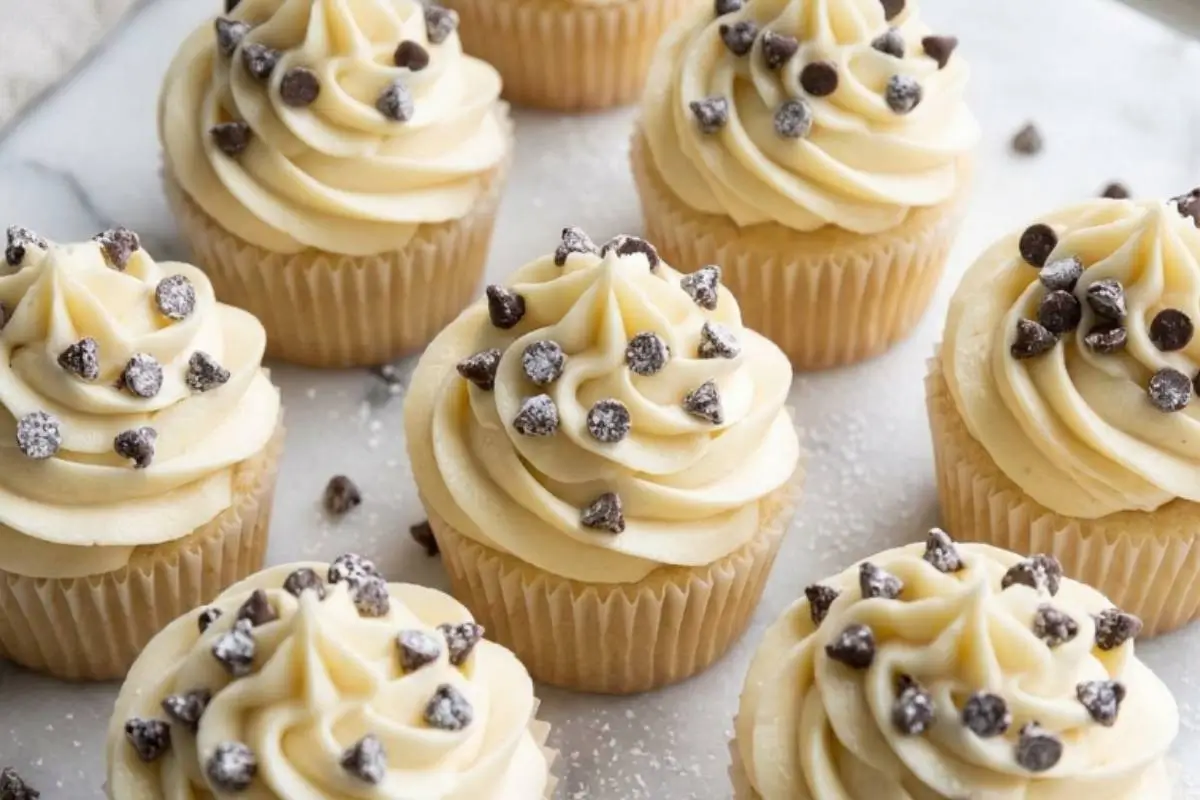
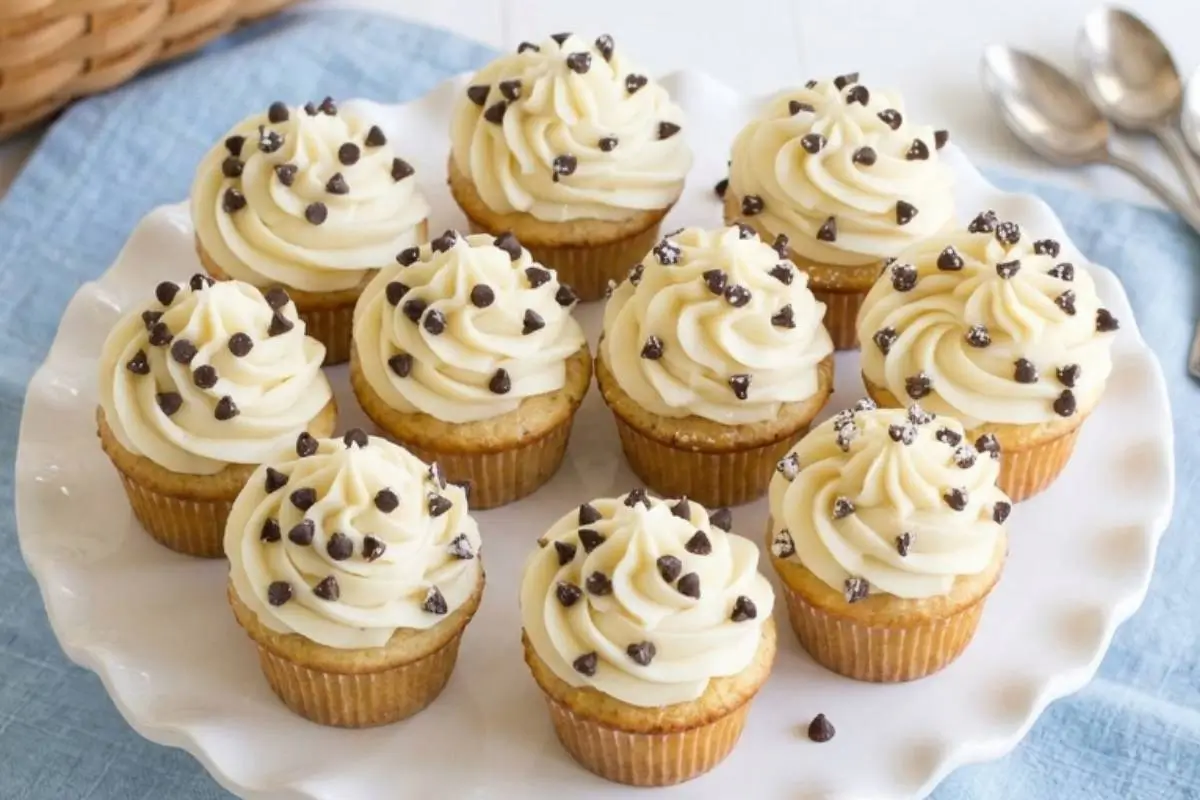
Decorate: Top generously with mini chocolate chips. For a gorgeous, high-contrast visual, dust with extra confectioners sugar and insert a piece of broken waffle cone (or a real cannoli shell piece) at a 45-degree angle.
This is where the magic starts to happen!
Why This Cannoli Cupcakes Recipe Works
Take a breath; you’re doing great so far, and this next part explains exactly why you will succeed. Understanding why a recipe works gives you the confidence to own it in your own kitchen. This is what I make when I want something comforting but simple, perfect for slow Sunday afternoons.
Overcoming the 1 Failure Point: By relying on a stable mascarpone frosting base, we entirely bypass the weeping, split frosting crisis that usually ruins holiday dessert presentations.
The Ricotta Secret: Here’s the trick I learned the hard way—if you ever choose to doctor this with authentic whole-milk ricotta instead of mascarpone, you must strain it! The absolute rule is straining the ricotta for a minimum of 4 hours (ideally overnight) in cheesecloth to remove excess moisture.
The Box-Mix Hack: We believe in comfort, not performance. If you are rushing for a family gathering, you can hack a standard white boxed cake mix! Just add buttermilk in place of water, a splash of vanilla, and a teaspoon of cinnamon for an unapologetic, foolproof shortcut.
If you love creamy textures, you’ll also love my ricotta-based desserts, which follow this same philosophy of joy over perfection.
You’re closer than you think — keep going.
Elena’s No-Fail Tips For Your Cannoli Cupcakes

If you ever feel stuck, remember that this part is simpler than it looks. In my family, the golden edges of these cupcakes cooling on the counter is the moment everyone waits for.
Frosting First-Aid: How do I fix runny or curdled cannoli frosting?
Don't panic about wasting ingredients! If your frosting split because it got too cold, use gentle heat (a warm towel wrapped around the bowl) while mixing on low to bring the emulsion back.
If it's too watery from over-mixing, gently fold in a tablespoon of sifted powdered sugar or a teaspoon of cornstarch to thicken it up.
Can I use cream cheese instead of mascarpone?
Yes, you can, but there is a strict rule: it must be full-fat, brick-style cream cheese. Most people miss this step, but using low-fat or tub cream cheese will lead to structural collapse due to high water content.
How do I hollow out the center without breaking the cupcake?
Use a simple apple corer! Press it gently into the center of the cupcake, twist slightly, and pull up. If you don't have one, a small paring knife works perfectly.
Just cut a small circle at an angle, creating a cone-shaped piece to pull out. If the delicate crumb tears a little, don't worry—the frosting hides everything.
See? You have everything under control.
Saving a Little Joy for Tomorrow: Storage Tips, Freezing & Make-Ahead Notes
Don't let the planning stress you out; this part is completely manageable.
If you are baking for a big event, timing is everything. You can bake the cinnamon cupcake bases up to two days ahead of time (store them at room temperature in an airtight container) or freeze them for up to a month.
However, to avoid soggy cakes or weeping frosting, you should fill and frost no more than 12-24 hours prior to the event. Because of the delicate dairy in the mascarpone, these must be stored in the refrigerator.
The Golden Rule of Serving: Always bring them back to room temperature for about 20-30 minutes before serving. You want the cake crumb to soften and the frosting to regain its cloud-like texture so the flavors can fully bloom.
You've created something truly beautiful, and I am so proud of you.
Joyful Cannoli Cupcakes
Ingredients
Method
- Preheat your oven to 350 degrees F and line a standard cupcake pan with paper liners.
- In a large mixing bowl, cream the butter, sugar, and light brown sugar together for 3 to 4 minutes until they are light in color and fluffy.
- Add the sour cream and vanilla extract, mixing until everything is well combined.
- Add one of the egg whites and mix well. Then, add the remaining two egg whites and mix until well combined. Scrape down the sides of the bowl as needed to be sure all the ingredients are beautifully incorporated.
- In a medium bowl, combine the flour, baking powder, cinnamon, and salt. In a small measuring cup, combine the milk and water.
- Add half of the flour mixture to your batter and mix gently. Add the milk and water mixture and mix until combined. Finally, add the remaining half of the flour mixture and mix until just combined.
- Fill your cupcake liners about halfway with batter. Bake for 15 to 17 minutes, or until a toothpick inserted comes out with a few soft crumbs. Remove them from the oven and let them cool for 2 to 3 minutes in the pan before moving them to a cooling rack.
- To make the frosting, beat the mascarpone cheese, powdered sugar, and vanilla extract together on medium-low speed until smooth.
- Pipe the creamy frosting onto your cooled cupcakes and top them generously with mini chocolate chips. Give them a beautiful dusting of confectioners sugar and store them in the refrigerator until you are ready to serve. Serve at room temperature.
Notes
Making Sweet Memories
I still think about that sun-drenched kitchen in Sanremo every time I fold chocolate chips into this beautiful mascarpone cream. Remember, whether your cupcakes are piped to absolute perfection or look a little messy, the true magic is in the shared, joyful moments. We bake for memories, not masterpieces.
Drop a  in the comments if you're making these for your next family gathering, or share a picture of your hidden center on Instagram and tag us!